Install the Chatbot in Microsoft Teams
The EmpowerID Chatbot is available for use directly within Microsoft Teams. This article shows you how to install it from your organization’s app catalog so you can begin using it to manage identity-related tasks like resetting passwords, approving access, or checking your roles.
How to Install the Chatbot in Microsoft Teams
You can add the EmpowerID Chatbot to your Microsoft Teams workspace from the Teams Apps catalog. Once installed, you can use the bot in Teams chats, channels, or meetings.
Before You Begin
The EmpowerID Chatbot must be deployed and made available by your organization before it will appear in the Microsoft Teams app store. If you do not see it, please contact your IT support team.
Steps:
- Open Microsoft Teams (desktop app or browser).
- Click the Apps tab on the left sidebar.
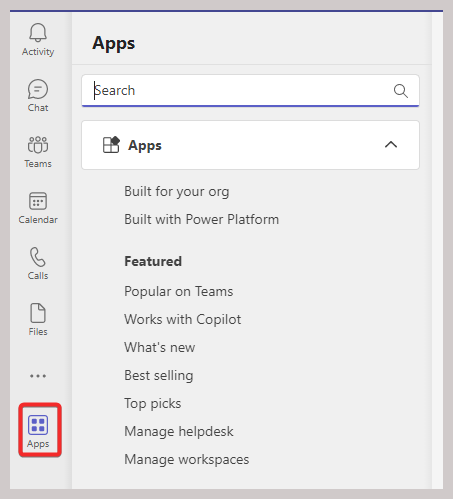
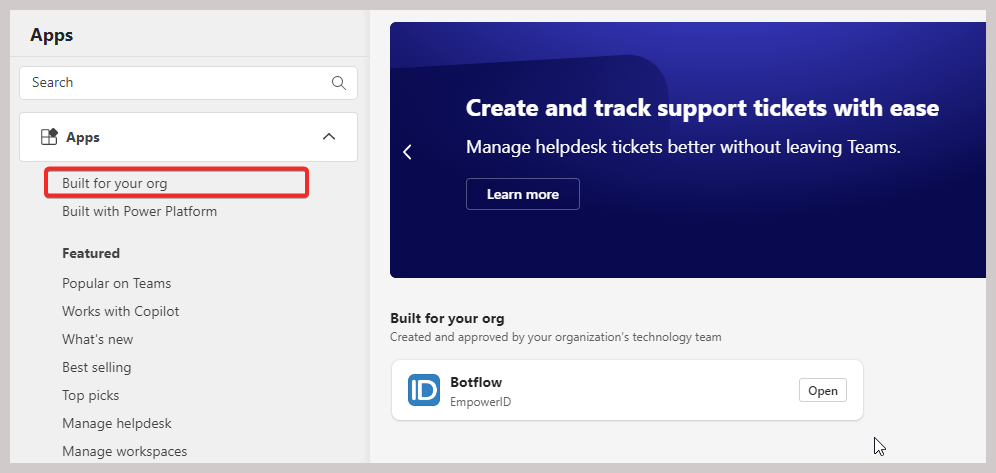
- In the Apps view, click Built for your org.
- Find and select the EmpowerID Botflow app.
- Click Add to begin installation.

➕ Choose How to Add the Bot
- 🟣 Add to a Team
- 💬 Add to a Chat
- 📅 Add to a Meeting
Add to a Team
This option makes the chatbot available to all members of a Microsoft Team.
- Click Add to a team.
- Choose the team you want to use.
- Click Set up a bot.
- Wait for the Authorizing access screen to complete.

Add to a Chat
Install the chatbot in a private or group chat so all participants can interact with it.
- Click Add to a chat.
- Choose the chat.
- Click Set up a bot.
- You’ll see a confirmation message that the bot was added.

Add to a Meeting
Install the bot in a meeting chat for all attendees.
- Click Add to a meeting.
- Select the meeting.
- Click Set up a bot.
- A message will confirm the bot was added to the meeting chat.
Using the Bot After Installation
Once the bot is installed, you can start interacting with it:
- Go to the Chat tab in Teams
- Type
@botflowto mention and activate the bot
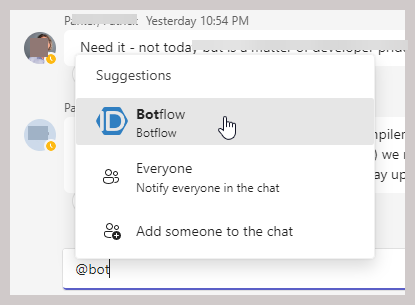
🔔 Note: In a channel, you must type
@botflowto start the conversation. This lets the bot know you're speaking to it.
You're Ready to Go!
After adding the EmpowerID Chatbot, you can:
- Reset your password
- View your access roles
- Approve access requests
- Use natural commands or menu buttons to complete tasks — right from Microsoft Teams
For a full list of features, see Chatbot Commands.