Onboard Management Roles
EmpowerID ships with comprehensive Management Roles for common scenarios. When your organization requires roles beyond what's provided out-of-box, use the Onboard Management Role wizard to create them. The wizard guides you through a 7-step process to configure ownership, IAM Shop settings, RBAC policies, and initial membership.
Prerequisites
Before onboarding a new Management Role, ensure you have:
- Access to Resource Admin with permissions to create Management Roles
Customize Workflow Parameters (Optional)
The wizard can be customized to control field visibility, set organizational defaults, and enforce business rules. If you need to customize the wizard before using it, configure parameters in this section. Otherwise, skip to the Procedure.
The Onboard Management Role wizard supports the following parameters to adapt the wizard to your governance requirements:
| Parameter | Description |
|---|---|
| DefaultAccessRequestPolicyID | Default access request policy to be selected in the IAM Shop Settings step. The value must be a GUID. |
| DefaultManagementRoleDefinitionID | Default management role definition to be selected in the Role Data Entry step. The value must be a GUID. |
| DefaultParentLocationID | Restricts management role creation to a specific location and its children. The value must be an OrgZoneID. |
| DeputyIsRequired | Indicates whether the Deputies field is mandatory. Possible values: true or false. |
| DeputyResourceTypeRoleName | Access level assigned to management role deputies. |
| DeputySetGroupName | Query-based collection name to filter the Deputy selection list. |
| GroupAccessLevelNameForRBACMembershipPolicies | Group access level name used in RBAC Membership Policies. |
| ManagementRoleDefinition_IsVisible | Controls visibility of the ManagementRoleDefinition field. If false, DefaultManagementRoleDefinitionID must be set. |
| ManagementRoleEmail_IsVisible | Determines whether the ManagementRoleEmail field is visible. |
| ManagementRoleName_RestrictedCharacters | Defines characters removed from ManagementRole names before creation. No delimiters required. |
| ManagementRoleTypeName | Sets the type of management role. Leaving blank displays selection page. Possible values: Generic, etc. |
| OwnerIsRequired | Indicates whether the Owners field is mandatory. Possible values: true or false. |
| OwnerResourceTypeRoleName | Access level assigned to management role owners. |
| OwnerSetGroupName | Query-based collection name to filter the Owners selection list. |
| RBACMembership_AllowBusinessRoleAndLocation | Controls visibility of BusinessRoleAndLocation in RBAC Membership Policies. Possible values: true or false. |
| RBACMembership_AllowGroup | Controls visibility of the Group option in RBAC Membership Policies. Possible values: true or false. |
| RBACMembership_AllowManagementRole | Controls visibility of the ManagementRole option in RBAC Membership Policies. Possible values: true or false. |
| RBACMembership_AllowManagementRoleDefinition | Controls visibility of the ManagementRoleDefinition option in RBAC Membership Policies. Possible values: true or false. |
| RBACMembership_AllowPerson | Controls visibility of the Person option in RBAC Membership Policies. Possible values: true or false. |
| RBACMembership_AllowSetGroup | Controls visibility of the SetGroup option in RBAC Membership Policies. Possible values: true or false. |
| RBACMembershipCount_IsVisible | Displays the resultant count of each assignment if true. Skips this step if count is below threshold. |
| RBACMembershipCountThreshold | Sets the threshold for RBAC membership counts. Values exceeding this block the workflow. |
| RBACMembershipResultantPreview_DefaultValue | Sets default state of the preview checkbox for RBAC membership results. Possible values: true or false. |
| RBACMembershipResultantPreview_IsVisible | Enables or disables the preview functionality for RBAC membership results. Possible values: true or false. |
| ResponsiblePartyIsRequired | Indicates whether the Responsible Party field is mandatory. Possible values: true or false. |
| ResponsiblePartySetGroupName | Query-based collection name to filter the Responsible Party dropdown. |
| ShowOwnershipOptions_Deputies | Controls visibility of Deputies for the management role. Possible values: true or false. |
| ShowOwnershipOptions_Owners | Controls visibility of Owners for the management role. Possible values: true or false. |
| ShowOwnershipOptions_ResponsibleParty | Controls visibility of the Responsible Party for the management role. Possible values: true or false. |
| Validate_UniqueOwnerAndResponsibleParty | Ensures that the Owner and Responsible Party are unique. |
Configure Parameters
- Navigate to Low Code/No Code Workflow > Low Code Workflows.
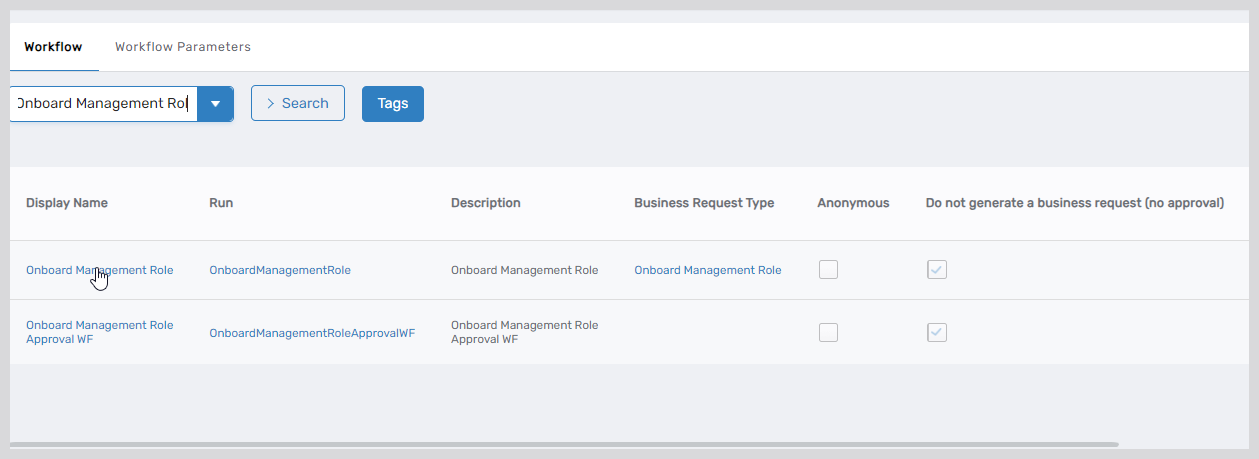
- Select the Workflow tab and search for Onboard Management Role workflow.
- Click the Display Name for the workflow.
- Expand the Request Workflow Parameters accordion on the View One page.
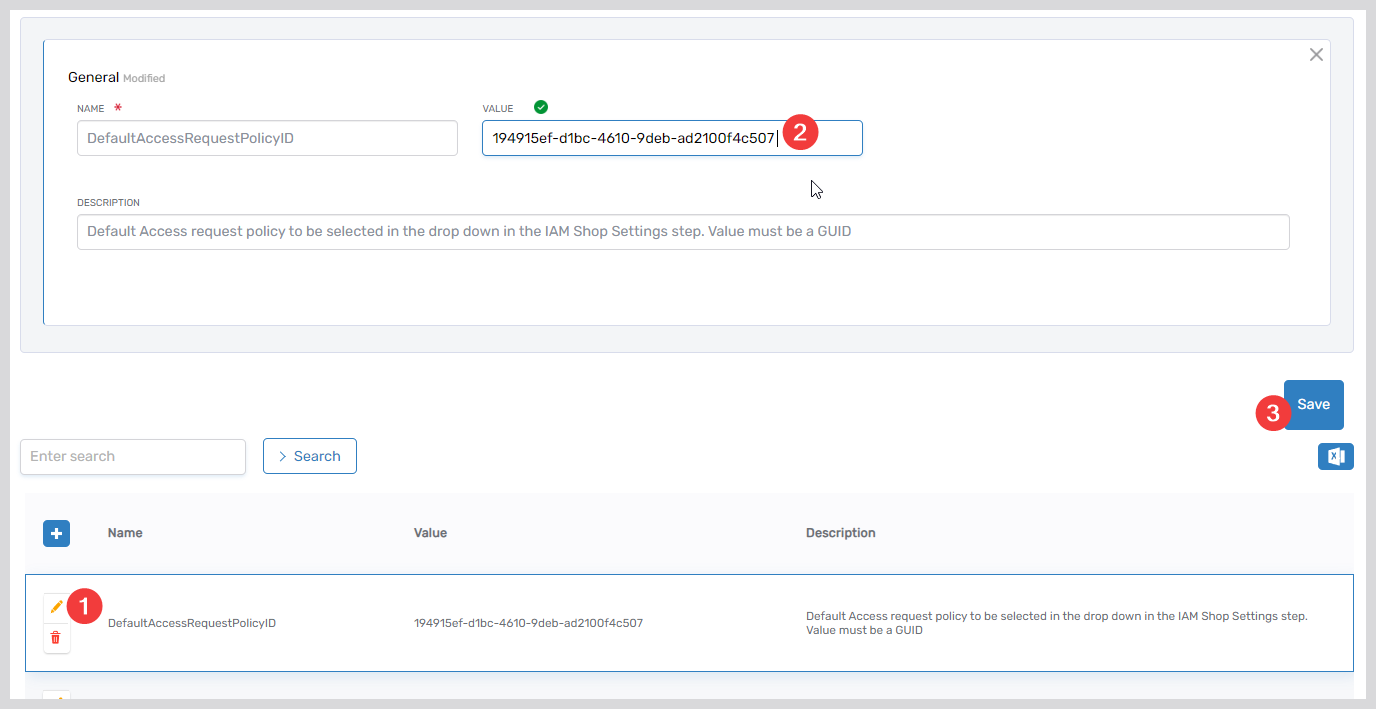
- Search for the parameter you need to configure and click the edit button for the parameter.
- Enter the value in the Value field and click Save.
Procedure
The following steps show the default wizard flow. Your organization may have customized which fields appear based on workflow parameter configuration.
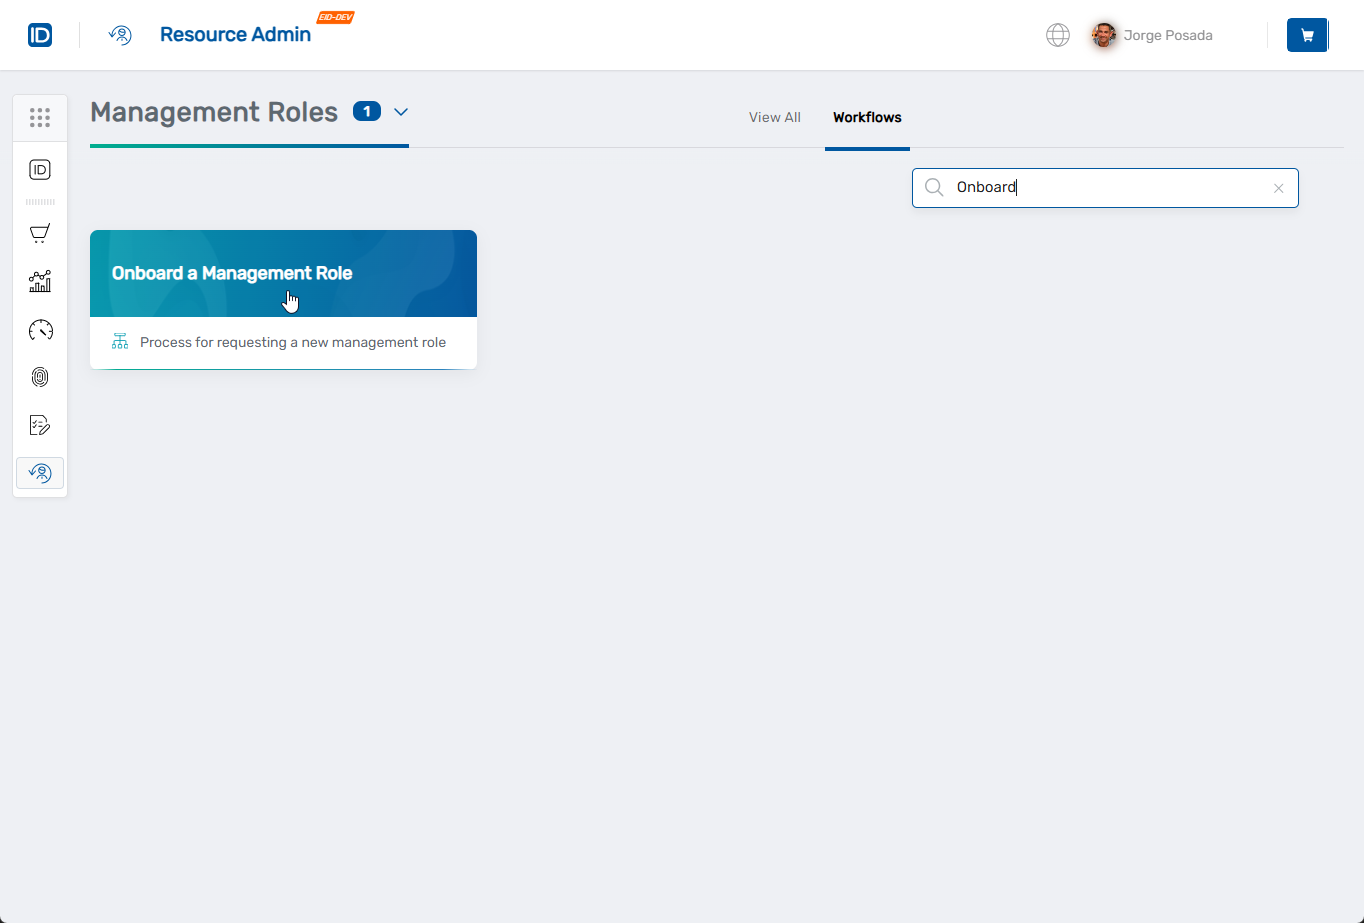
Navigate to Resource Admin, select Management Roles from the Resource dropdown menu, click the Workflows tab, and find and click Onboard Management Role.
Step 1: Basic Role Information
-
Complete the basic role information:
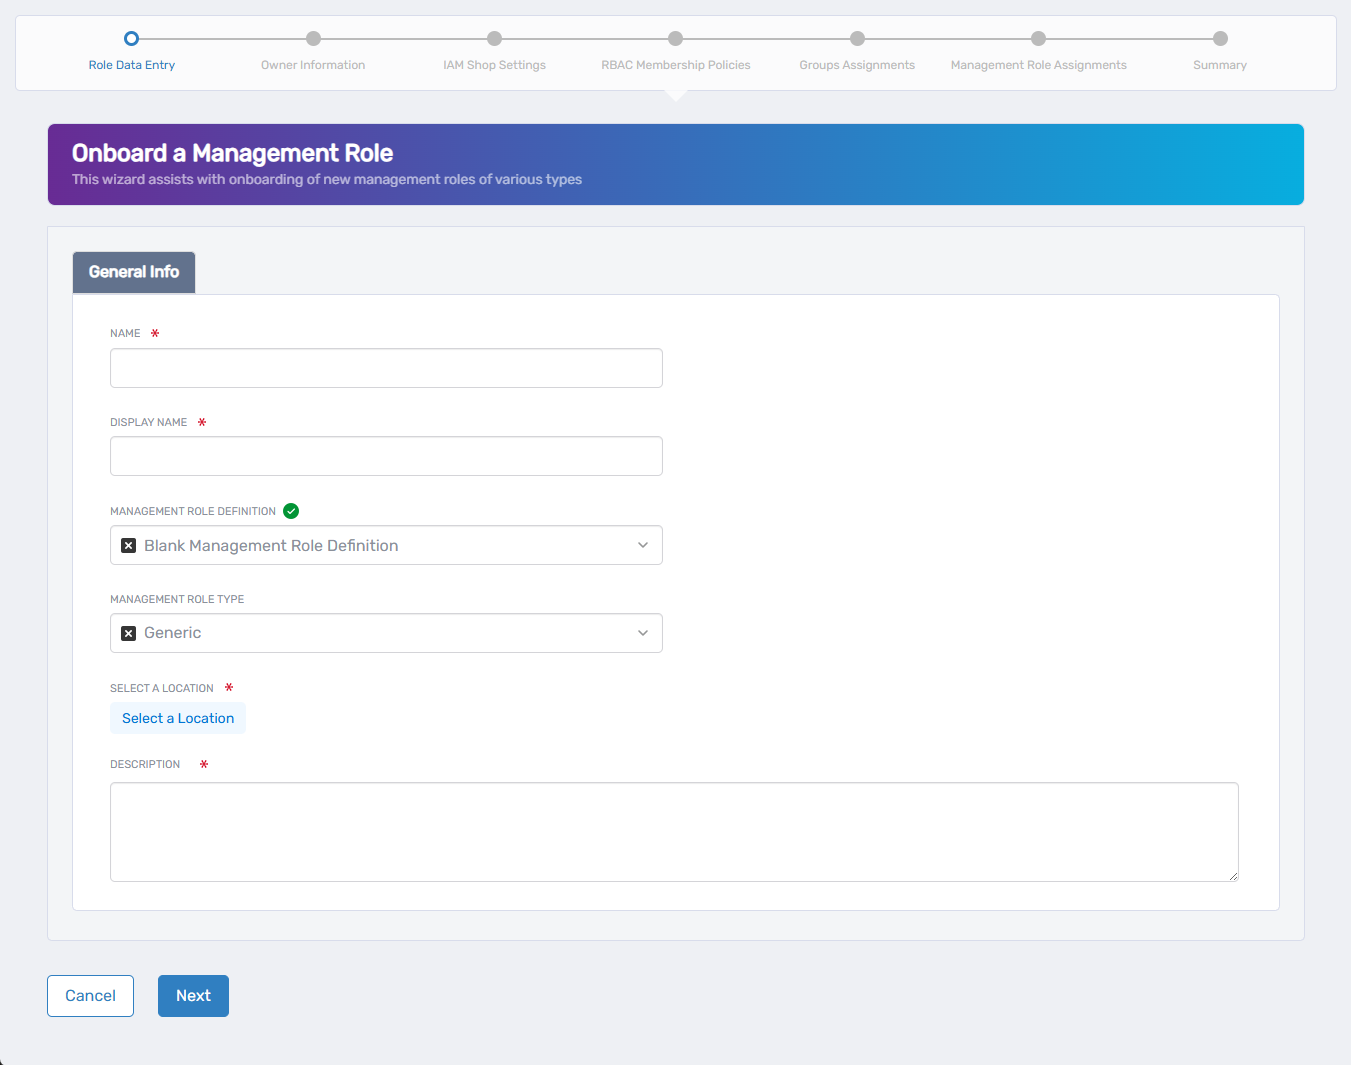
- Name - Unique identifier for the Management Role
- Display Name - User-friendly name that appears in interfaces
- Management Role Definition - Select the template for the role (default is Blank Management Role Definition; clear and search to select a different definition)
- Management Role Type - Select the role type for classification (default is Generic)
- Select a Location - Choose the organizational location for RBAC visibility
- Description - Brief explanation of the role's purpose and responsibilities
-
Click Next.
Step 2: Owner Information
-
Define who can manage this Management Role:
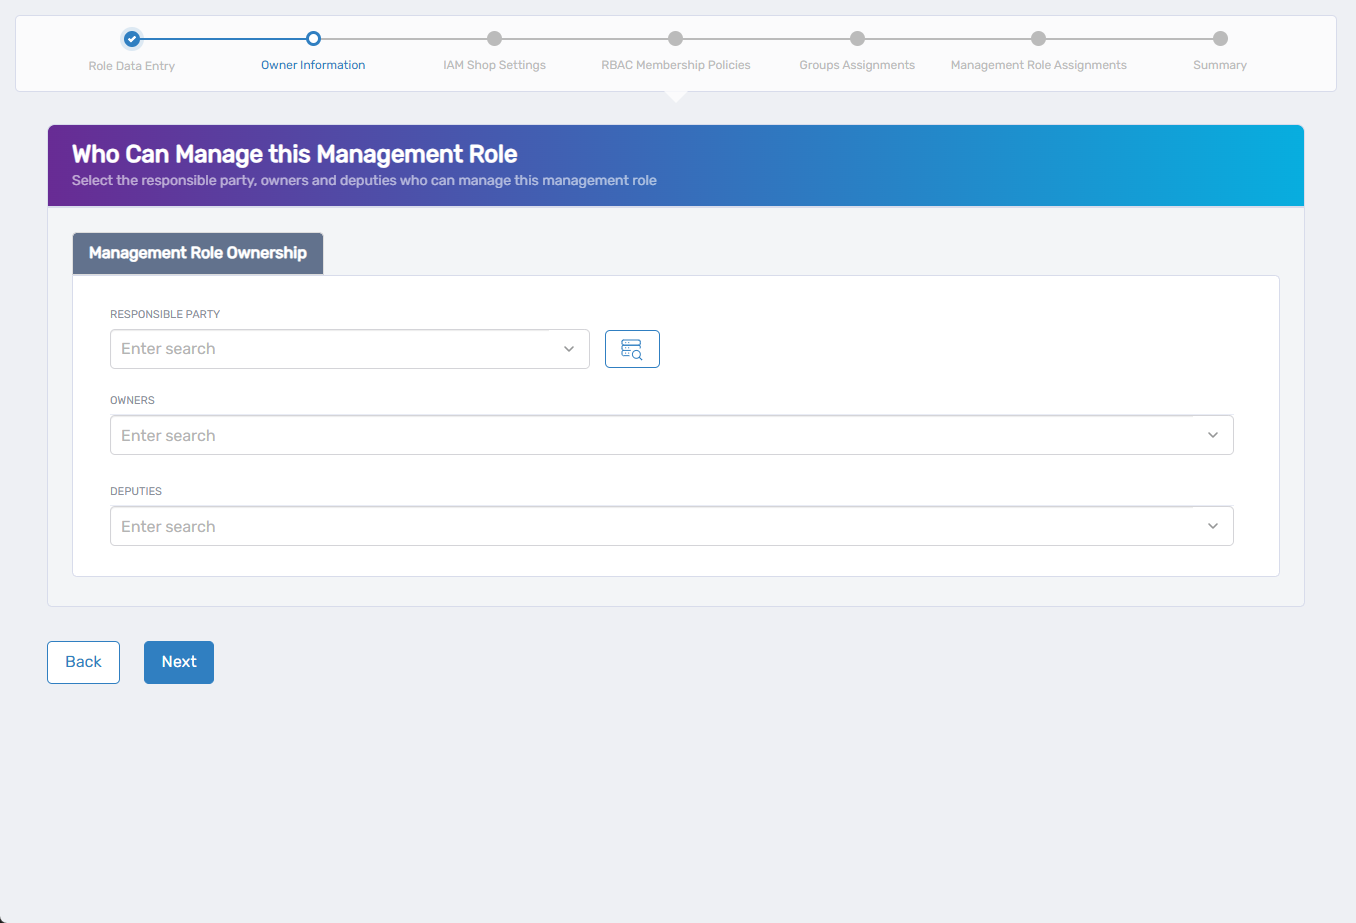
- Responsible Party - Person with ultimate business accountability for this role
- Owners - People who can manage this role through RBAC access
- Deputies - Backup managers for the role
-
Click Next.
Step 3: IAM Shop Settings
-
Configure whether users can request this role through self-service:
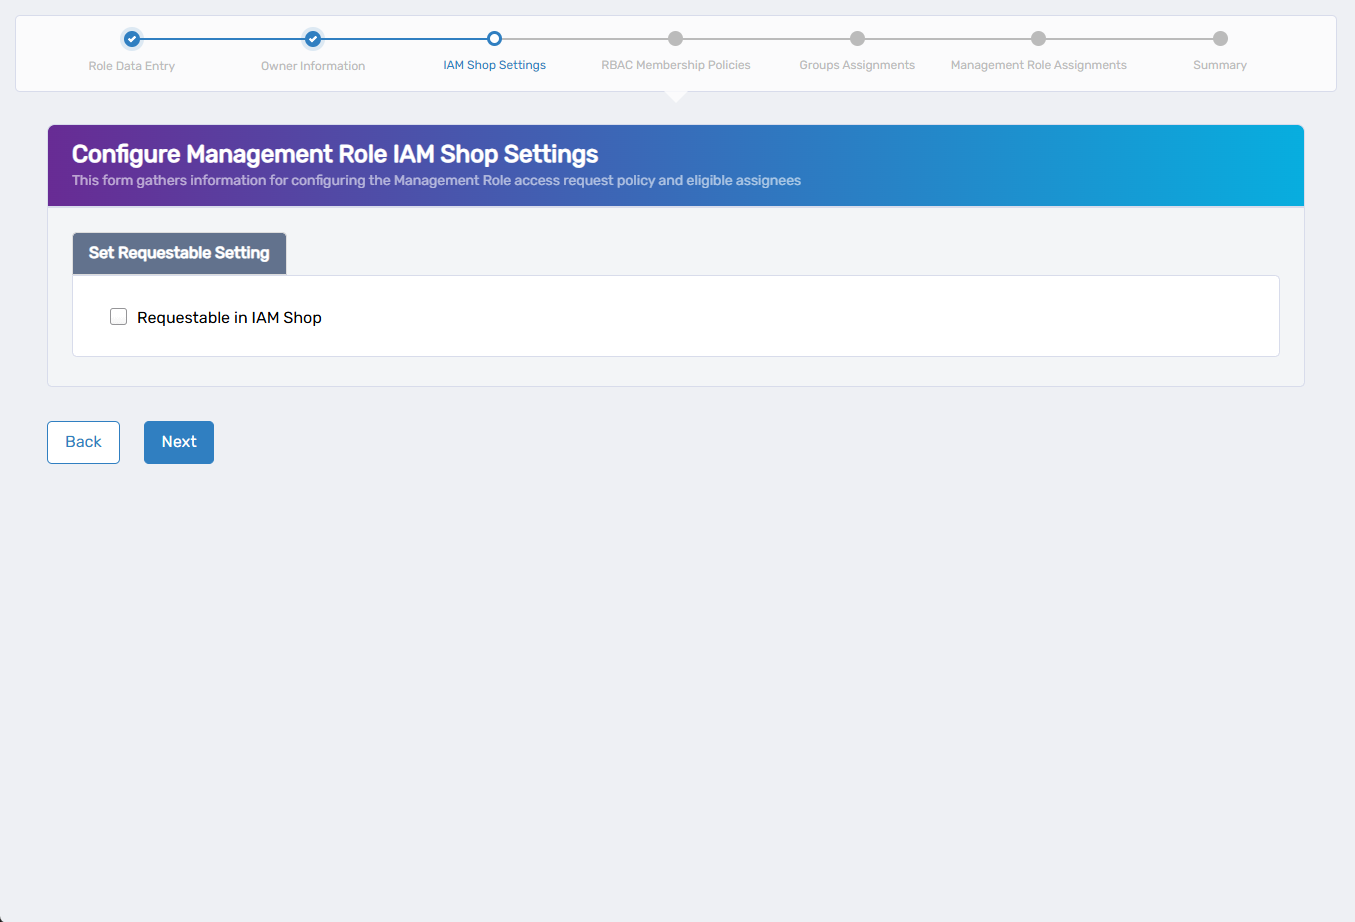
- Requestable in IAM Shop - Check this box to enable self-service requests
-
If you enabled requestable, complete the additional settings:
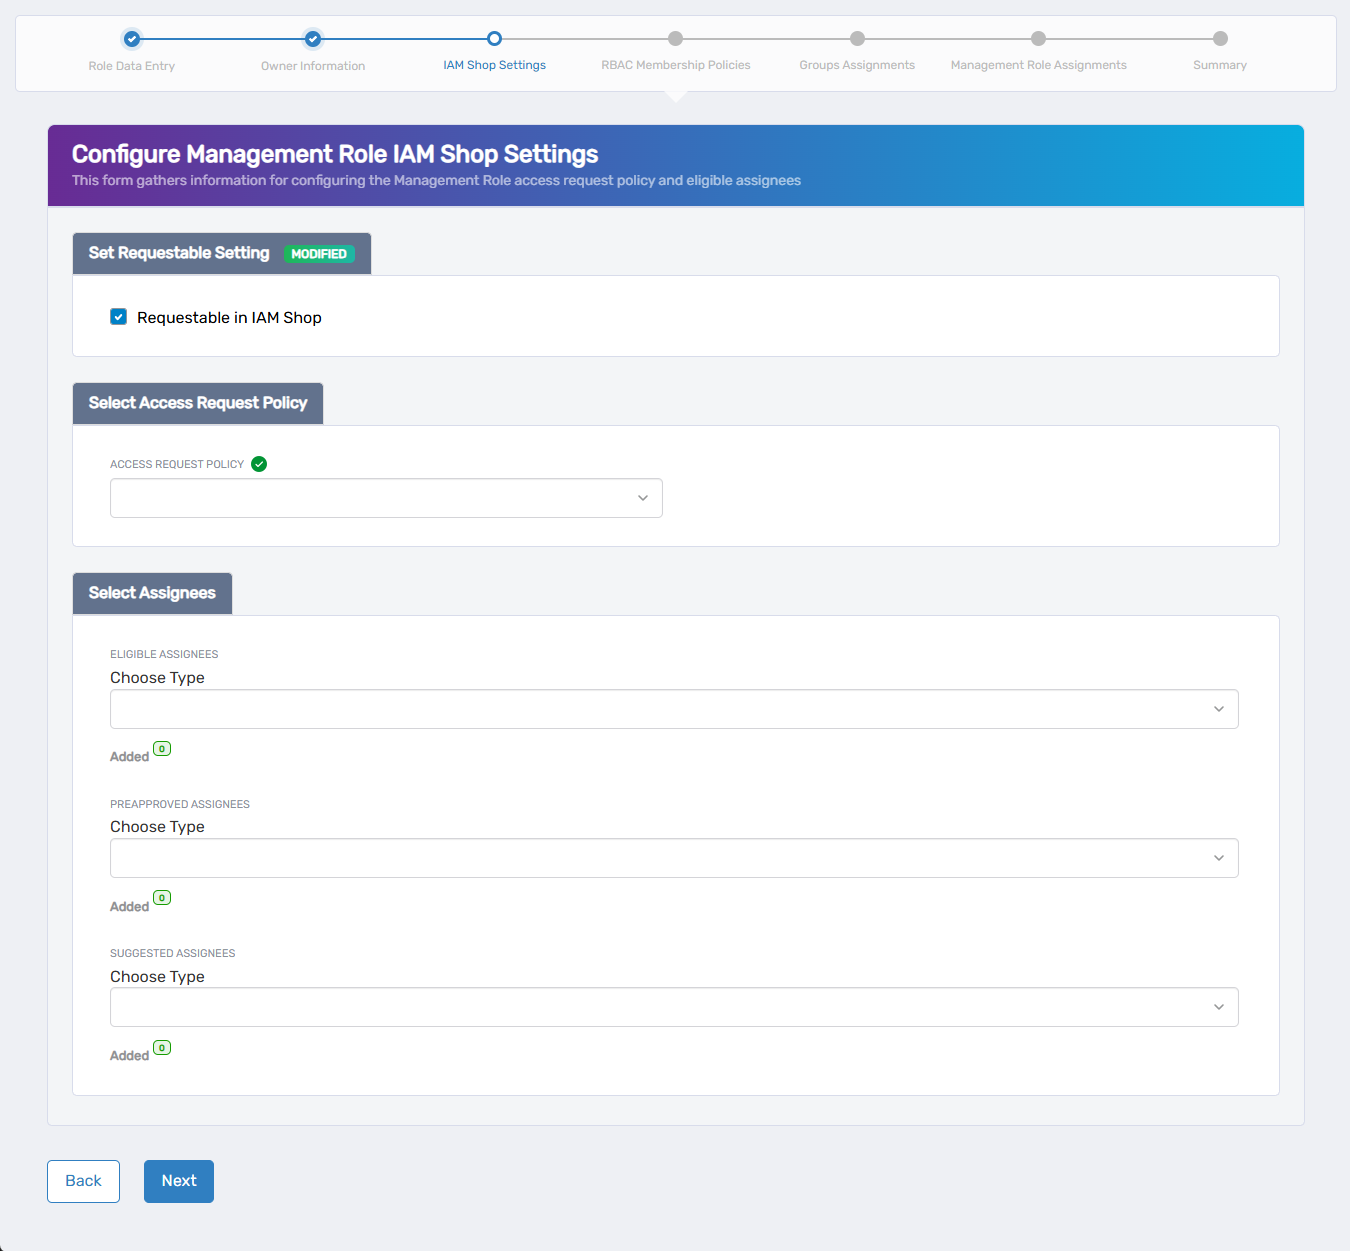
- Select Access Request Policy - Choose the policy that defines approval workflows and fulfillment behaviors
- Select Assignees - Configure who can request this role:
- Eligible Assignees - Users who can request access (requires approval)
- Preapproved Assignees - Users automatically granted access without approval
- Suggested Assignees - Users who see this role as suggested in the IAM Shop
For each assignee type, select a type from the Choose Type dropdown, search for and select the entity, and use the Added counter to manage selections.
-
Click Next.
Step 4: RBAC Membership Policies
-
Define automatic membership based on organizational attributes, or leave blank for manual assignment only:
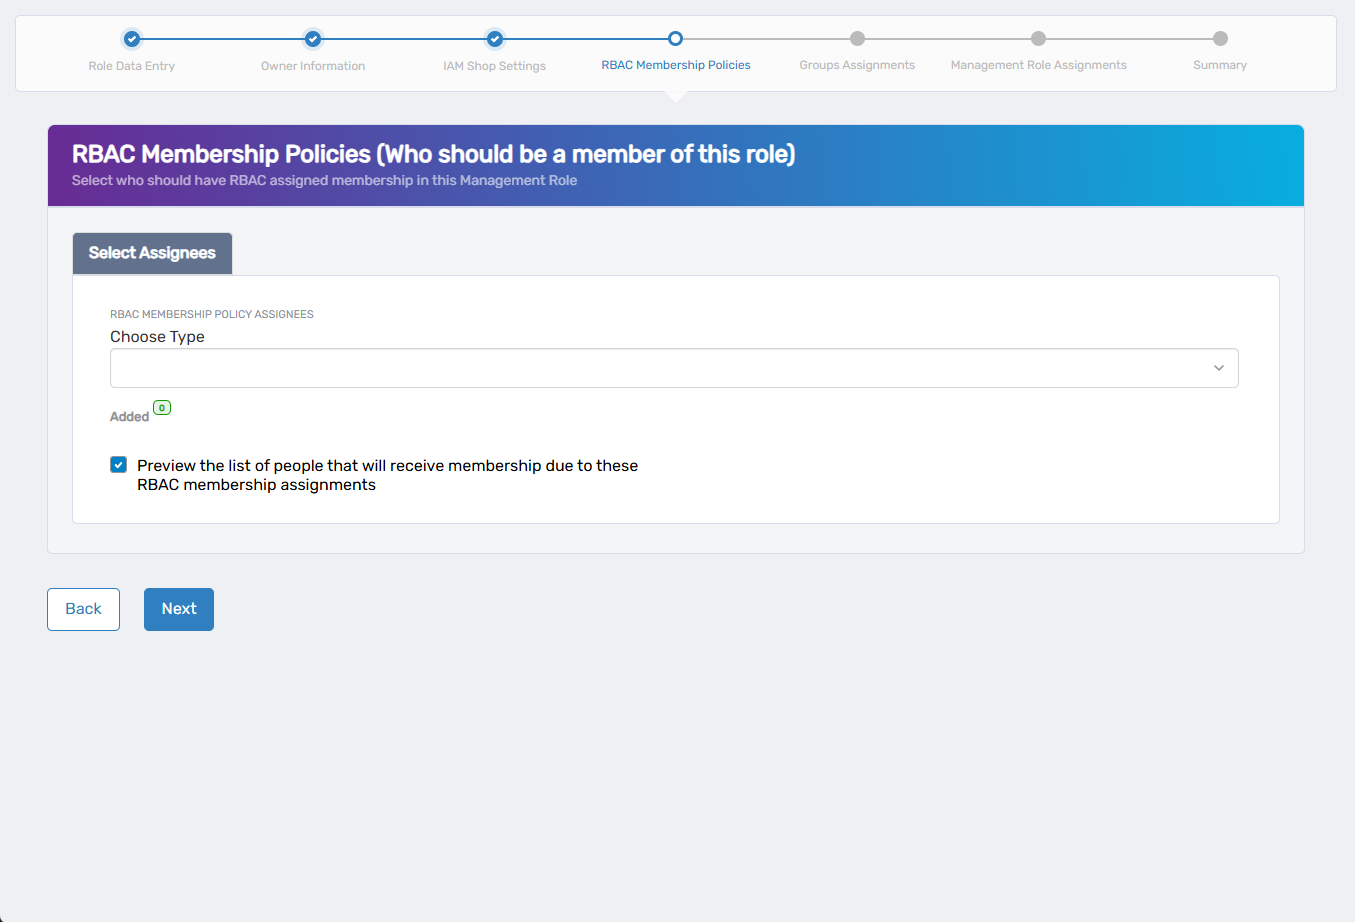
- Select a type from the Choose Type dropdown (Person, Group, SetGroup, Management Role, Business Role, or Location)
- Search for and select the specific entity
- Use the Added counter to manage selections
- Check Preview membership to see who will receive automatic membership
-
Click Next.
Step 5: Groups Assignments
-
Assign existing groups as members of this Management Role, or leave blank if not needed:
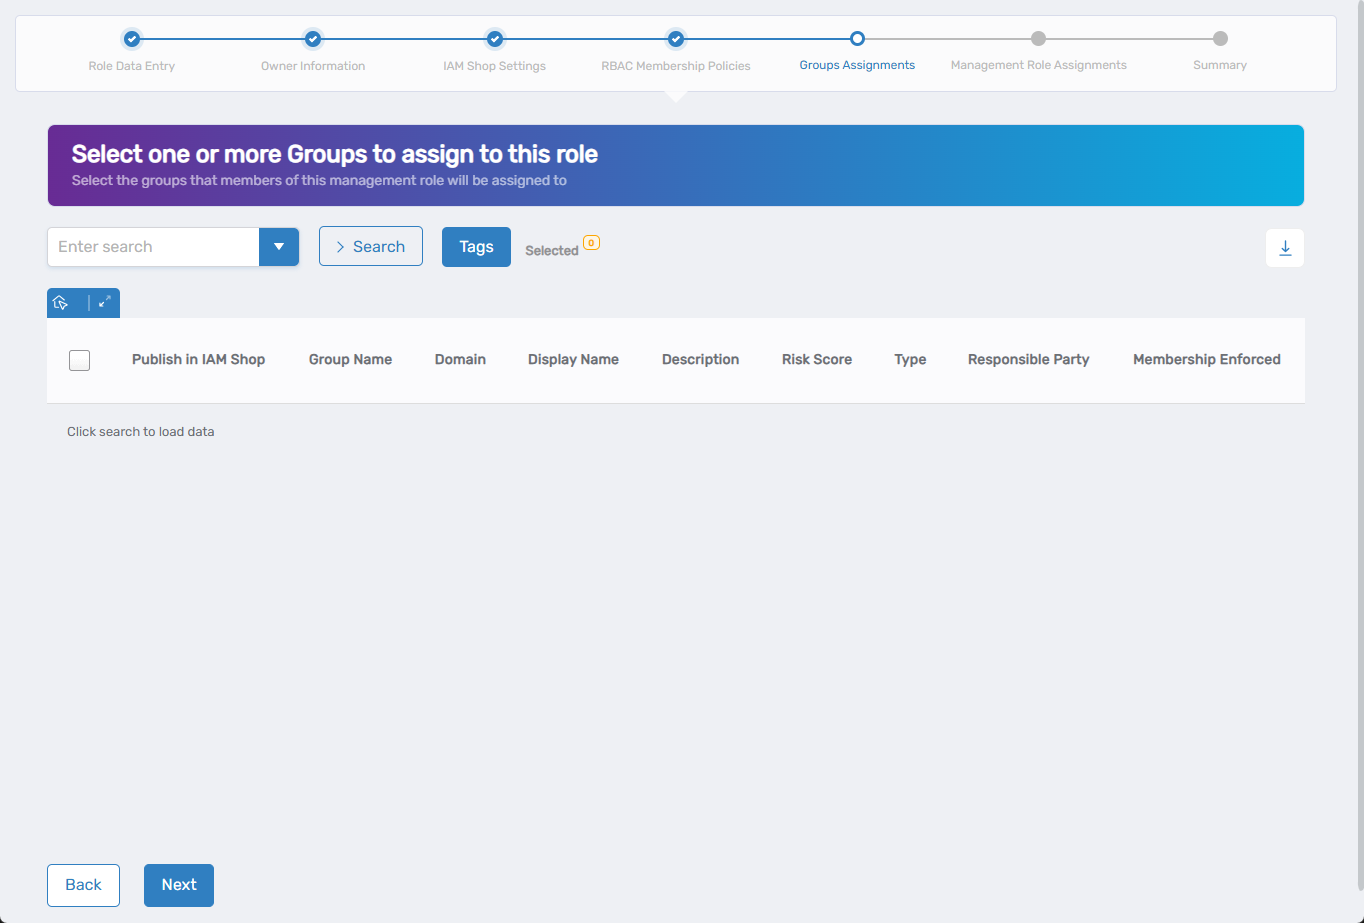
- Search for groups and check the box next to groups you want to include as members
-
Click Next.
Step 6: Management Role Assignments
-
Bundle other Management Roles into this new role, or leave blank if this role should stand alone:
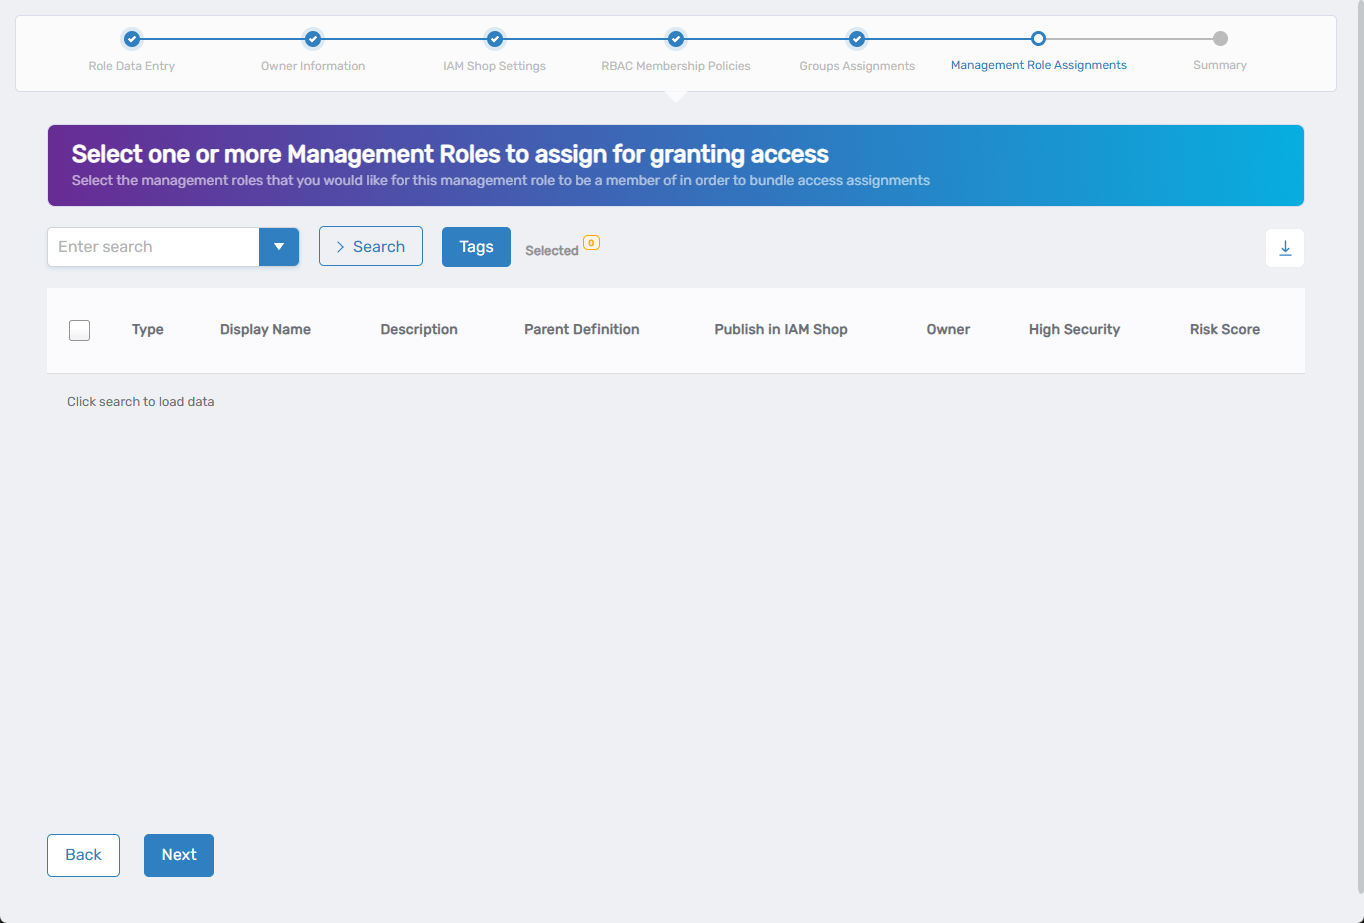
- Search for existing Management Roles and check the box next to roles you want to include
-
Click Next.
Step 7: Summary and Create
- Review all configuration details across the summary tabs.
- Click Submit to create the Management Role.
Verify the Results
After submitting:
- Navigate to Resource Admin > Management Roles.
- Search for the newly created role by name and verify it appears in the list.
Related Topics
- Add People to Management Roles - Assign individuals to roles
- Manage Resource Access for Management Roles - Grant resource access to roles
- Creating Management Role Definitions - Create custom role templates
- Approve Management Role Changes - Review and approve role modifications