Localizing Emails
EmpowerID administrators can customize and localize automated email notifications triggered by workflows, approvals, and policy-driven events. Localized messages ensure that users receive communications in their preferred language.
EmpowerID includes 21 predefined email templates (IDs 1–21) for standard operations involving one, two, or three resources. These are used automatically unless replaced with custom versions. Custom emails can also be assigned to workflows directly in Workflow Studio.
📘 For email delivery settings, see Configuring EmpowerID Email Send Options.
Prerequisites
- EmpowerID administrative access
- Access to Admin > Miscellaneous > Localized Emails
- Optional: Knowledge of HTML for rich-text emails
Customizing an Existing Email Template
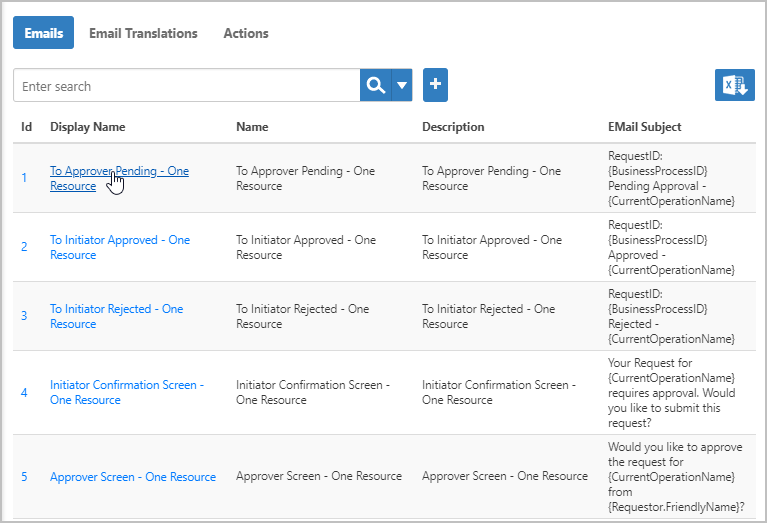
- Navigate to Admin > Miscellaneous > Localized Emails.
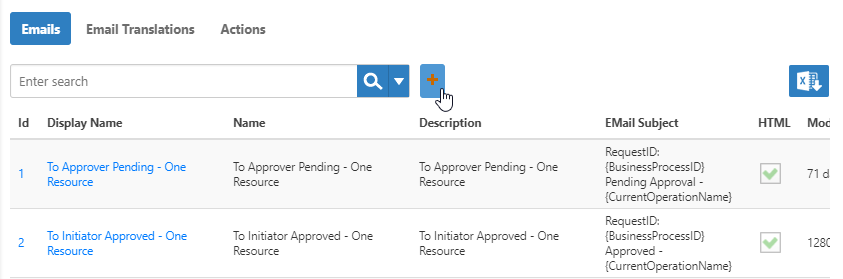
- On the Emails tab, search for the template.
- Click the Display Name link.
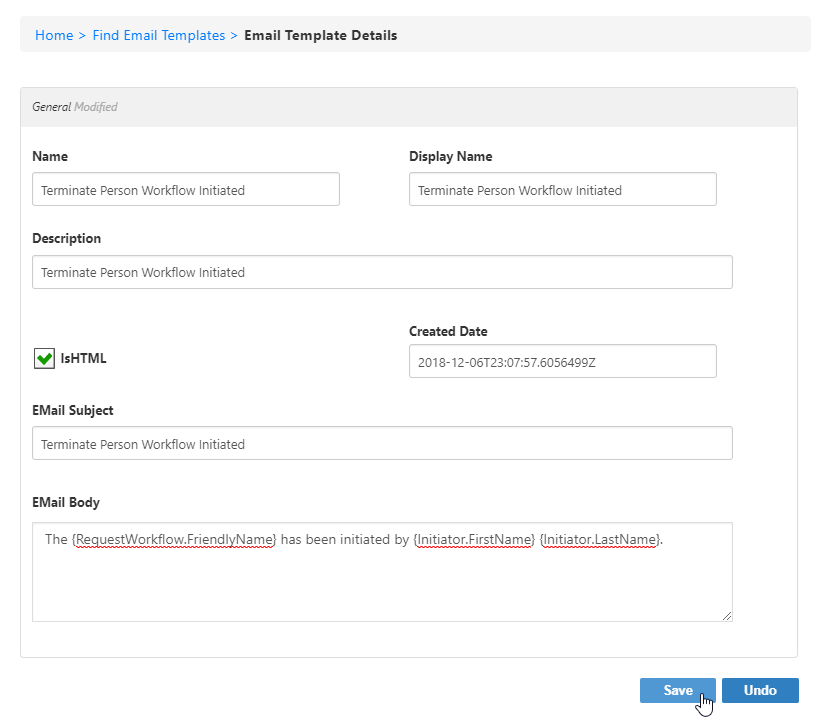
- Click Edit on the Email Template Details page.
- Edit the Email Body:
- Check IsHTML for HTML formatting or uncheck to use plain text.
- Resize the editor field if needed.
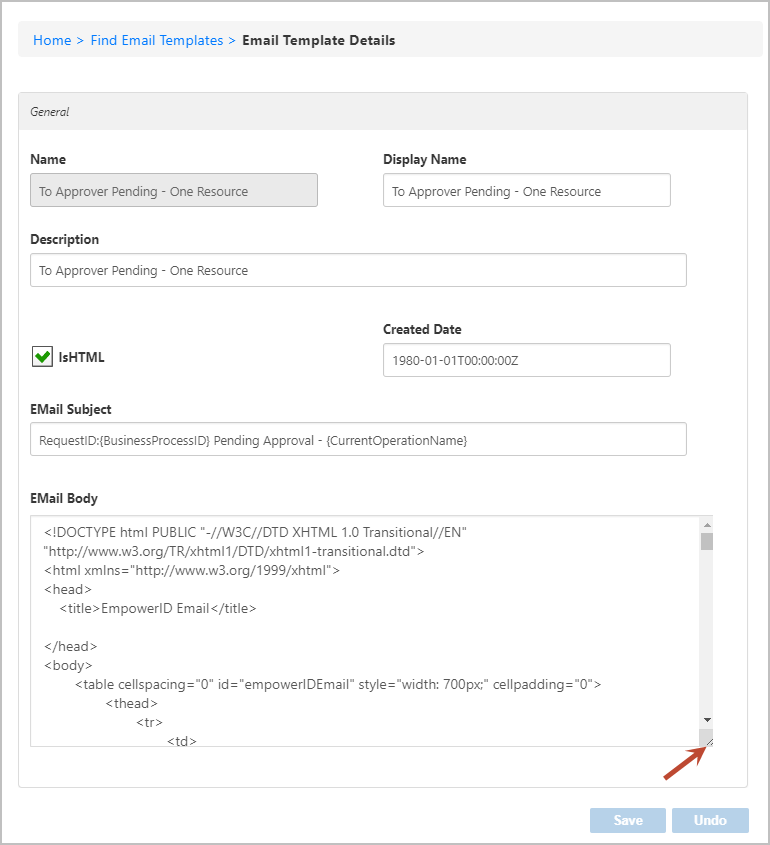
- Click Save.
⚠️ Do not modify text inside braces like
{RequestWorkflow.FriendlyName}. These are dynamic tokens replaced at runtime.
Localizing an Email for a Specific Language
- Go to Admin > Miscellaneous > Localized Emails.
- Search for the email and click the Display Name.
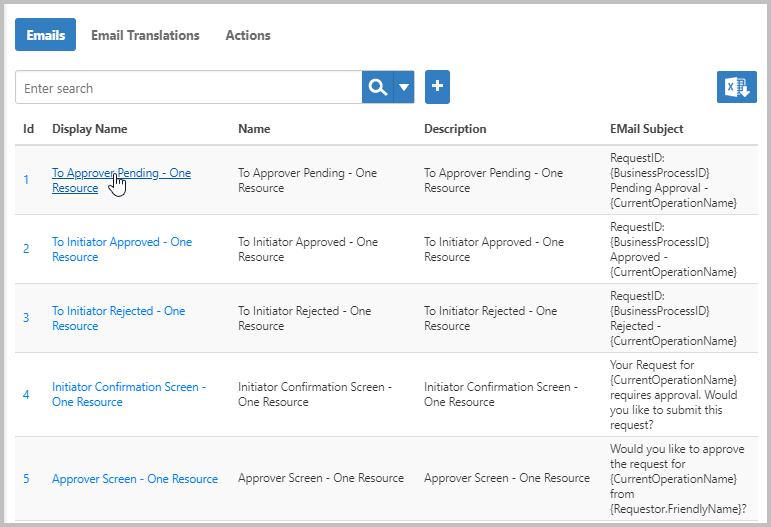
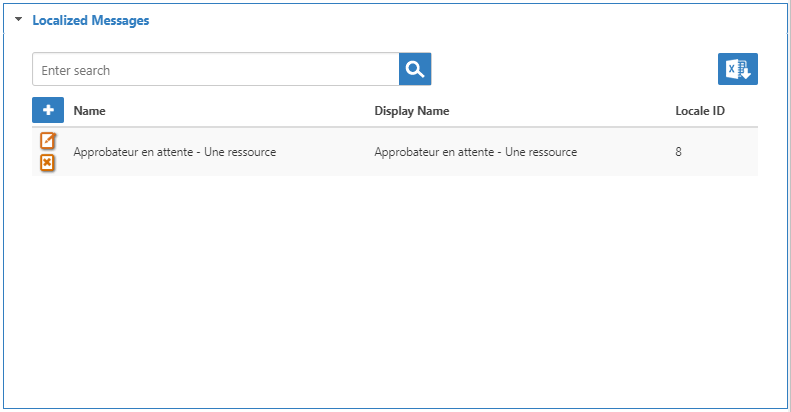
- On the Email Template Details page, expand Localized Messages.
- Click Add.
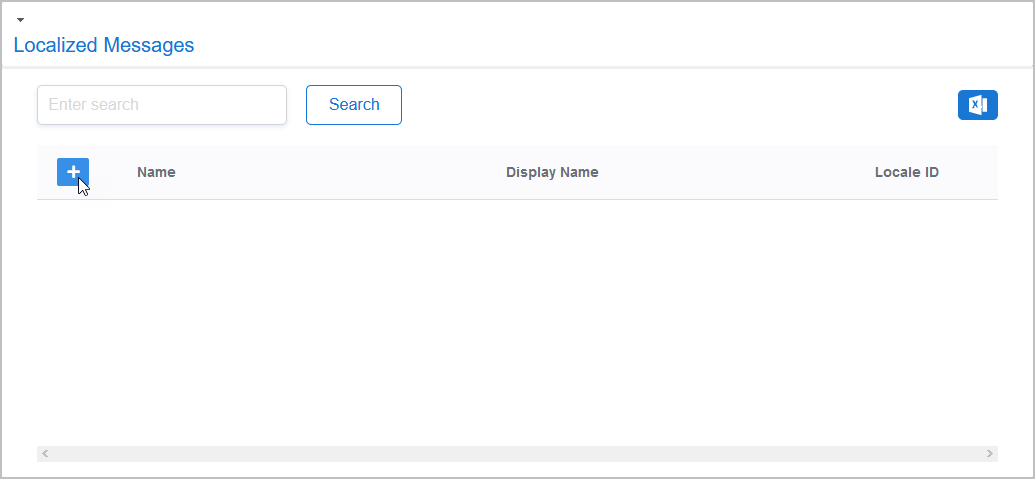
- Enter the localized values:
- Select Locale
- Check IsHTML (optional)
- Enter translated Subject and Body fields
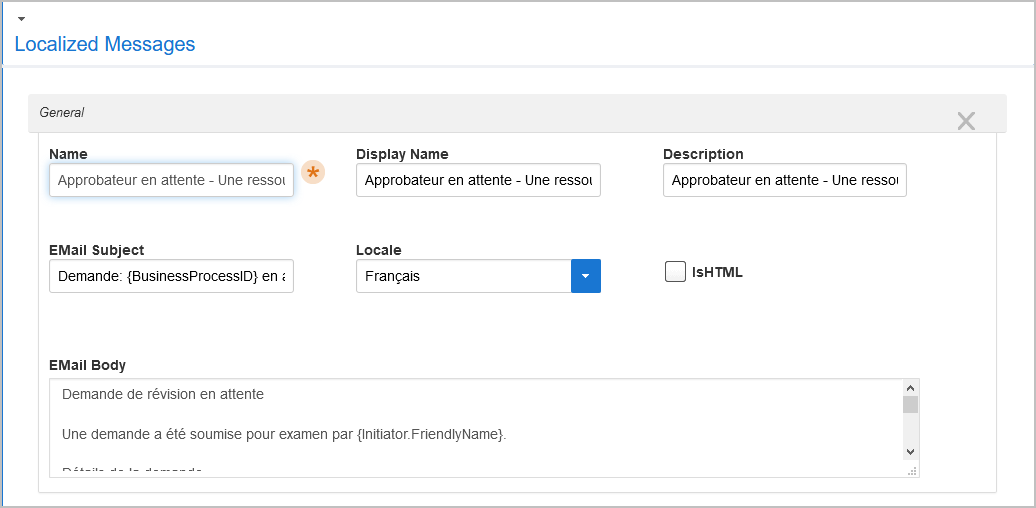
- Click Save.
Adding a New Email Template
- Navigate to Admin > Miscellaneous > Localized Emails.
- Click Add above the grid.
- Fill in the details:
- Name
- Display Name
- Description
- Email Subject
- Email Body, e.g.:
The {RequestWorkflow.FriendlyName} has been initiated by {Initiator.FirstName} {Initiator.LastName}.
- Click Save.
- Expand Formatters to confirm Wildcard DOT Notation Formatter is enabled.
- Link the template to an Alert to send the email when a workflow is triggered.
Wildcard Tokens
Text within {} is dynamically replaced with real-time values during email generation. Do not edit these tokens.
Click to view supported wildcard tokens
| Token | Value |
|---|---|
| ViewTaskDetailsServerURL | URL to view task details |
| TaskRespondServerURL | URL to respond to task |
| TaskRejectServerURL | URL to reject task |
| TargetResourceName | Name of the target resource |
| InitiatorComments | Initiator's comments |
| WorkflowTitle | Name of the workflow |
| WorkflowDisplayName | Friendly workflow name |
| ReferringURL | Referrer URL |
| ApprovalURL | URL for approval |
| RequestManagerLink | Link to requestor's manager |
| EmpowerIDWebServerName | EmpowerID server |
| AttributeModificationsSummary | Summary of changes |
| Executor.FriendlyName | Friendly name of approver |
| RequestWorkflow.FriendlyName | Friendly workflow name |
| RequestWorkflowID | Workflow ID |
| Initiator.FirstName | First name of initiator |
| Initiator.LastName | Last name of initiator |
| Initiator.Email | Email of initiator |
| Requestor.FriendlyName | Friendly name of requestor |
| Requestor.Email | Email of requestor |
| Requestor.Company | Company of requestor |
| Requestor.Department | Department of requestor |
| Requestor.EmployeeID | Employee ID of requestor |
| Requestor.Telephone | Telephone of requestor |
| PasswordExpires | Password expiration date |
| CurrentOperationName | Name of the current operation |
Best Practices
- Keep formatting consistent (HTML/plain text).
- Preserve token formatting and braces (
{}). - Test templates using test users with different language settings.
Notes
- Default templates (IDs 1–21) are used automatically by EmpowerID workflows.
- Custom templates can be mapped to workflow activities via Workflow Studio or triggered via Alerts.