Configure the Web Server for SSL
Secure HTTPS communication is required for all EmpowerID components, including the EmpowerID Web application and administrative tools such as Workflow Studio. HTTPS ensures encrypted traffic and proper identity verification using SSL/TLS certificates.
Before users can authenticate through a browser or Workflow Studio, the EmpowerID Web Server must present an SSL certificate that:
- Matches the server’s DNS name
- Is trusted by the connecting client (browser or application)
This article describes how to configure SSL for EmpowerID using a self-signed certificate created in IIS. This method is intended only for internal or testing environments.
Self-signed certificates should be used only in test environments or internal domains.
For production or public-facing systems, always use a certificate from a trusted Certificate Authority (CA).
Configure SSL Using a Self-Signed Certificate
Follow the steps below on the server hosting the EmpowerID Web application:
-
Open IIS Manager
Launch Internet Information Services (IIS) Manager on the EmpowerID Web Server. -
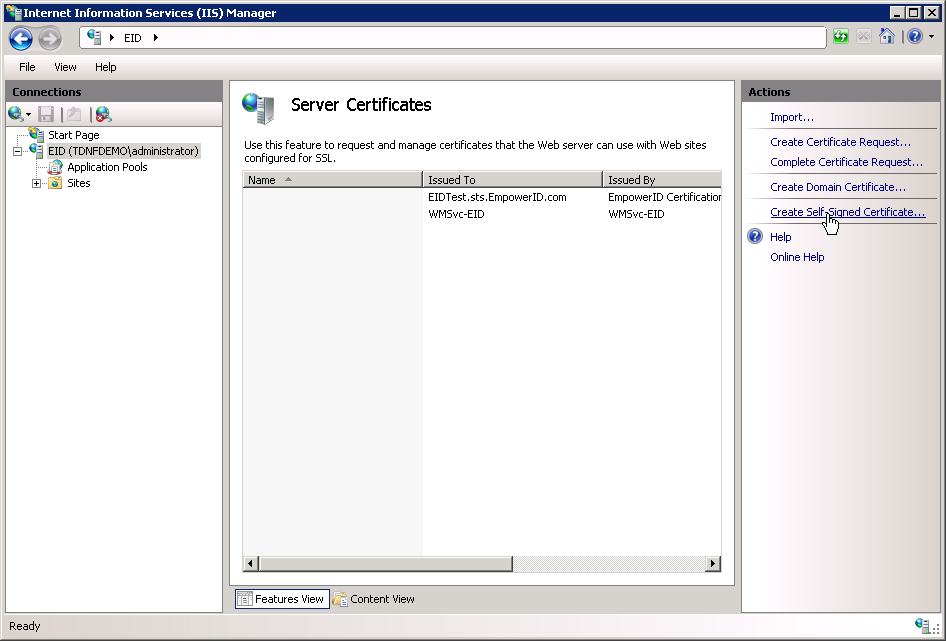
Open the Server Certificates feature
In the Connections pane, select the server node (not an individual site) and double-click Server Certificates.

-
Create a self-signed certificate
In the Actions pane, click Create Self-Signed Certificate.
-
Assign a friendly name
Enter a descriptive name (e.g.,EmpowerIDTestCert) and click OK.

-
Open site bindings
Select Default Web Site (or the site where EmpowerID is hosted).
In the Actions pane, click Bindings.
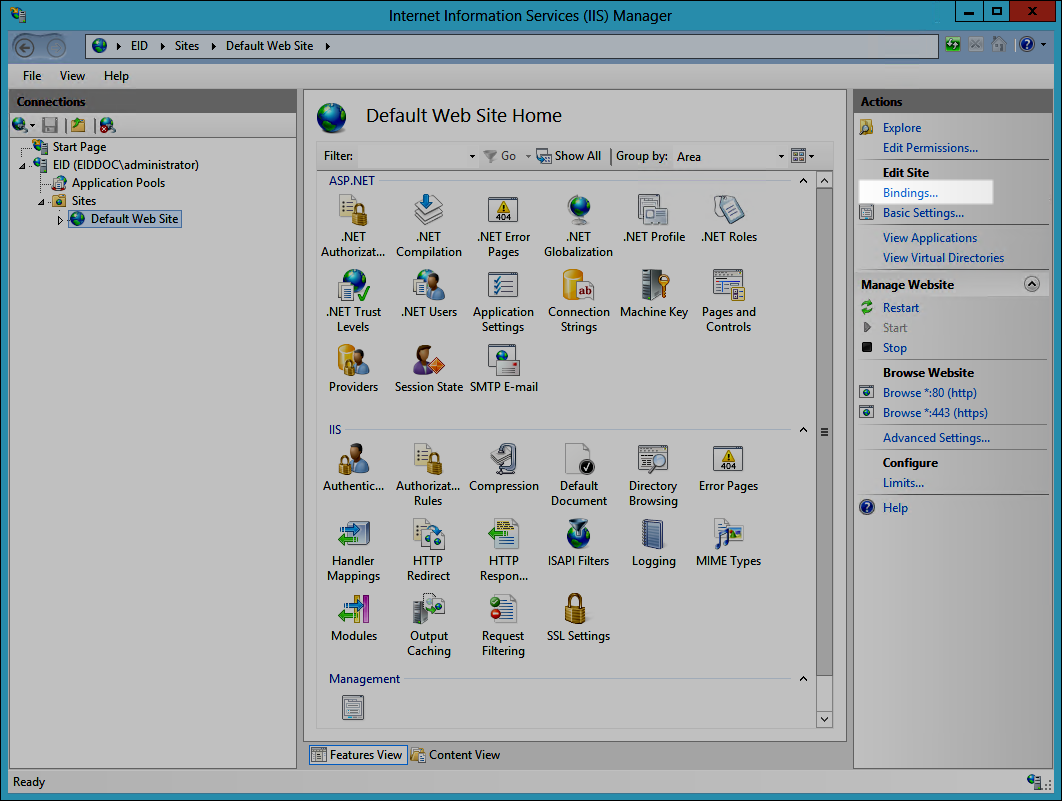
-
Add an HTTPS binding
In the Site Bindings window, click Add.

-
Select the certificate
In the Add Site Binding dialog:- Set Type to
https - Select the self-signed certificate you created from the SSL certificate drop-down
The dialog should look similar to:

- Set Type to
-
Confirm the new binding
Click OK to save the binding. -
Close the bindings window
Click Close to complete the configuration.
Result
After completing these steps, the EmpowerID Web Server will accept secure HTTPS connections using the self-signed certificate. This allows encrypted communication during testing and internal use. For production environments, replace the self-signed certificate with a CA-issued certificate to ensure full browser trust and secure authentication.