Customize the Navbar
This article explains how to customize the EmpowerID navbar. You can enable additional navbar sections, change their display text, and configure the actions that appear within them by updating system settings and defining related UI components.
Enable a Custom Navbar Section
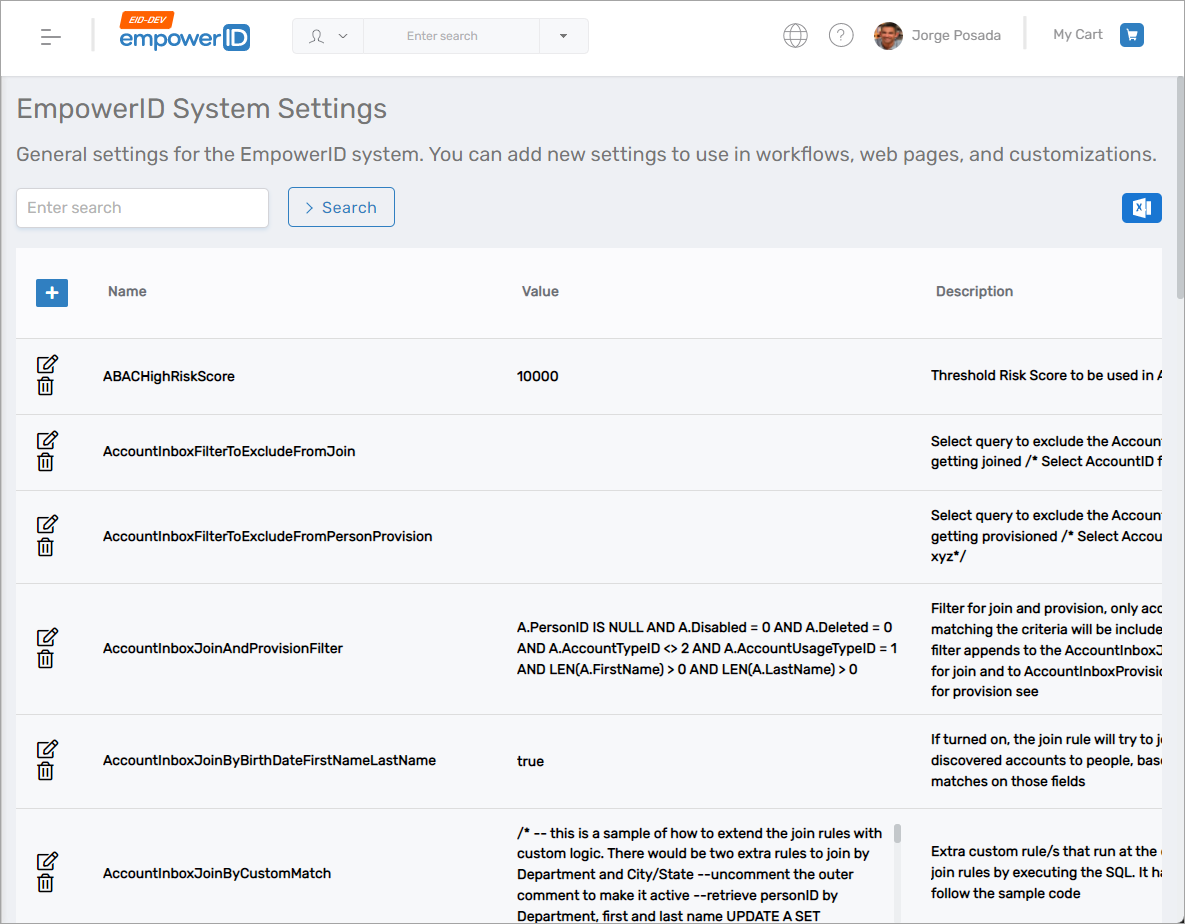
- Go to Infrastructure Admin > EmpowerID Servers and Settings > EmpowerID System Settings.
- In the search box, type navbar to filter the list.
You will see settings such asNavBarSection*Enabled,NavBarSection*Noun, andNavBarSection*Verb.
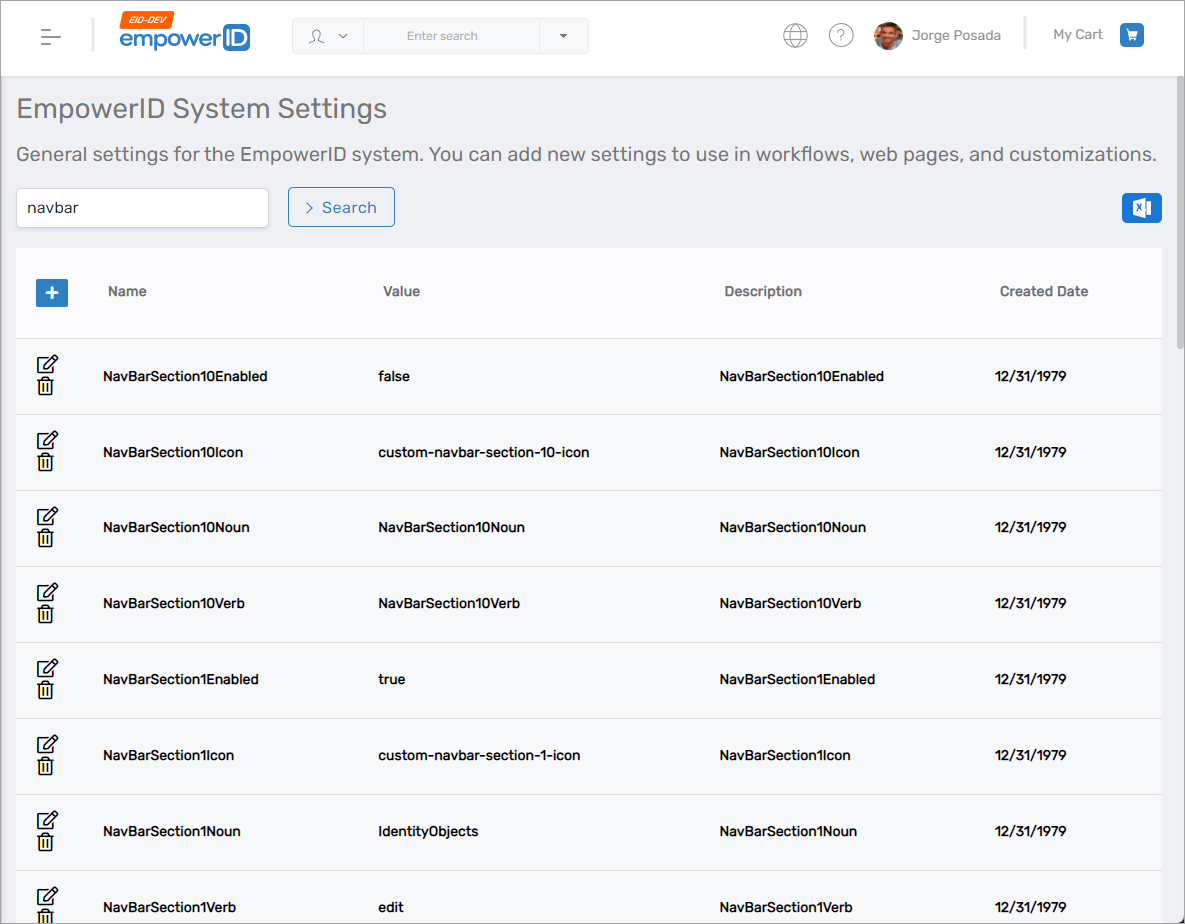
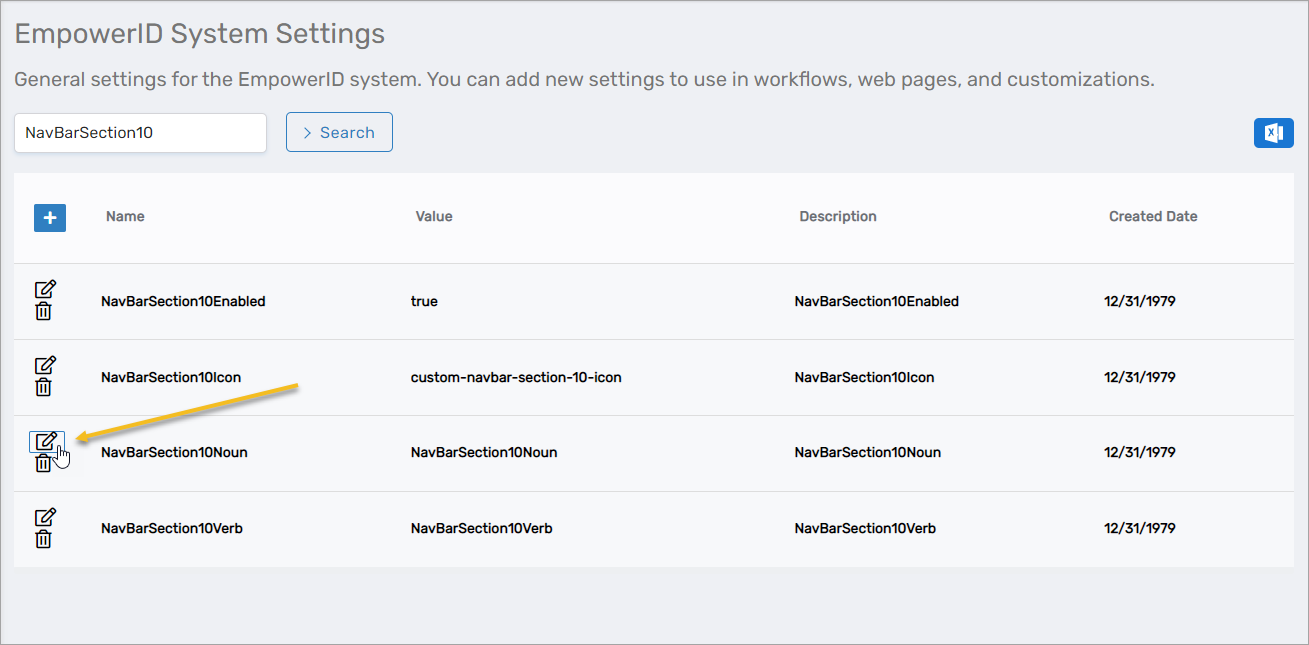
- Filter the results to NavBarSection10.
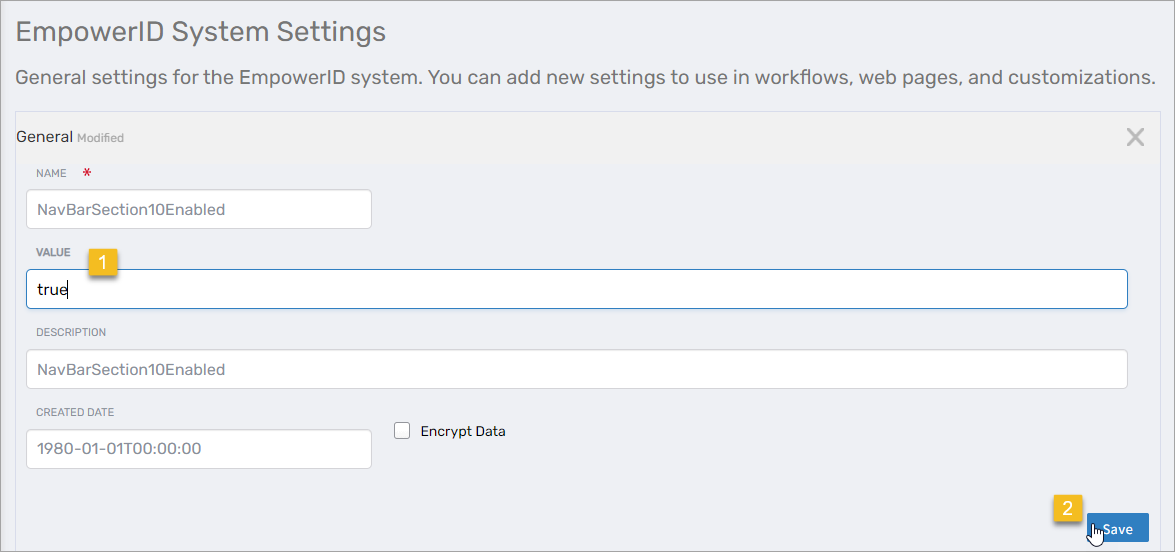
- Locate NavBarSection10Enabled, click Edit, set Value to
true, and click Save.

- Recycle the EmpowerID IIS app pools and refresh your browser.
You should see a new navbar section appear.

Change the Display Text for the Navbar Section
- Go to Admin > Miscellaneous > Localized Text.
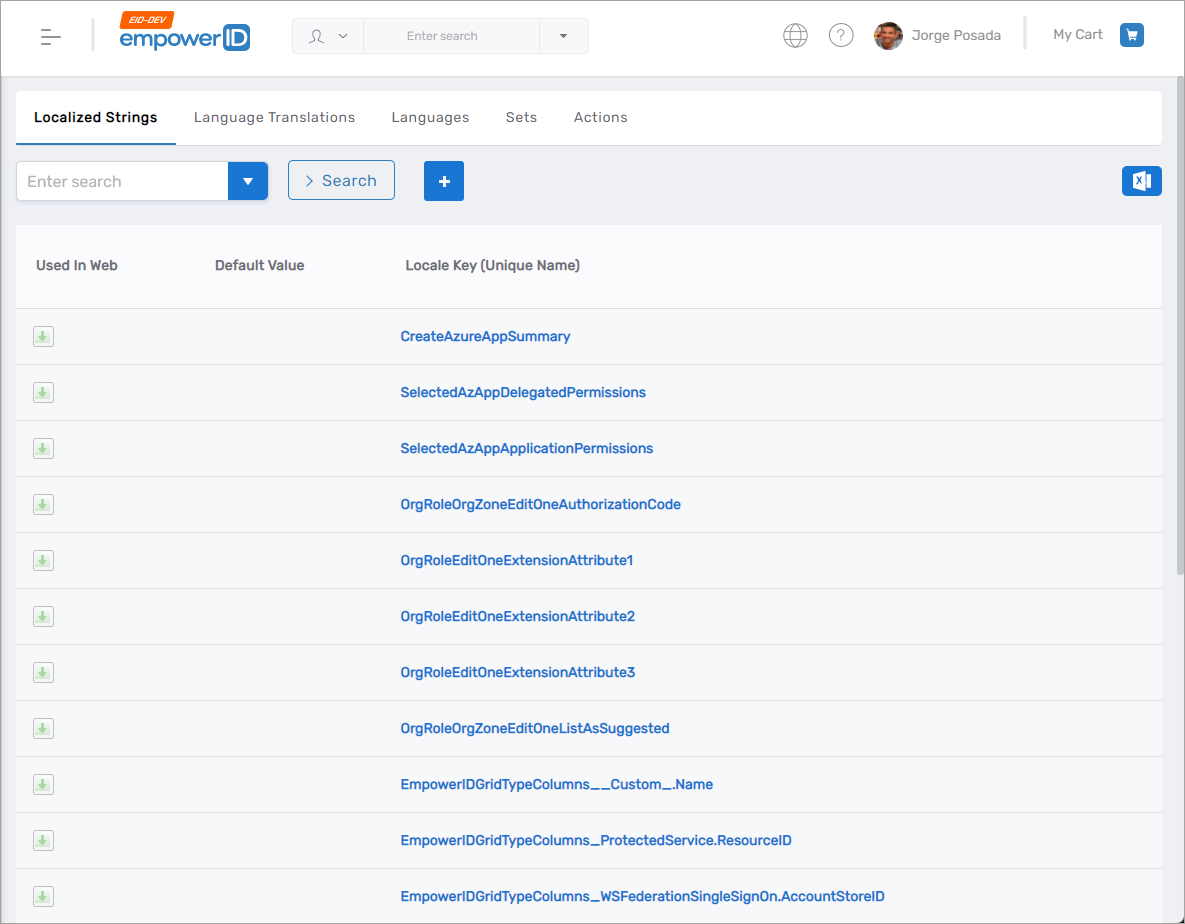
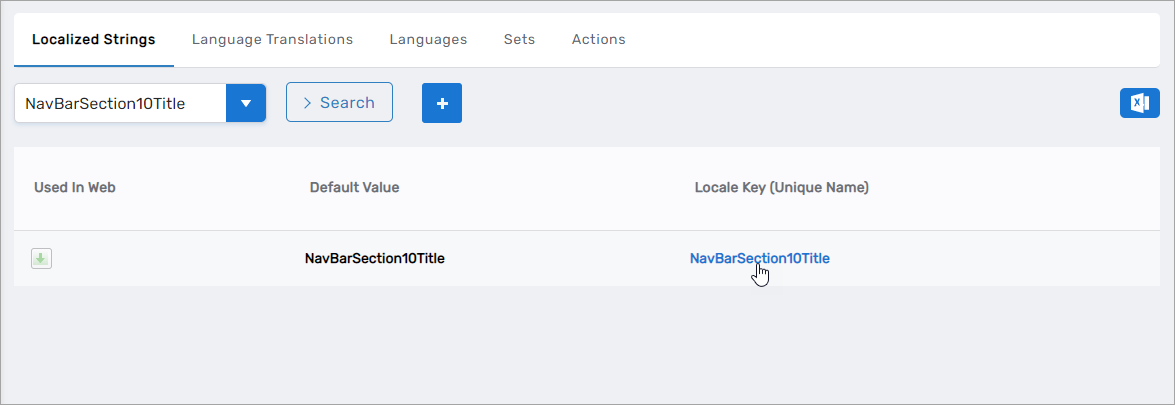
- On the Localized Strings tab, search for NavBarSection10Title and click the Locale Key (Unique Name) link.
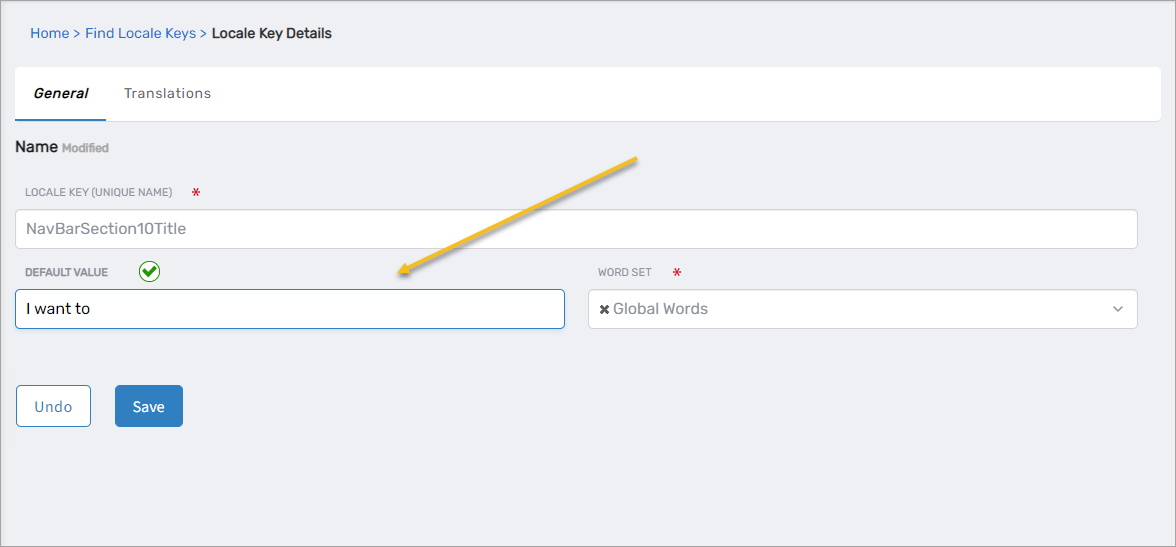
- On the Locale Key Details page, click the Edit icon.
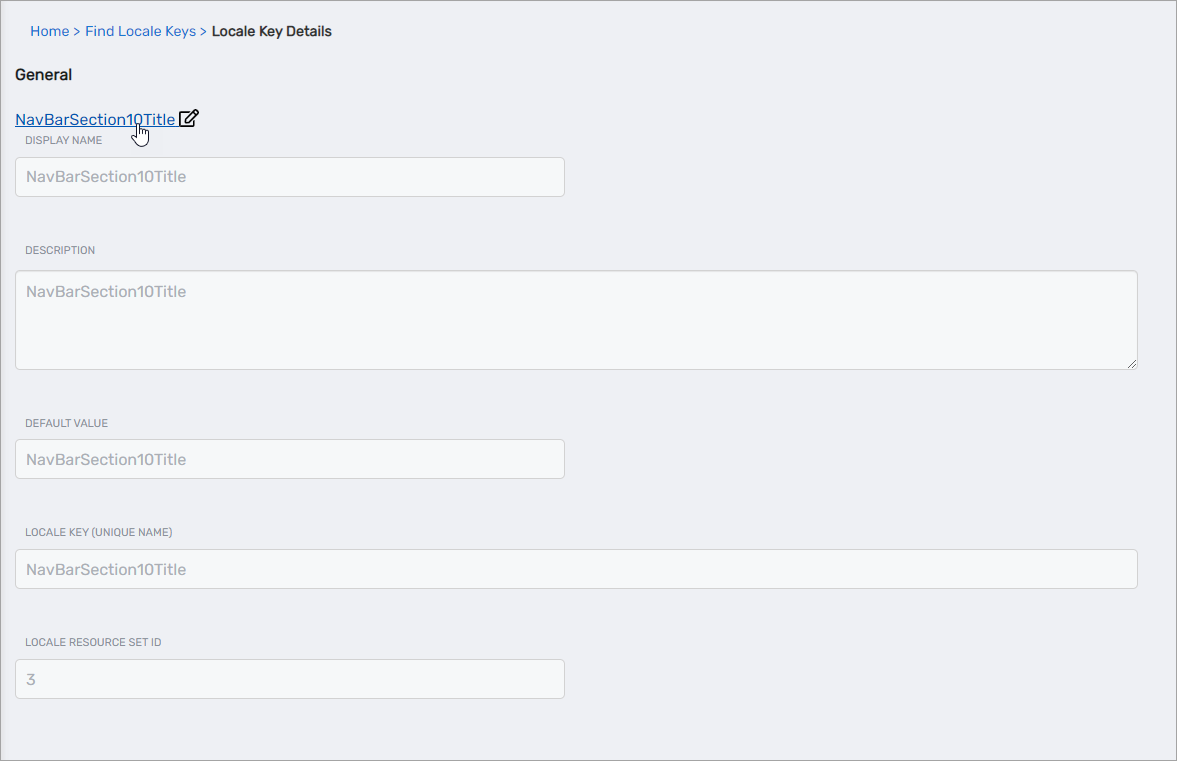
- Change the Default Value from
NavBarSection10Titleto the text you want displayed in the navbar (for example,I want to) and click Save.
- Recycle the EmpowerID IIS app pools and refresh your browser.
The navbar section label is updated.
Assign a Noun and Verb to the Section
A navbar section displays options only after associating it with a UINoun and UIVerb.
- Go back to Infrastructure Admin > EmpowerID Servers and Settings > EmpowerID System Settings.
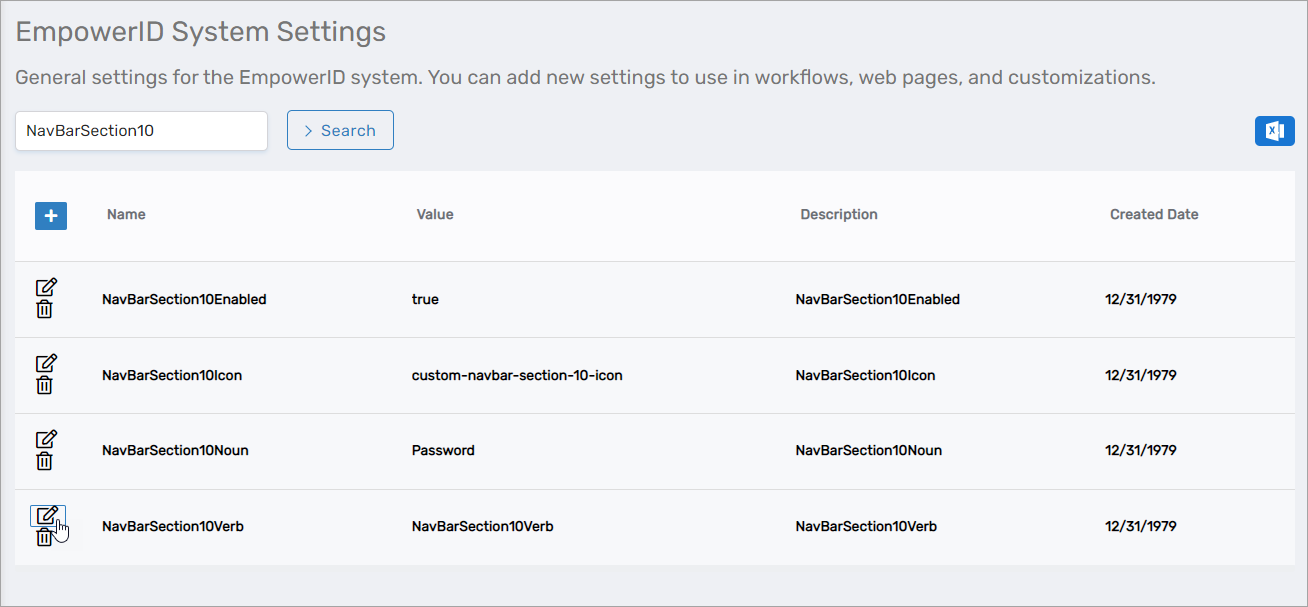
- Search for NavBarSection10.
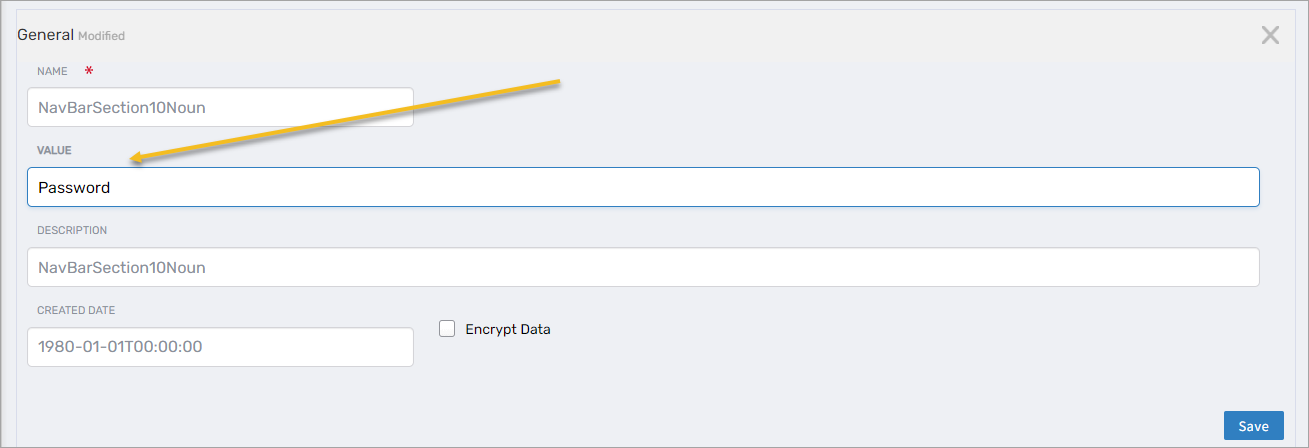
- Click Edit for NavBarSection10Noun and set Value to the desired UINoun (for example,
Password), then click Save.
- Click Edit for NavBarSection10Verb and set Value to the appropriate UIVerb (for example,
ChangePassword), then click Save.
If you need to review existing UINouns and UIVerbs:
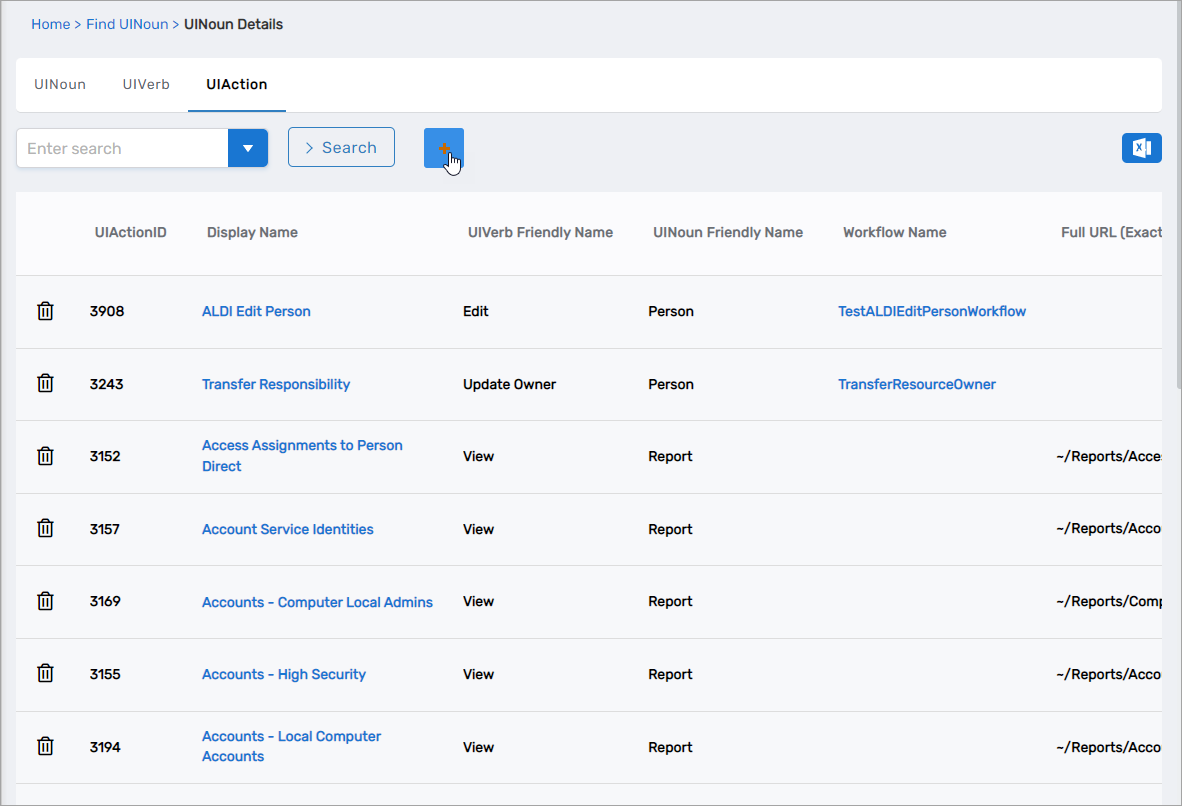
- Go to Admin > Miscellaneous > Noun Verb Action Navigation.
- Use the available tabs to view and manage UINouns, UIVerbs, and UIActions.

Create a UIAction (If Needed)
If a suitable UIAction does not already exist, create one so the noun and verb can invoke it.
- Go to Admin > Miscellaneous > Noun Verb Action Navigation.
This opens the NounVerbsAction page.
- On the UIAction tab, click Create New UIAction.
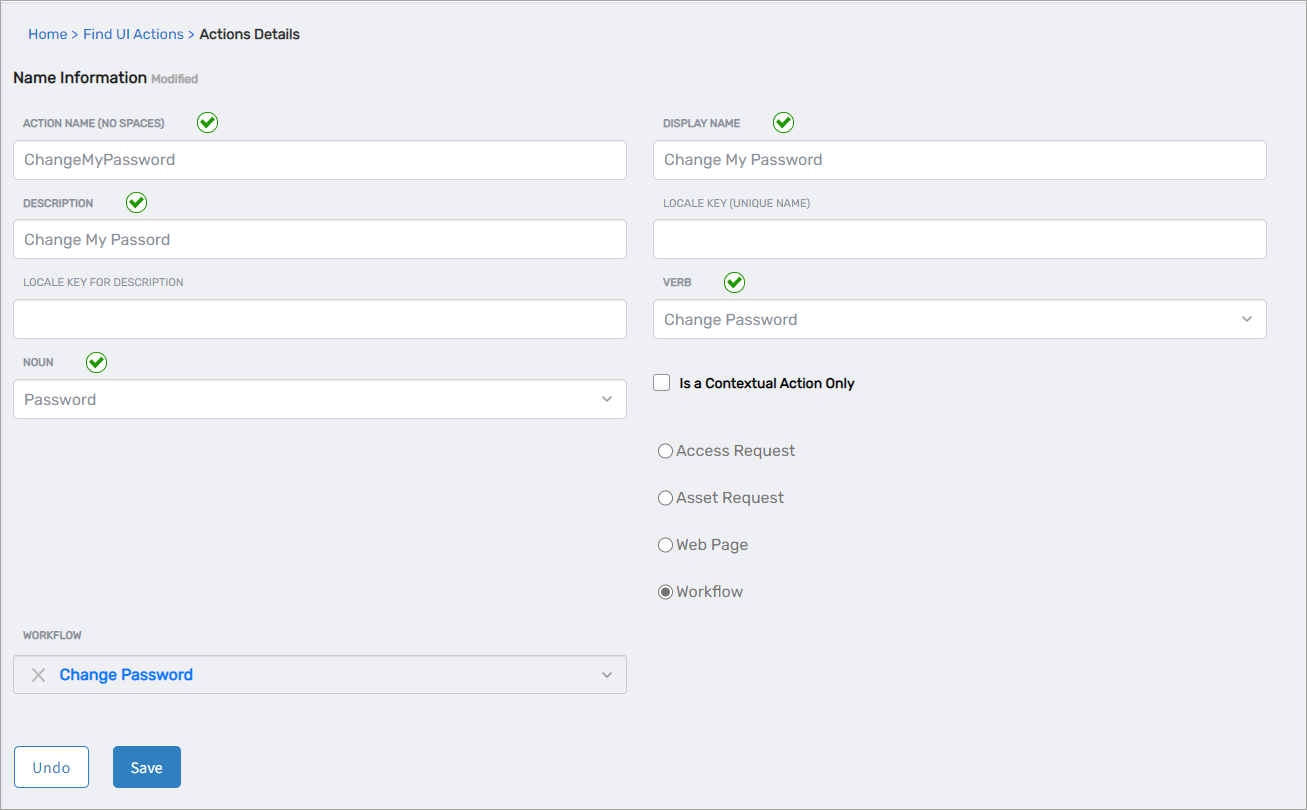
- Complete the Action Details form. For example:
- Action Name (no spaces):
ChangeMyPassword - Display Name:
Change My Password - Description:
Change My Password - Verb:
ChangePassword - Noun:
Password - Ensure Is a Contextual Action Only is not selected.
- Select Workflow and choose the appropriate workflow (for example, Change Password).
- Action Name (no spaces):
- Click Save.
- Recycle the EmpowerID IIS app pools and refresh your browser.
The new UIAction now appears under the customized navbar section.