Edit Mailbox Advanced Settings
When you need to configure specialized mailbox properties, retention policies, or compliance settings, you can modify advanced mailbox settings. This provides access to Exchange features that require detailed configuration for specific organizational requirements.
Use this workflow when you need to configure retention policies, enable litigation hold for compliance, set up archiving policies, or adjust other specialized Exchange mailbox properties.
Before You Start
Make sure you have:
- Appropriate permissions to manage advanced settings for the specific mailbox you want to modify.
- Understanding of your organization's compliance and retention requirements.
- Knowledge of any legal hold or archiving policies that should be applied.
- Decisions about specialized Exchange features that need to be configured.
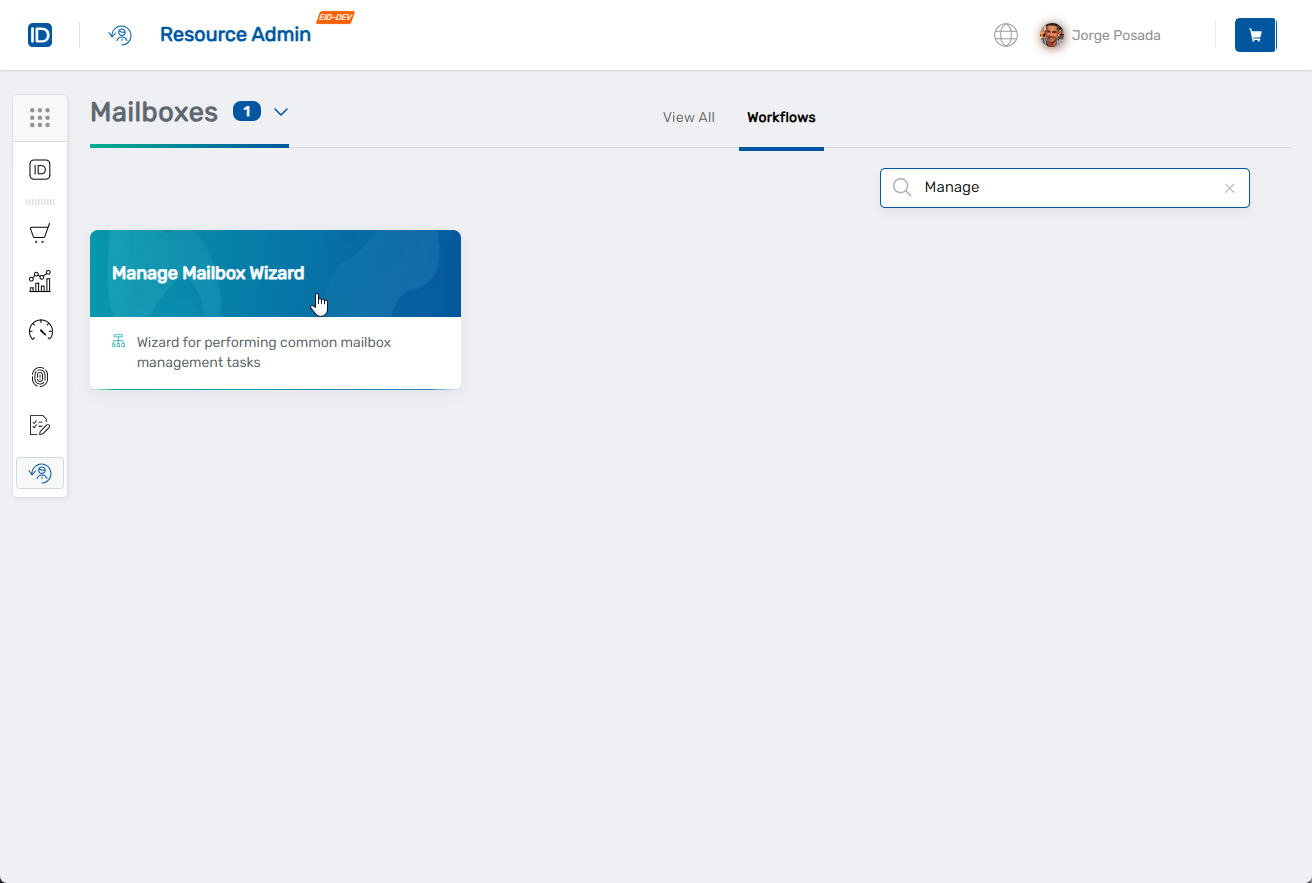
Get Started
- Navigate to the Resource Admin portal
- Select Mailboxes from the resource type menu
- Click the Workflows tab
- Find and click Manage Mailbox Wizard
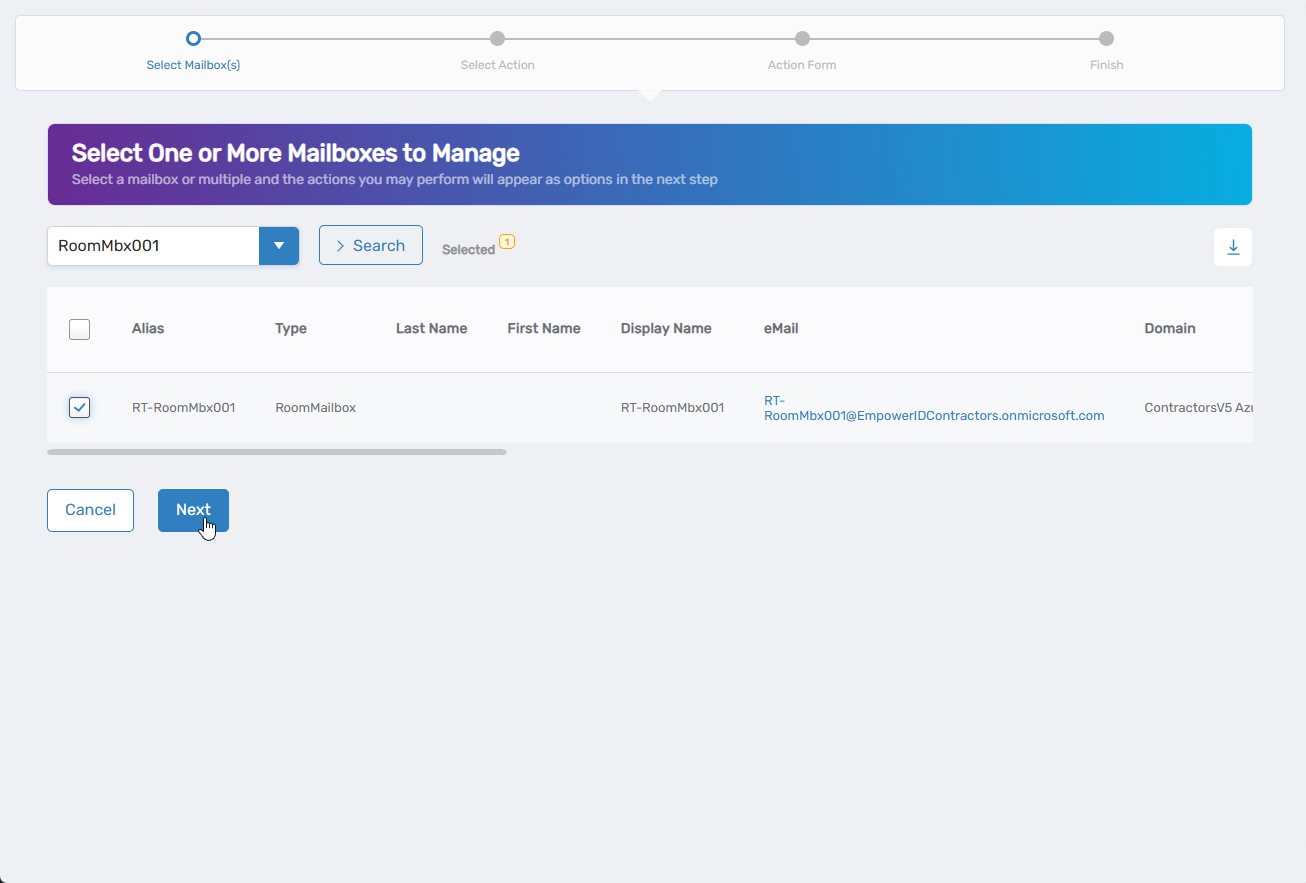
- Search for the mailbox you want to modify, then check the box next to it and click Next
- Select Edit Mailbox Advanced Settings from the available actions
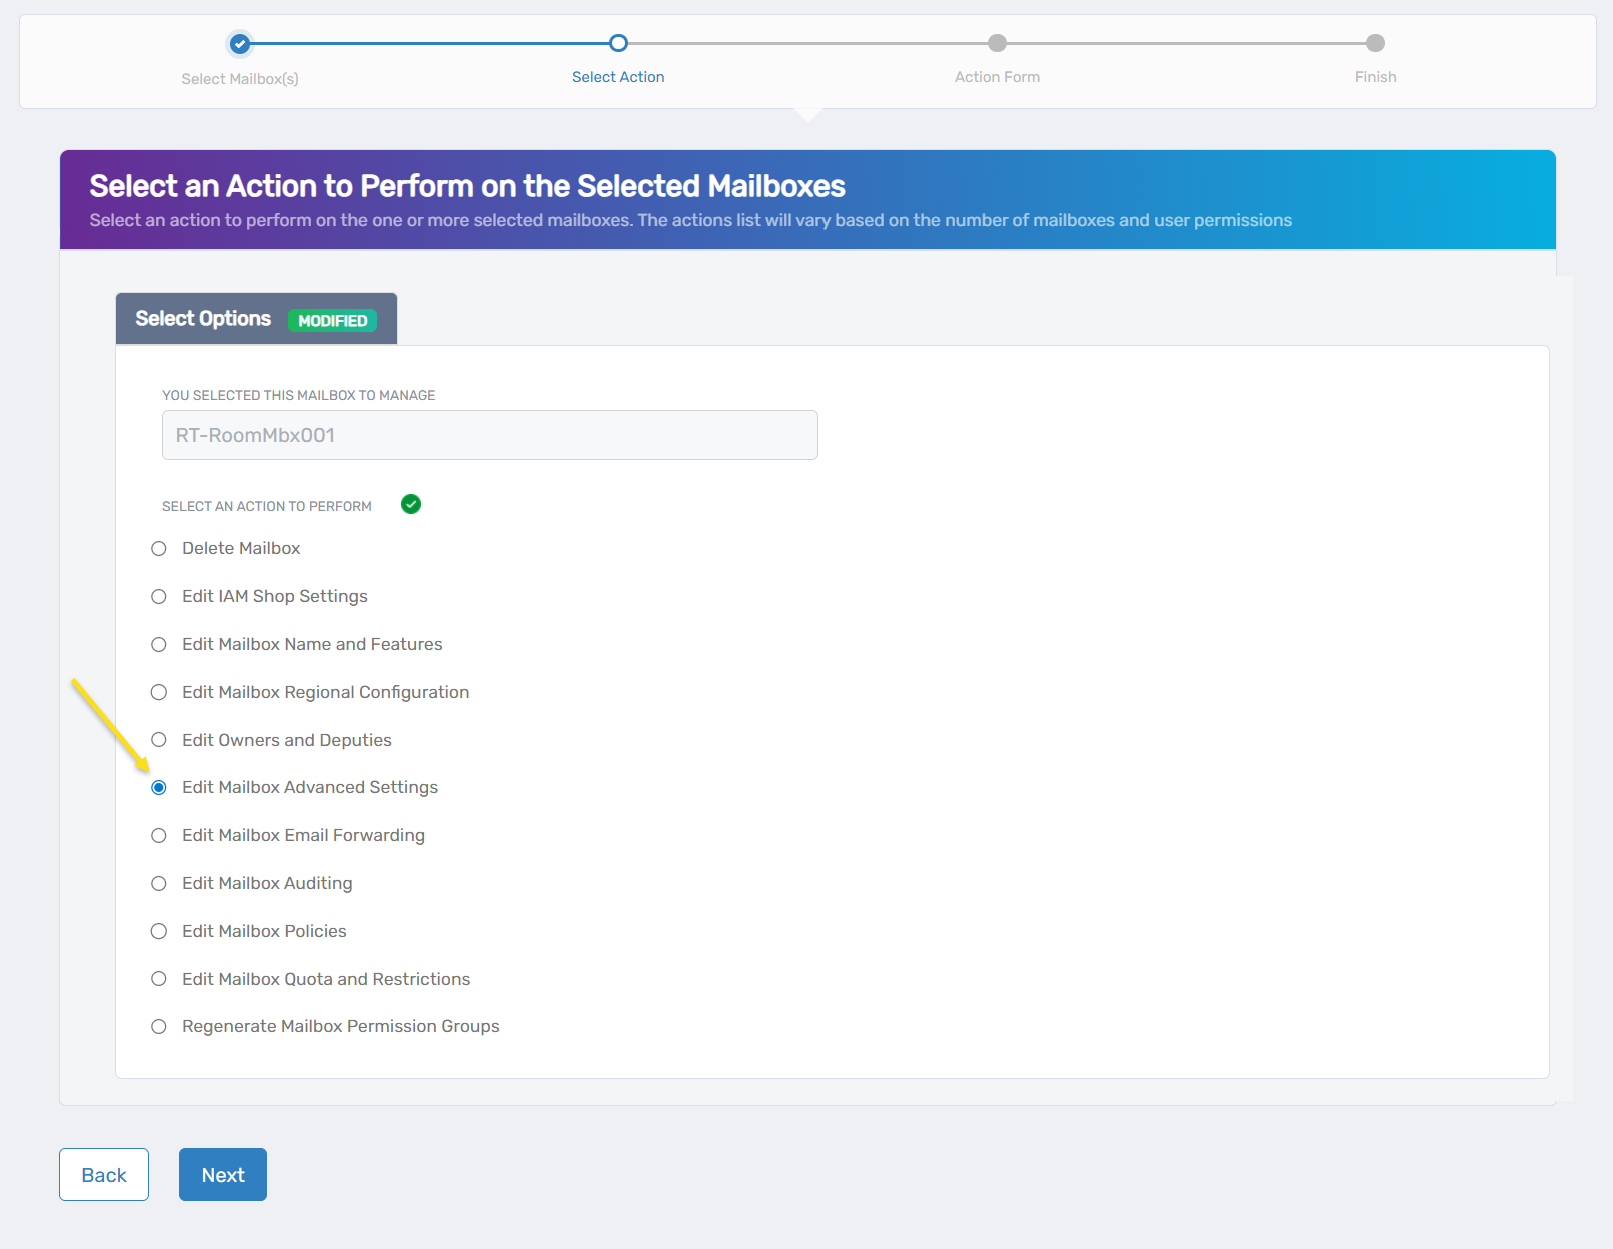
- Click Next to proceed to the advanced configuration
Configure Advanced Mailbox Settings
The interface is organized into three tabs: Advanced, Extension, and Other. Review the system information on the Advanced tab, then configure settings on the Extension and Other tabs as needed.
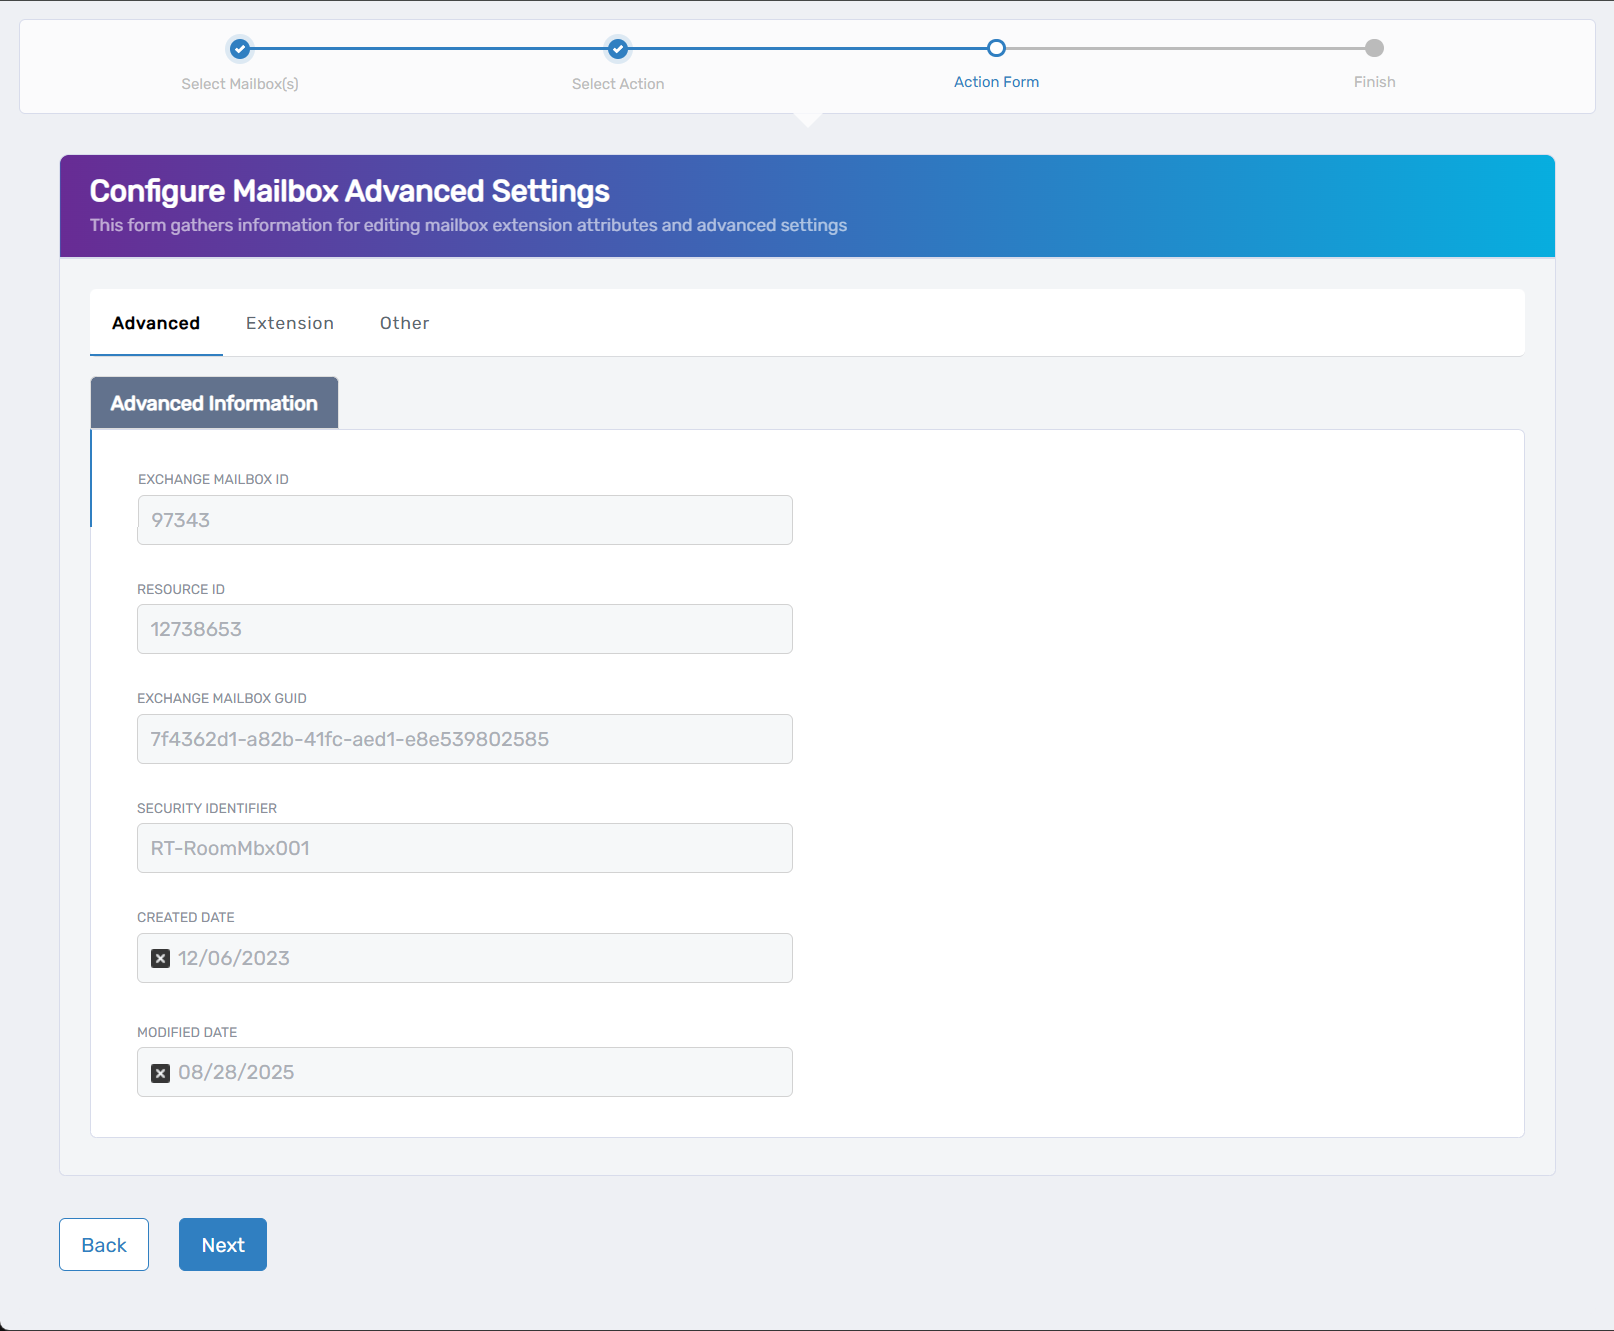
- Review the Advanced tab for system information:
- Exchange Mailbox ID: Unique identifier for the mailbox in Exchange.
- Resource ID: Internal resource identifier.
- Exchange Mailbox GUID: Global unique identifier for the mailbox.
- Security Identifier: Security ID used for permissions.
- Created Date: When the mailbox was originally created.
- Modified Date: Last modification timestamp.
- Configure Extension tab settings if needed:
- Extension Attribute 1-15: Enter custom values for organizational tracking and reporting.
- These fields allow you to store additional information specific to your organization's needs.
- Configure Other tab settings as required:
- Litigation Hold Enabled: Check to place the mailbox on legal hold.
- Retention Hold Enabled: Check to enable retention hold for compliance.
- Use Database Retention Defaults: Check to apply default retention settings from the mailbox database.
- Retention URL: Enter a URL for retention policy information.
- Retain Deleted Items For (in seconds): Set how long deleted items are retained.
- Retention Comment: Add comments about retention policies.
- Single Item Recovery Enabled: Check to allow recovery of individual deleted items.
- Moderation Enabled: Check to enable message moderation for this mailbox.
- Send Moderation Notifications: Choose when to send moderation notifications (Always, Internal, Never).
- Message Copy For Send On Behalf Enabled: Check to keep copies of messages sent on behalf of this mailbox.
- Message Copy For Sent As Enabled: Check to retain copies of messages sent as this mailbox.
- Message Recall Processing Enabled: Check to allow message recall functionality.
- Message Tracking Read Status Enabled: Check to enable read receipt tracking.
- Click Next to proceed with your changes.
Complete the Workflow
- Review the Operation Execution Summary to confirm your changes were applied successfully:
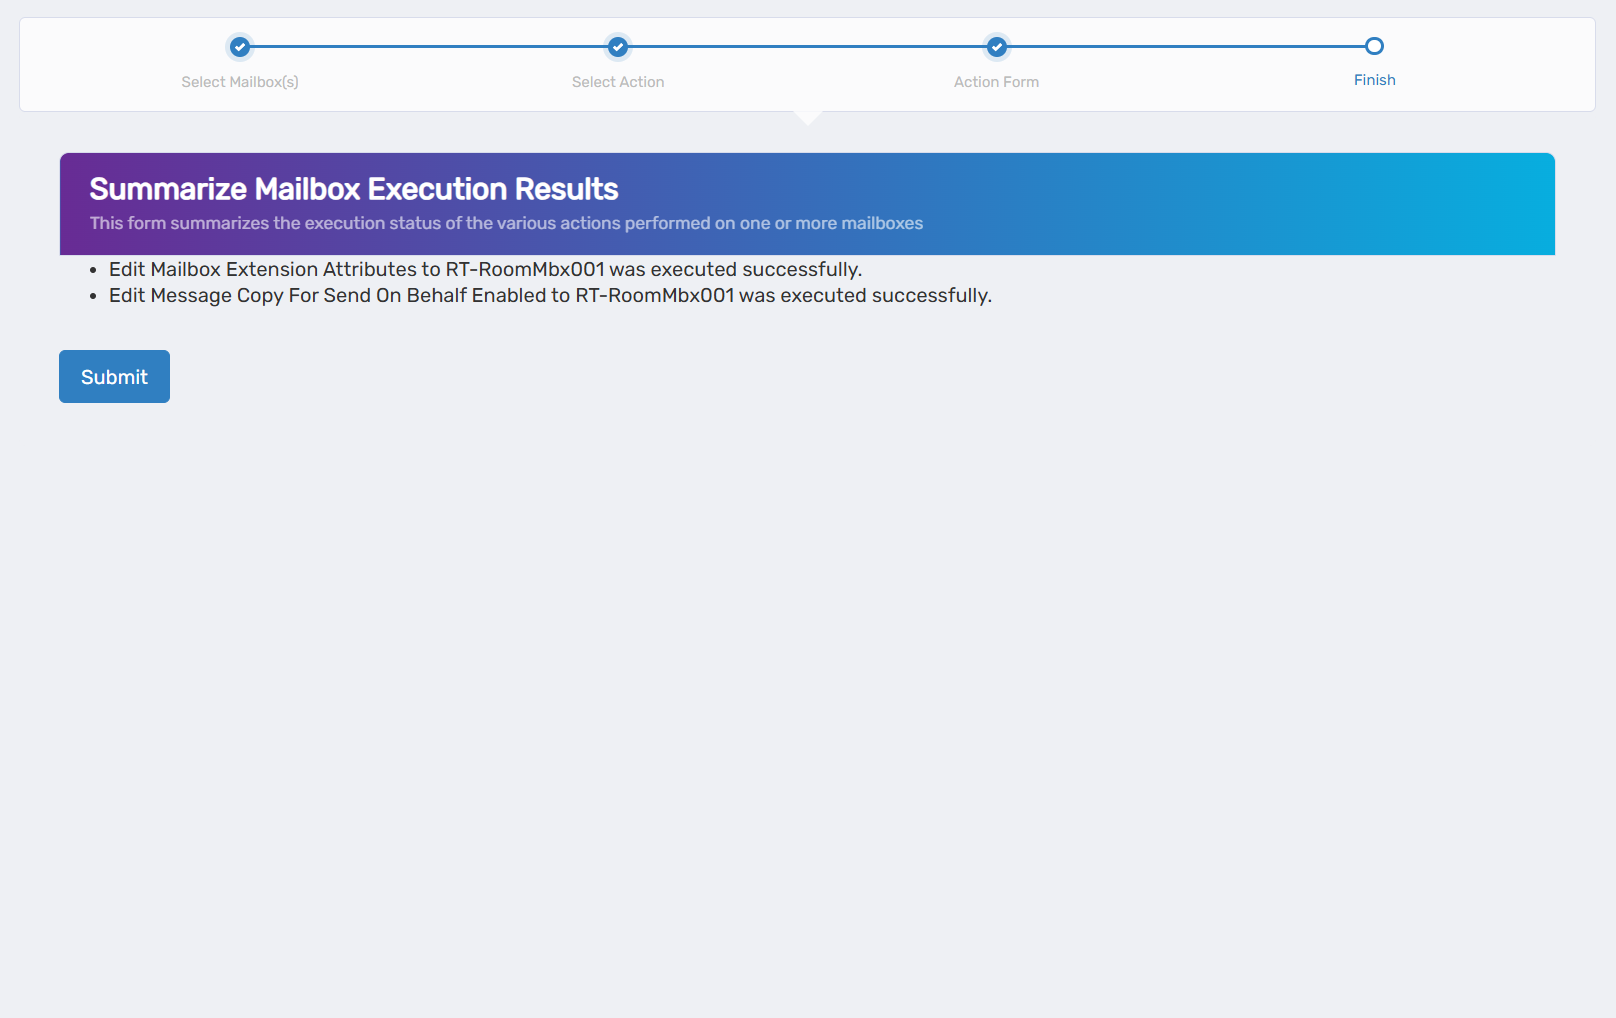 The summary shows the specific advanced settings that were updated.
 - Click Submit to continue.
- Choose your next action:
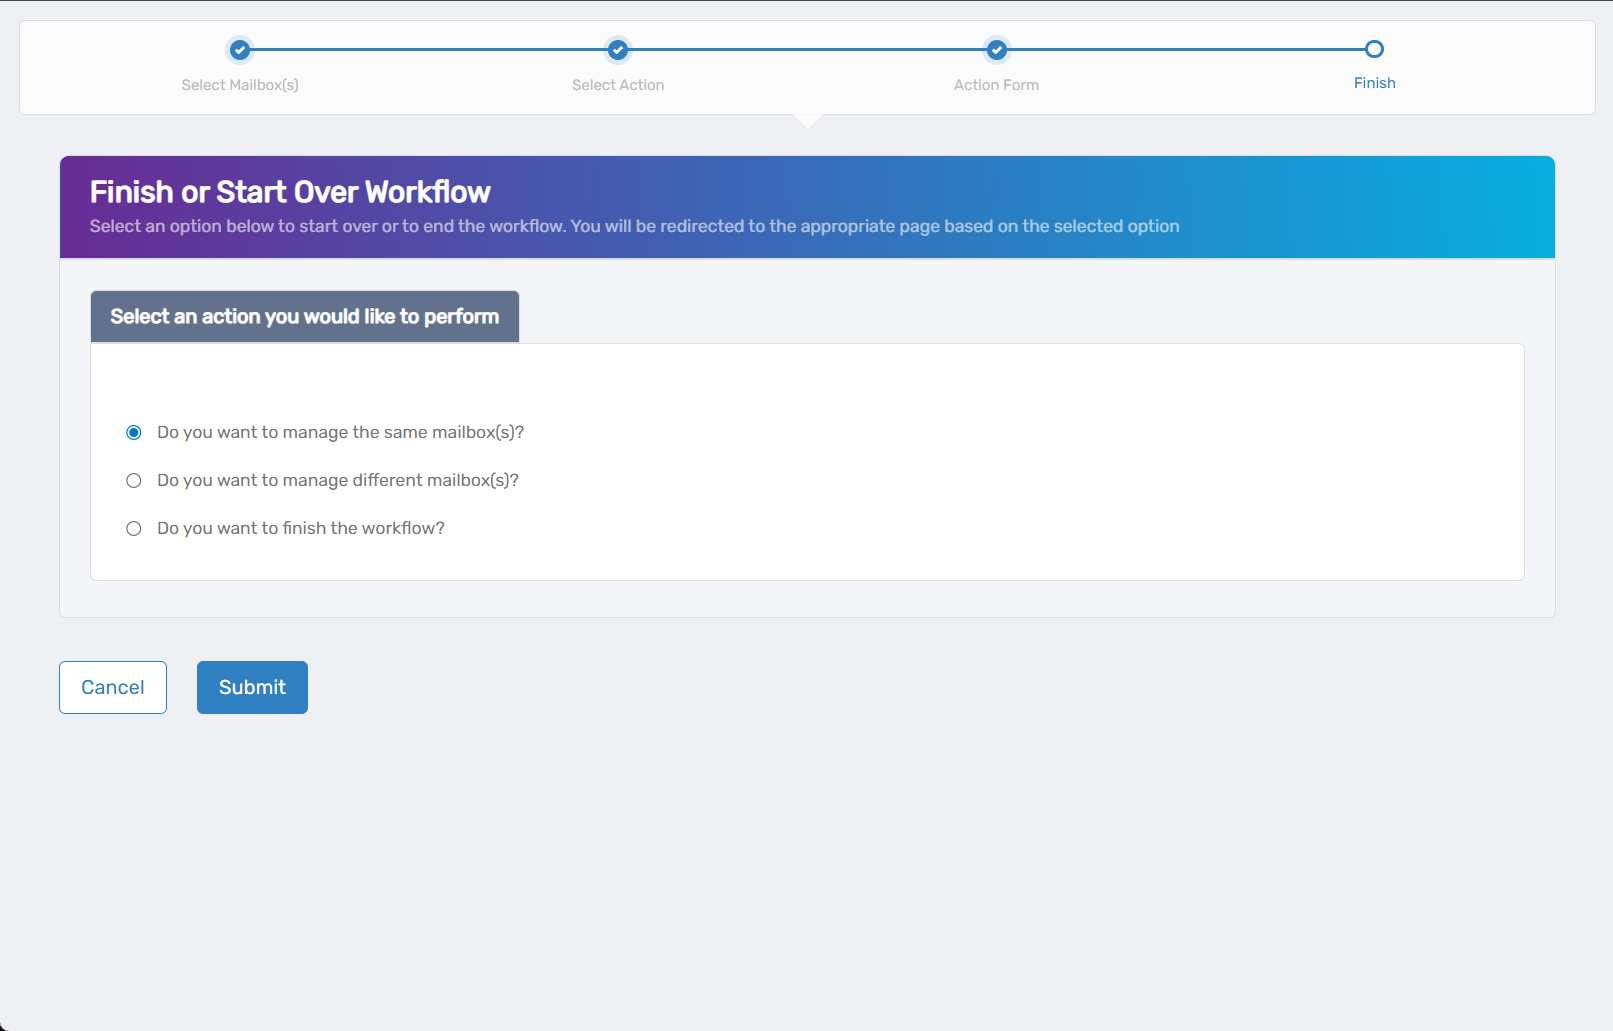
- Do you want to manage the same Mailbox? - Select this to perform additional actions on the same mailbox.
- Do you want to manage different Mailbox(es)? - Select this to work with other mailboxes.
- Do you want to finish the workflow? - Select this to complete the process and exit the wizard.
- Click Submit to proceed with your selected option.
Verify Your Changes
After completing the workflow:
- Check retention policy application by reviewing mailbox properties in Exchange management tools.
- Verify litigation hold status if legal hold was enabled or disabled.
- Confirm archiving functionality by testing automatic archive policies.
- Test custom attributes and other specialized settings as appropriate.
What Happens Next
- Retention policies begin applying to new messages immediately and process existing messages according to policy schedules.
- Litigation hold preserves all current and future mailbox content until disabled.
- Archive policies automatically move qualifying messages based on configured criteria.
- Custom attributes are available immediately for organizational directory queries and reporting.
If You Run Into Problems
Retention policies not applying: Verify that the Managed Folder Assistant has processed the mailbox and that retention tags are properly configured.
Litigation hold not activating: Confirm that appropriate Exchange licensing is in place and that legal hold permissions are configured correctly.
Archive mailbox not appearing: Archive activation can take several hours and requires appropriate licensing. Verify user licenses include archiving rights.
Custom attributes not updating: Check that the attributes are properly defined in your Exchange schema and that replication has completed.
Related Actions
- To configure basic mailbox features, see Edit Mailbox Name and Features
- To set up email forwarding, see Edit Mailbox Email Forwarding
- To manage storage quotas, see Edit Mailbox Quota and Restrictions
- To modify ownership settings, see Edit Mailbox Owners and Deputies