Edit IAM Shop Settings for Groups
When you need to control how Groups appear and behave in the IAM Shop self-service portal, you can update their IAM Shop settings. This allows you to make groups available for self-service requests, define who can see and request them, set up automatic approvals for specific users, and configure the approval workflows that govern access requests.
Access Requirements: You must have appropriate permissions to manage the specific Group you want to modify.
Use this workflow when enabling self-service access for Groups, updating group visibility policies, configuring automatic approvals for trusted users, or modifying approval workflows for group membership requests.
Before You Start
Make sure you have:
- Knowledge of who should be able to see and request group membership
- Understanding of what approval policies should apply to group access requests
- Decisions about whether the group should be available for self-service requests
- List of users who should receive automatic approval (if any)
Get Started
- Navigate to the Resource Admin portal.
- Select Groups from the resource type menu.
- Click the Workflows tab.
- Find and click Manage Group Wizard.
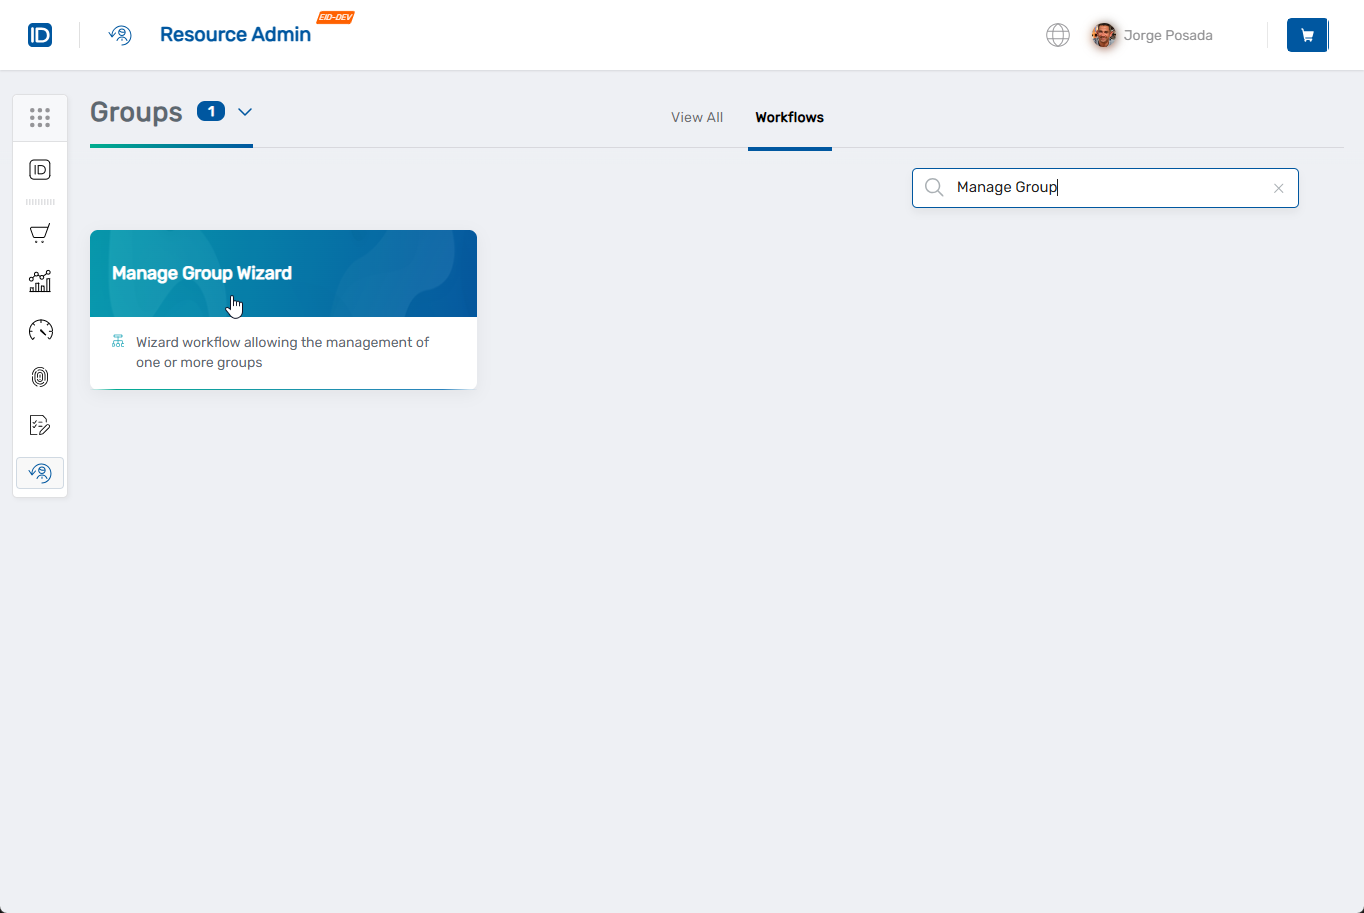
- Search for the Group you want to modify, then check the box next to it and click Next.
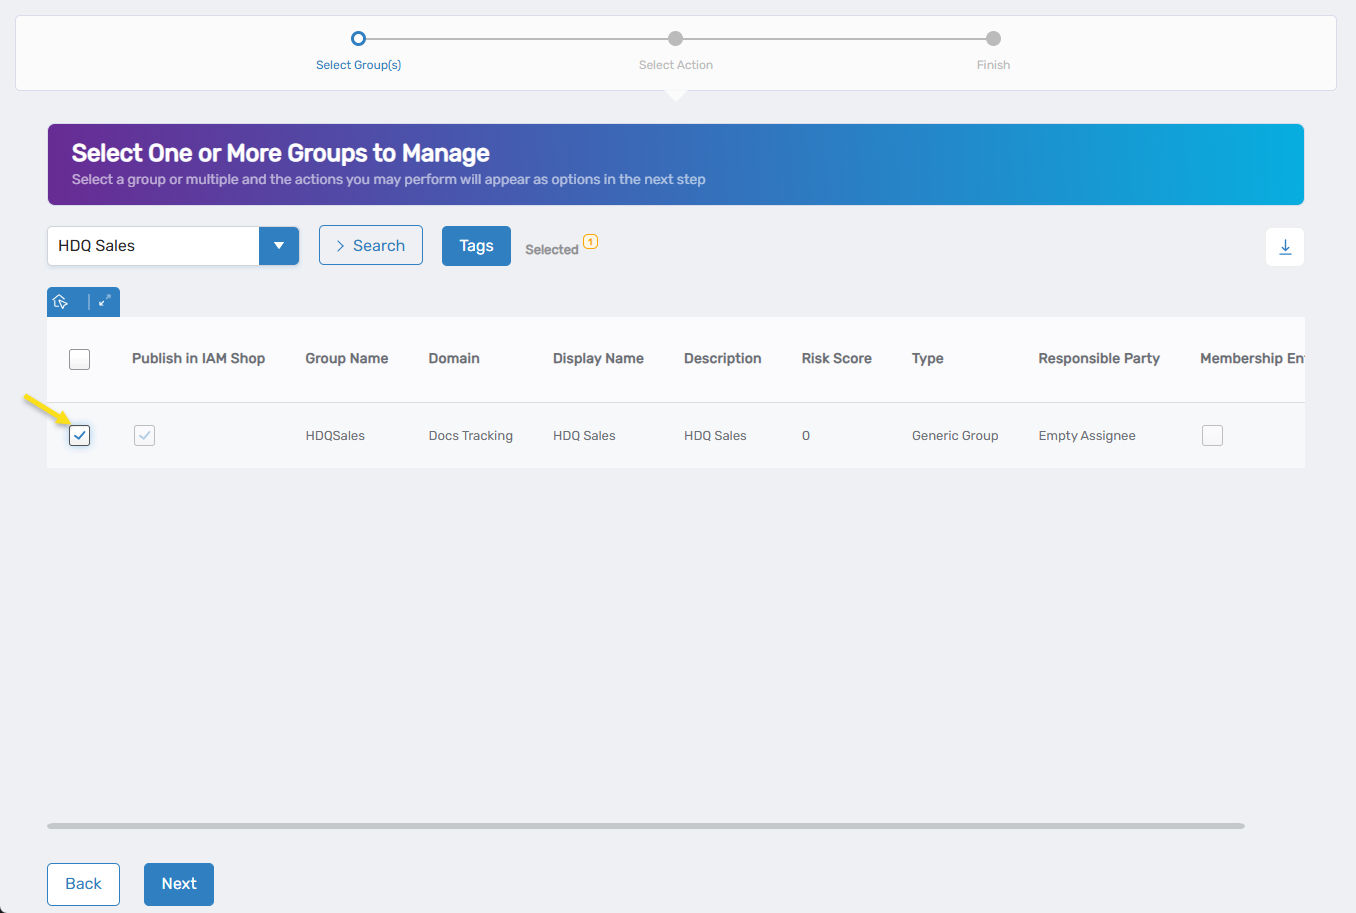
- Select Edit IAM Shop Settings from the available actions.

- Click Next to proceed to the IAM Shop settings configuration.
The workflow will open showing the current IAM Shop configuration for your selected Group.
Configure IAM Shop Settings
Configure the IAM Shop settings to control how the Group appears and behaves in the self-service portal:
Step 1: Enable Self-Service Access
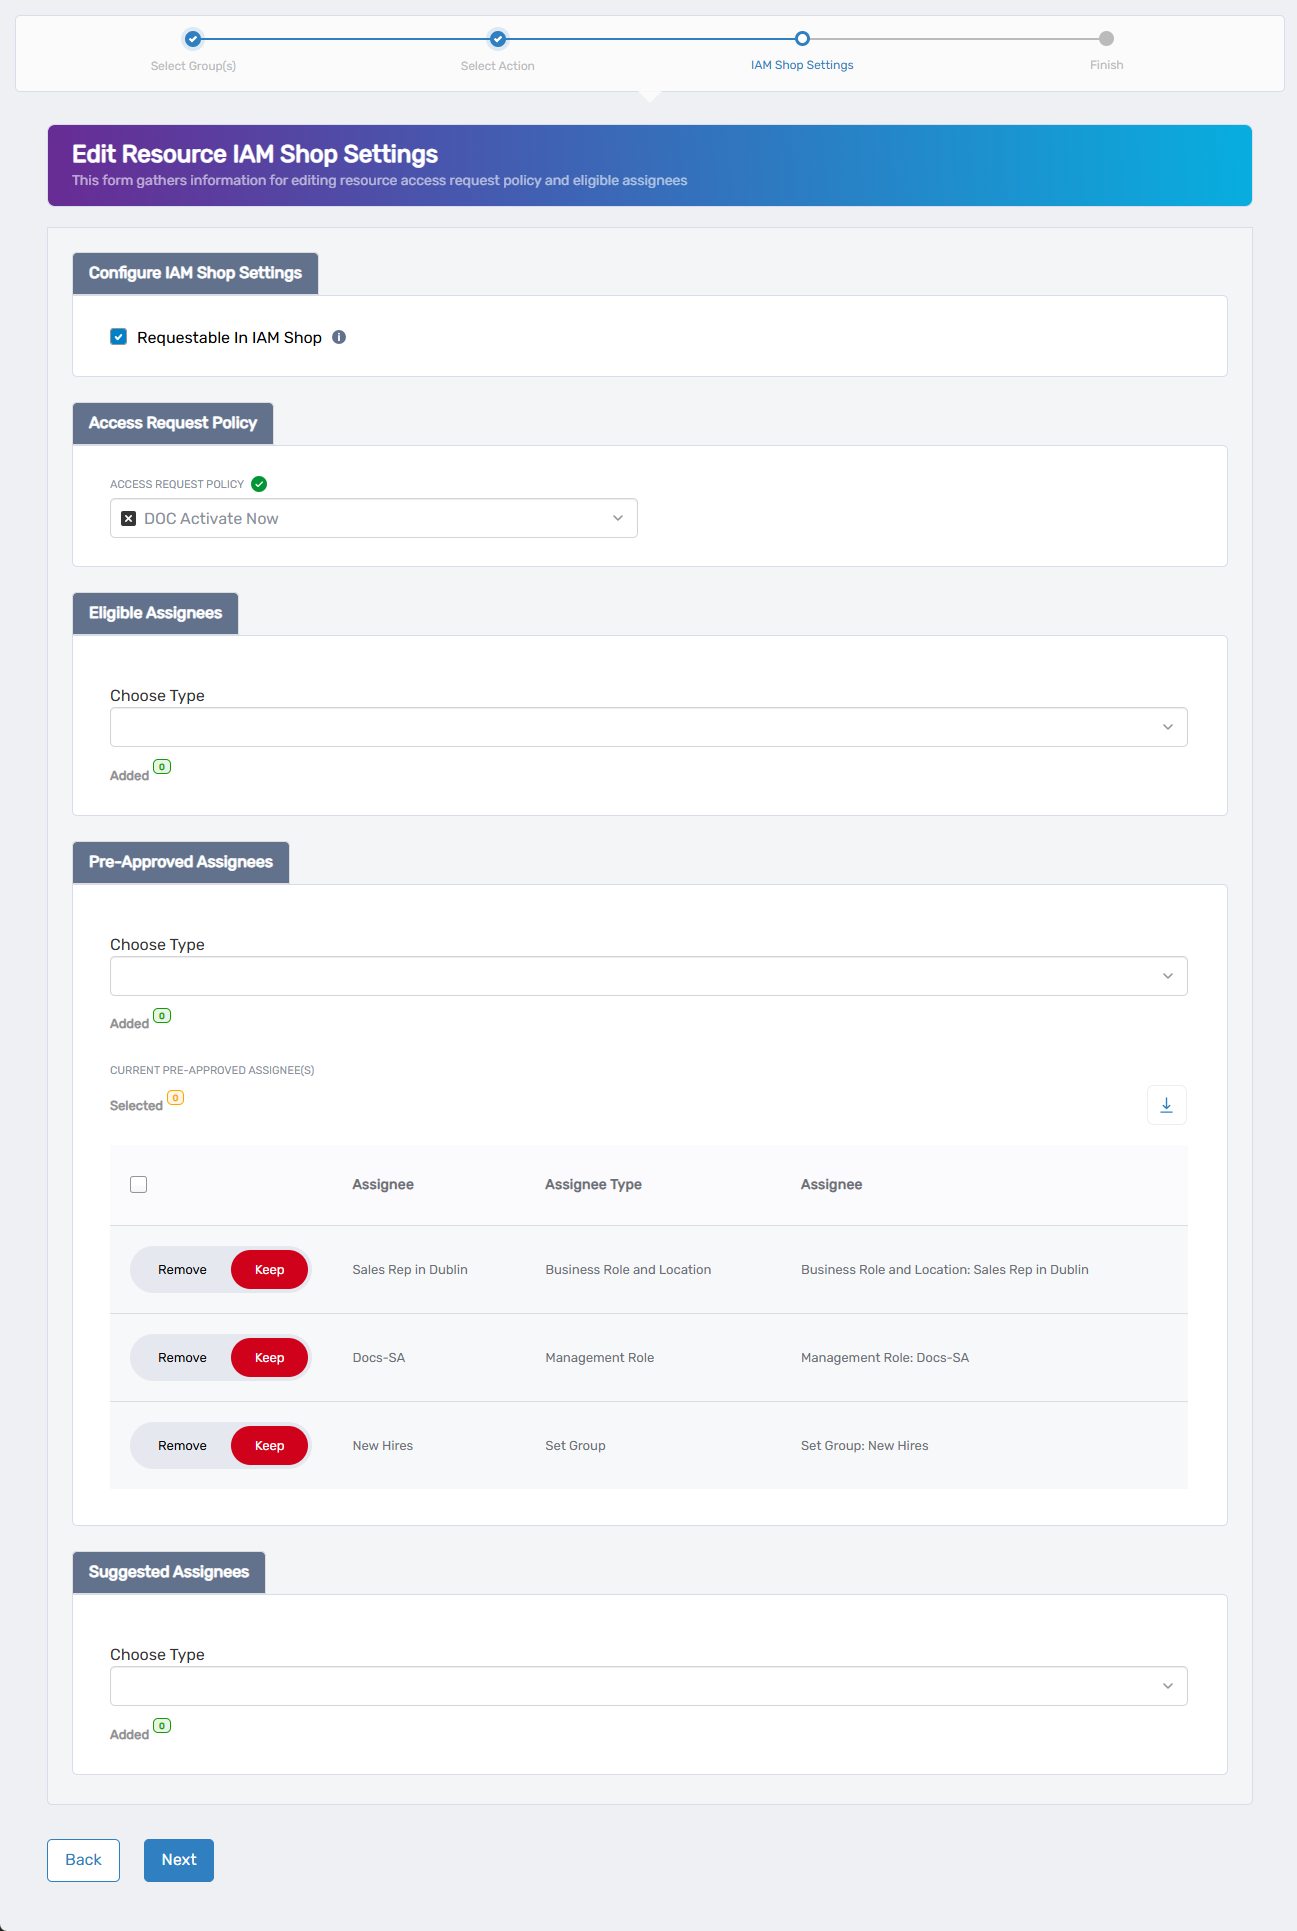
Requestable in IAM Shop: Check this box to make the Group visible in the IAM Shop. Only eligible users will be able to see and request it—the Group stays hidden from all other users.
- To enable self-service access: Check the Requestable in IAM Shop checkbox. Additional configuration options will appear below.
- To disable self-service access: Uncheck the checkbox. All other IAM Shop settings will be hidden and the Group won't appear in self-service.
If Requestable in IAM Shop is unchecked, the configuration process ends here. Users will not be able to see or request this group through self-service, and the remaining IAM Shop settings will not appear or apply.
Step 2: Configure Access Request Policy (if requestable is enabled)
Access Request Policy: This policy defines how the system processes membership requests for the Group, including approval workflows, notifications, and business rules for access decisions.
To update the request policy:
- Click the X next to the current policy to remove it (if one is selected).
- Search for an appropriate policy in the dropdown field.
- Select a policy that matches the approval workflow needed for this Group.
Choose policies that match your group's sensitivity level. High-privilege groups typically need multi-level approval, while general access groups can use streamlined processes.
Step 3: Configure Group Visibility and Access
Set up who can see this Group in the IAM Shop and how they can access it:
Eligible Assignees
Users who can request Group membership. When they submit a request, it follows the approval workflow you defined in the Access Request Policy.
To add eligible assignees:
- Select an assignee type from the Choose Type dropdown (Person, Group, SetGroup, Management Role, Business Role, or Location).
- Search for and select the specific person, group, or organizational unit.
- Repeat to add multiple assignees.
- Check the Added counter to track your selections.
To remove existing eligible assignees:
- Find the assignee you want to remove in the current list.
- Toggle the Keep switch to Remove.
- That assignee will lose the ability to see and request this Group.
Preapproved Assignees
Users who can activate their Group membership immediately without approval.
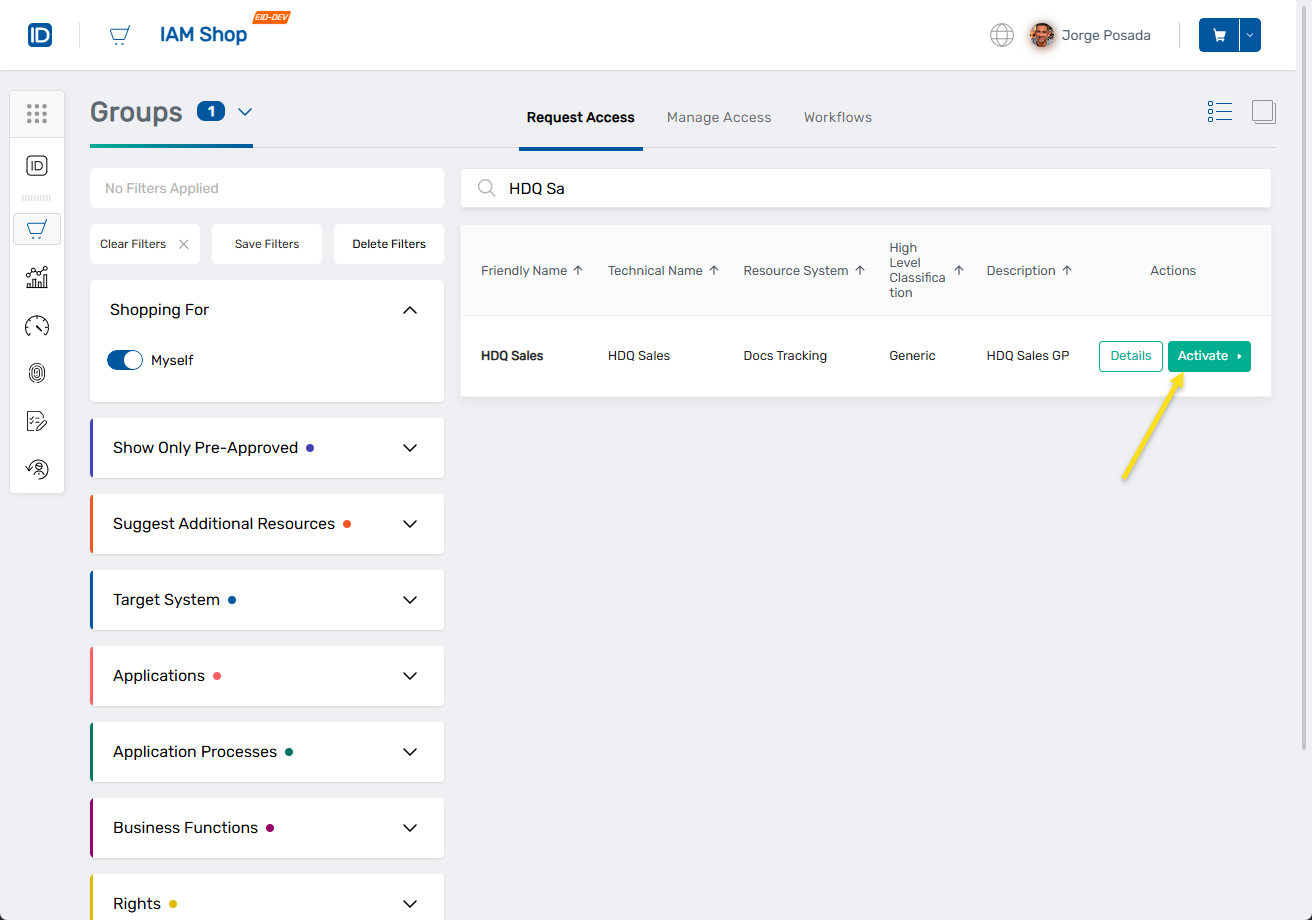 The Activate button allows preapproved users to join the group immediately without submitting requests or waiting for approval.
To add preapproved assignees:
- Select an assignee type from the Choose Type dropdown (Person, Group, SetGroup, Management Role, Business Role, or Location).
- Search for and select the specific person, group, or organizational unit.
- Repeat to add multiple preapproved assignees.
- Check the Added counter to track your selections.
To remove existing preapproved assignees:
- Find the assignee you want to remove in the current list.
- Toggle the Keep switch to Remove.
- That assignee will lose automatic approval and follow standard approval workflows.
Use Preapproved Assignees Carefully: These users bypass all approval controls. Only include trusted users or roles that should have automatic access to the Group's resources and permissions.
Suggested Assignees
Users who see this group as a recommendation in their IAM Shop. If they request membership, the standard approval policy applies.
To add suggested assignees:
- Select an assignee type from the Choose Type dropdown (Person, Group, SetGroup, Management Role, Business Role, or Location).
- Search for and select the specific person, group, or organizational unit.
- Repeat to add multiple suggested assignees.
- Check the Added counter to track your selections.
To remove existing suggested assignees:
- Find the assignee you want to remove in the current list.
- Toggle the Keep switch to Remove.
- The Group will no longer appear as a recommendation for that assignee.
Step 4: Review and Apply Changes
- Review your configuration: Check that all assignee types match your access control requirements.
- Verify policy alignment: Make sure the selected Access Request Policy matches your Group's sensitivity level.
- Confirm assignee selections: Double-check that preapproved assignees should truly bypass approval workflows.
- Click Next to proceed with your changes.
Complete the Workflow
- Review the Operation Execution Summary to confirm your changes were applied successfully:
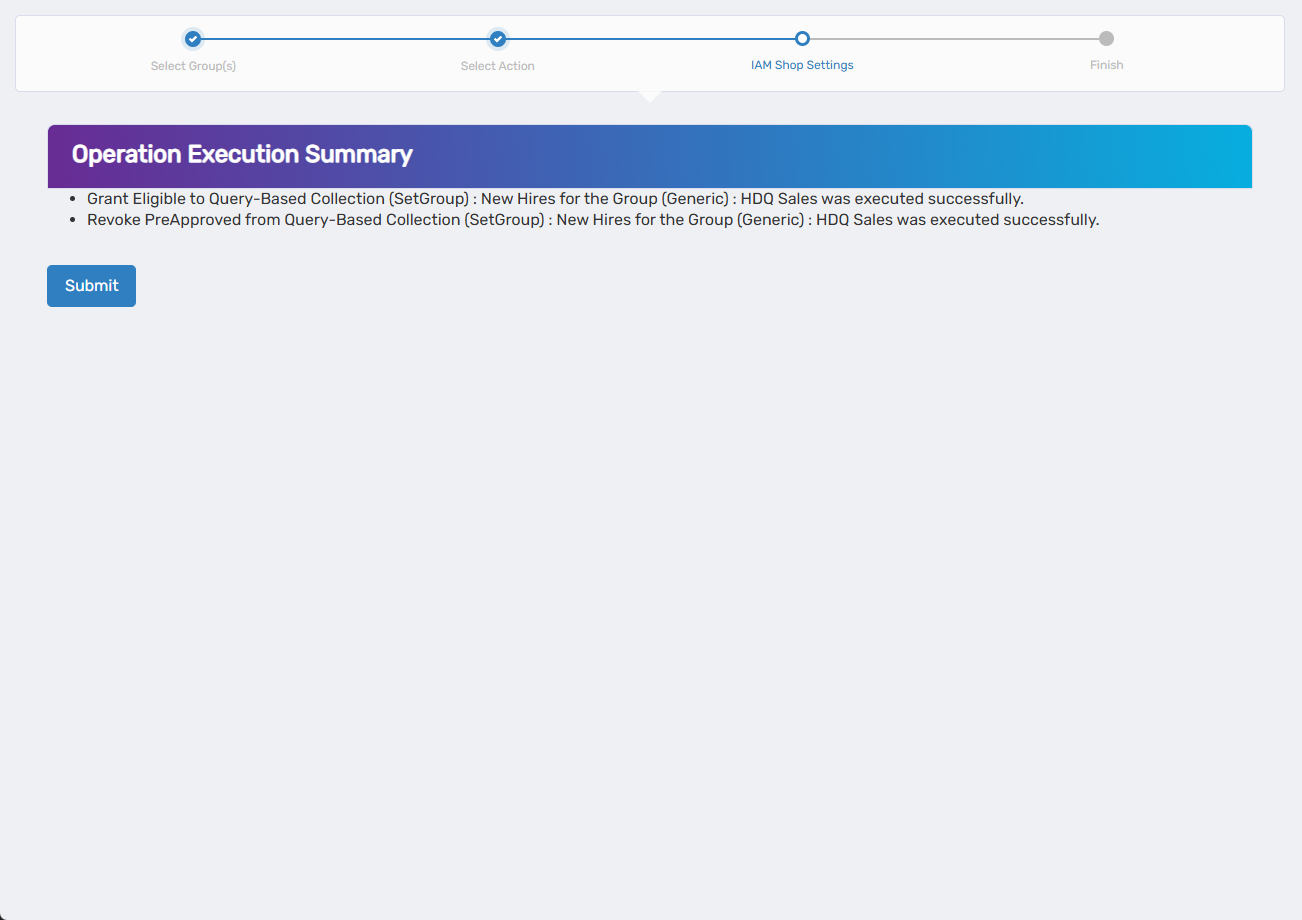
- Click Submit to continue to the completion options.
- Choose your next action:
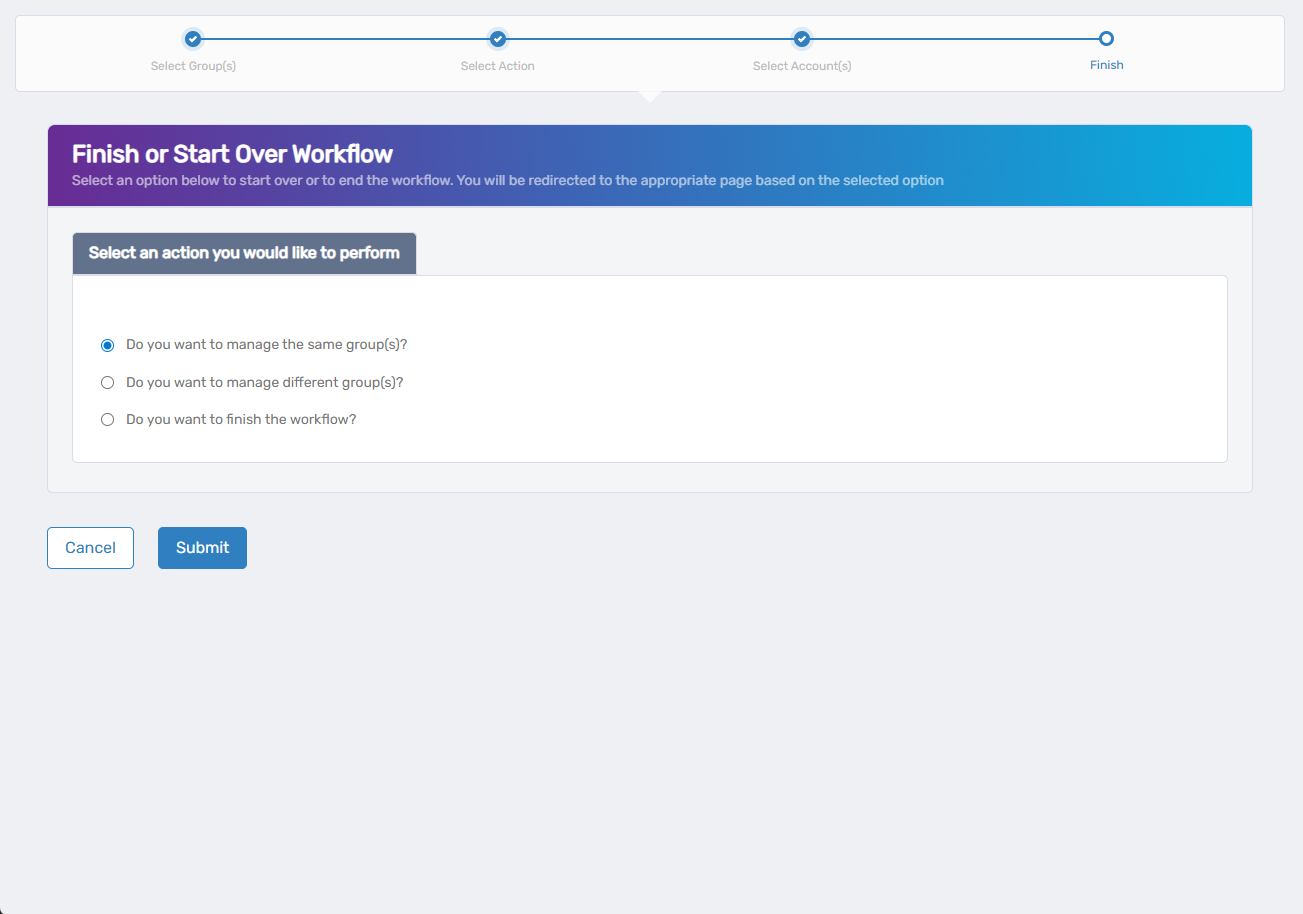
- Do you want to manage the same Group? - Select this to perform additional actions on the same group, such as editing membership policies or managing ownership.
- Do you want to manage different Group(s)? - Select this to configure IAM Shop settings for other Groups.
- Do you want to finish the workflow? - Select this to complete the process and exit the wizard.
- Click Submit to proceed with your selected option.
What Happens Next
After applying your IAM Shop settings changes:
Immediate Effects:
- The group's visibility and requestability in the IAM Shop are updated immediately
- Eligible and Suggested users will see the group as requestable
- Preapproved users can activate membership immediately without approval delays
Approval Processing:
- IAM Shop settings changes may generate business requests that require approval before taking full effect
- Standard membership requests will follow the configured Access Request Policy workflow
- Notifications are sent to approvers and requesters according to the policy settings
If You Run Into Problems
Users can't see the group in IAM Shop:
- Verify the group is configured as "Requestable in IAM Shop"
- Check that users are included in the Eligible Assignees list
- Confirm users have refreshed their IAM Shop session
Approval policies don't work as expected:
- Verify the selected Access Request Policy is active and properly configured
- Check that Approval policies have the appropriate approvers assigned
Preapproved users still go through approval:
- Confirm users are correctly added to the Preapproved Eligibility policy list
Related Actions
- To modify group ownership and governance, see Edit Group Owners and Deputies
- To configure automatic membership based on organizational attributes, see Edit RBAC Membership Policies
- To add users directly to groups without self-service, see Add People to Groups or Add Accounts to Groups
- To create new Groups for self-service access, see Onboard Groups