Delete Group
When Groups are no longer needed due to organizational changes, project completion, or restructuring, you can permanently delete them from EmpowerID. This action removes the group and all its associated memberships and assignments.
Access Requirements: You must have appropriate permissions to delete the specific Group you want to remove.
Deleting a group is permanent and cannot be undone. All group memberships, local function assignments, and RBAC policies associated with the group will be removed. Ensure you have proper authorization and backup plans before proceeding.
Before You Start
Make sure you have:
- Confirmation that the group is no longer needed and can be safely removed
- Understanding of what access will be revoked when the group is deleted
- Verification that group members have alternative access methods for required resources
- Proper authorization from stakeholders to delete the group
Get Started
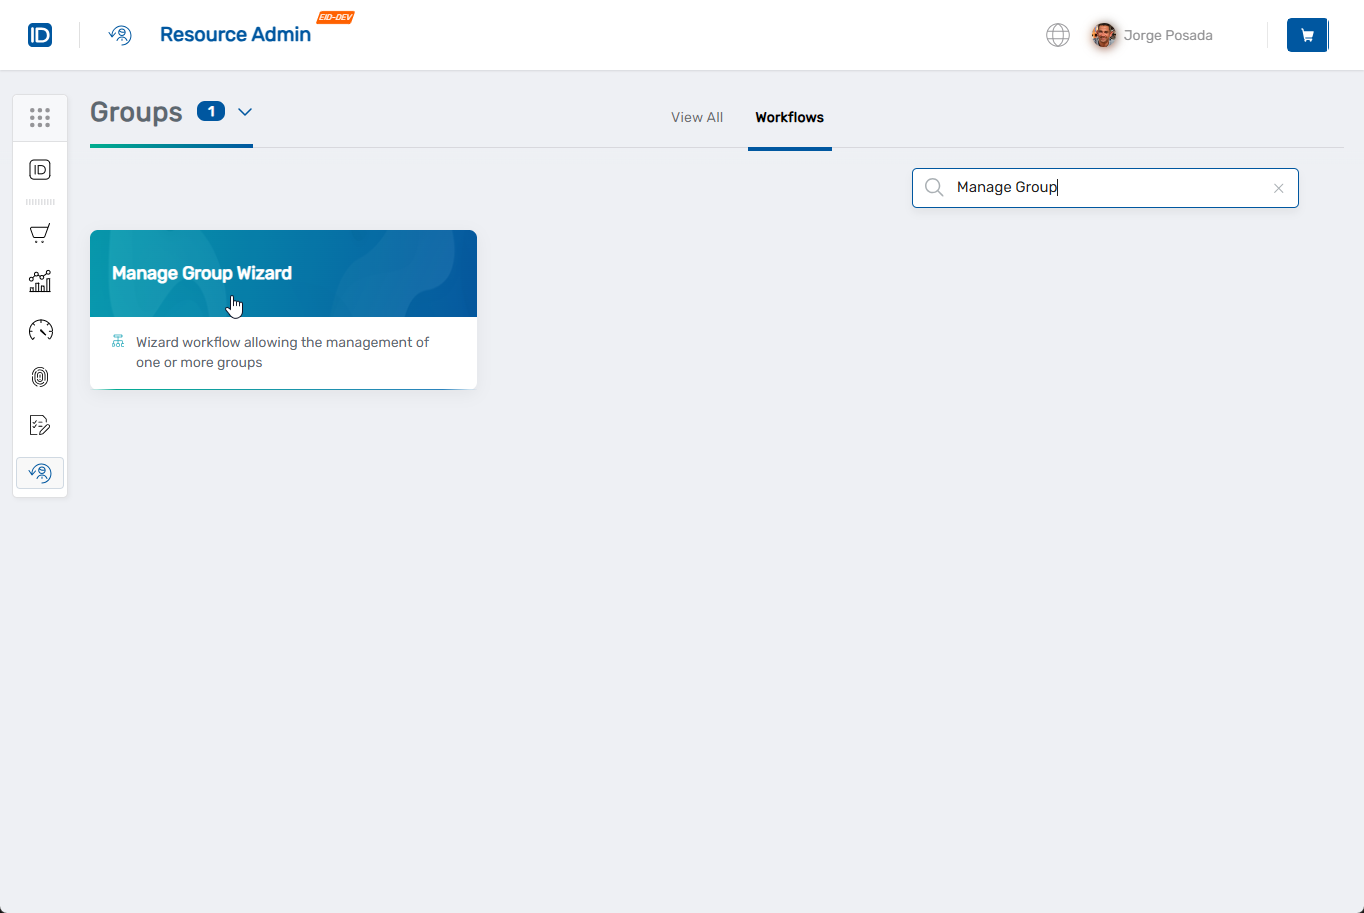
- Navigate to the Resource Admin portal
- Select Groups from the resource type menu
- Click the Workflows tab
- Find and click Manage Group Wizard
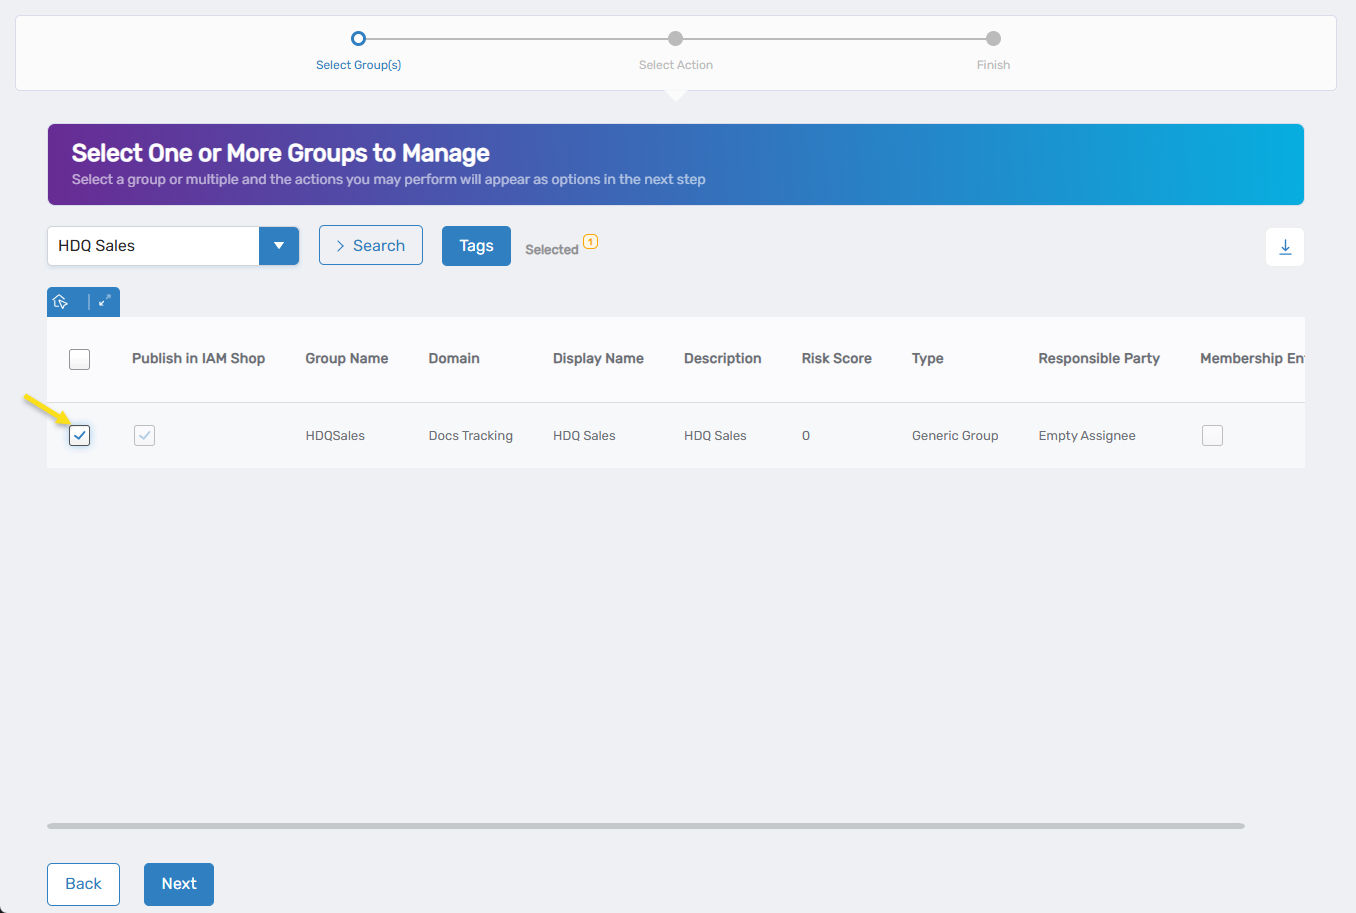
- Search for the Group you want to delete, then check the box next to it and click Next
- Select Delete Group from the available actions
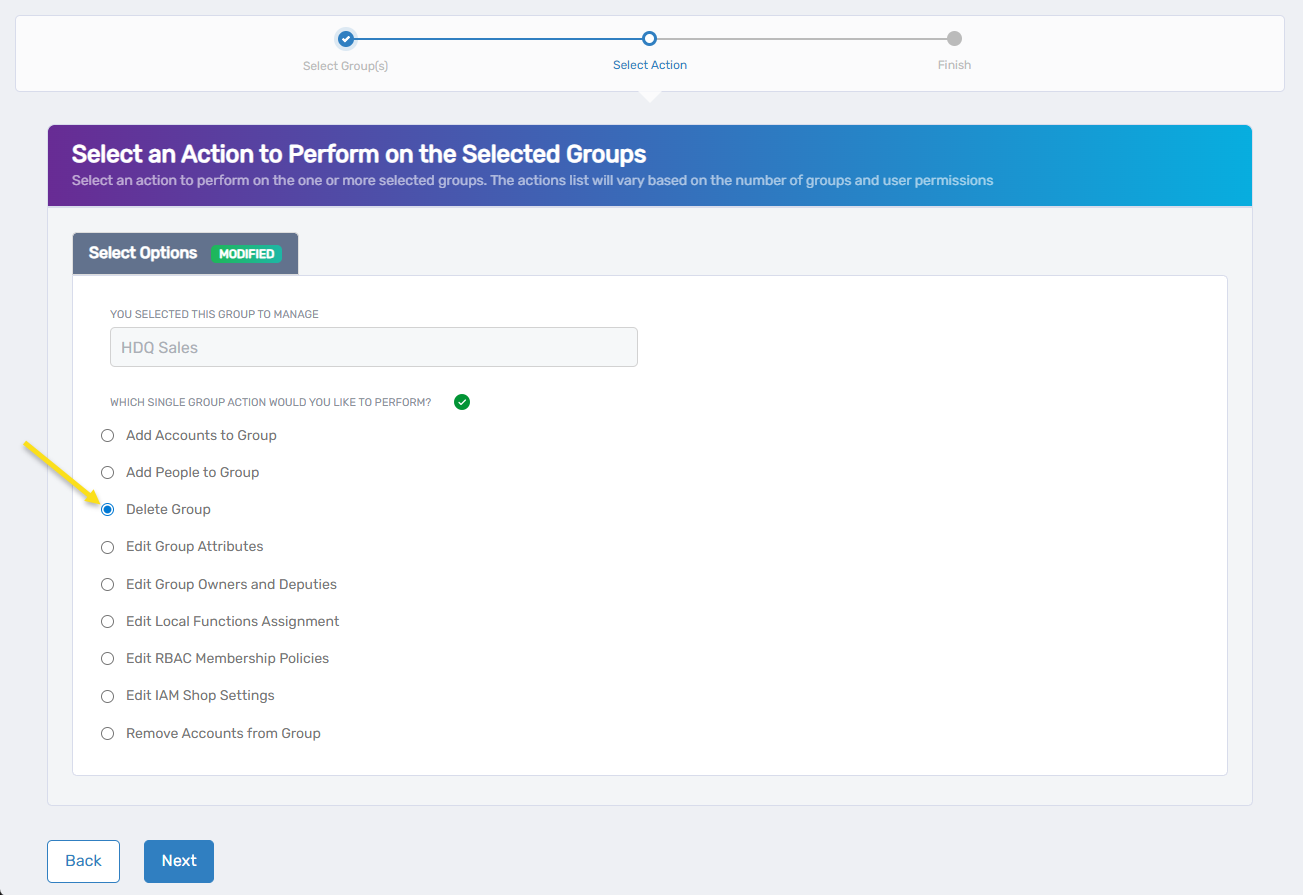
- Click Next to proceed to the deletion confirmation
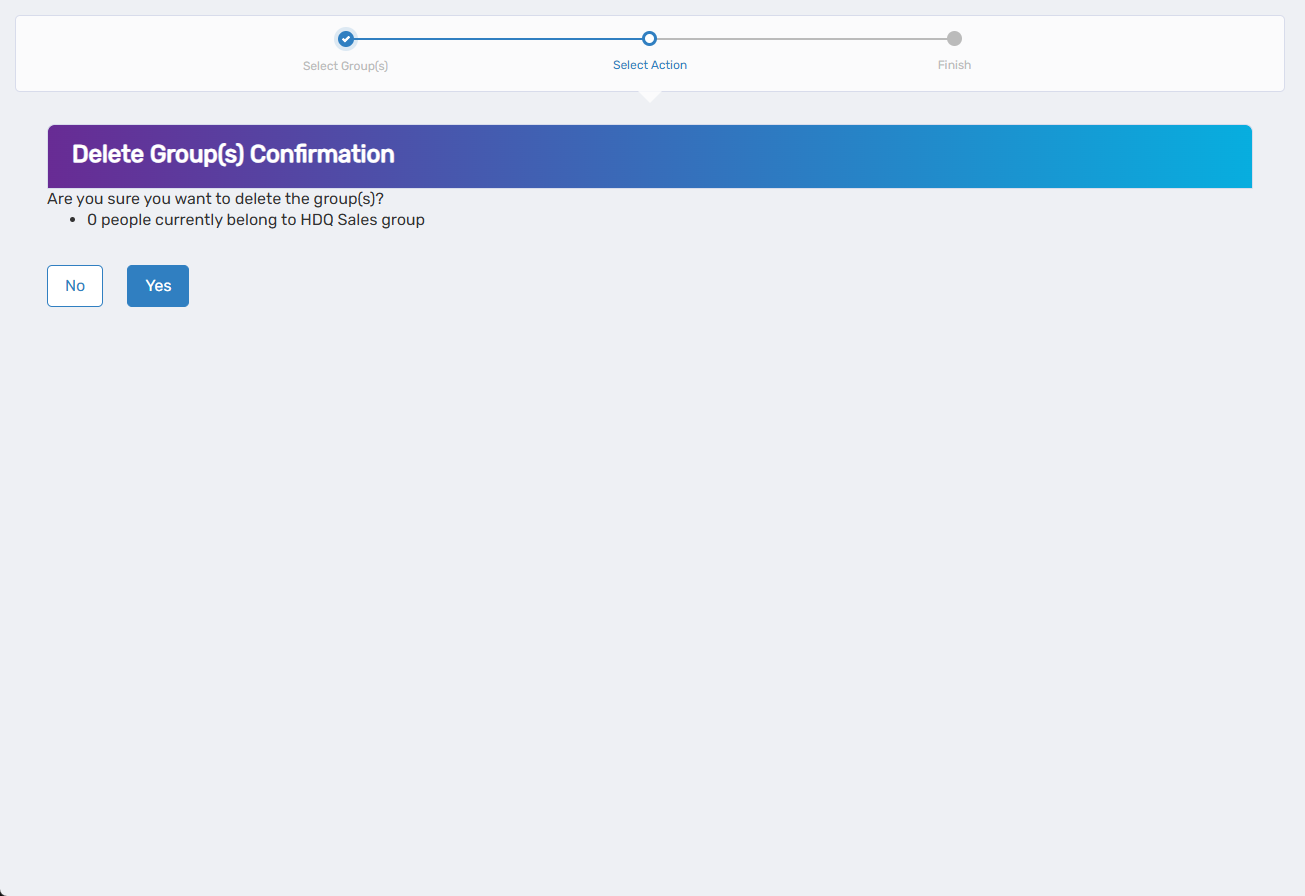
Confirm Group Deletion
-
Review the deletion warning and group details:
- Carefully review the group information to ensure you're deleting the correct group.
- Read all warnings about the permanent nature of this action.
- Understand that all memberships, assignments, and policies will be removed.
-
Confirm the deletion:
- Follow any additional confirmation steps required by the interface.
- Some groups may be protected from deletion if they have the "Do Not Allow Delete" setting enabled.
-
Click Next to proceed with the deletion.
Complete the Workflow
- Review the Operation Execution Summary to confirm the group was deleted successfully.
- Click Submit to continue.
- Choose your next action:
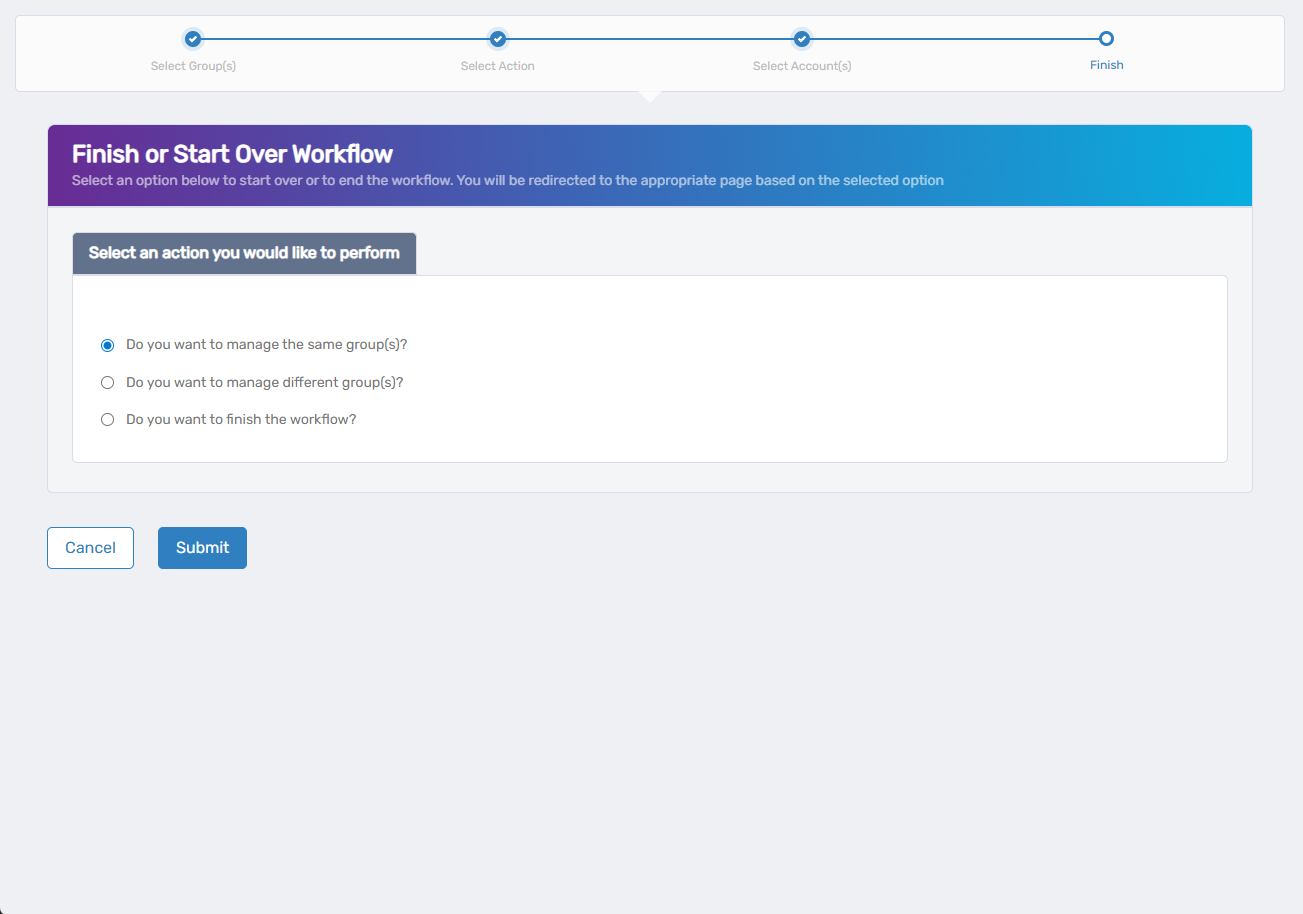
- Do you want to manage different Group(s)? - Select this to work with other Groups.
- Do you want to finish the workflow? - Select this to complete the process and exit the wizard.
- Click Submit to proceed with your selected option.
What Happens Next
- The group is permanently removed from the system and cannot be recovered.
- All users who were members of the group lose access to group-based resources immediately.
- Local function assignments associated with the group are removed.
- RBAC membership policies for the group are deleted.
- The group no longer appears in any system interfaces or reports.
If You Run Into Problems
Can't delete the group: The group may be protected from deletion with the "Do Not Allow Delete" setting. Contact your administrator or use the Edit Group Attributes workflow to modify this setting first.
Group appears to still exist: Ensure the deletion process completed successfully by checking the Operation Execution Summary. Some cached interfaces may require a refresh.
Users still have access after deletion: Group deletion is immediate, but some systems may require users to log out and back in for access changes to take full effect.
Related Actions
- To modify group settings instead of deleting, see Edit Group Attributes.
- To remove specific members rather than deleting the group, see Add People to Groups or Add Accounts to Groups.
- To create replacement groups, see Onboard Groups.