Setting up the Vault
To securely store and manage secrets—such as connection strings, credentials, and API keys—the EmpowerID Bot utilizes Azure Key Vault. This section outlines the process to create a Key Vault, enable system-assigned managed identity on the App Service, and configure access permissions for the bot.
Procedure
Step 1: Create the Azure Key Vault
- Sign in to the Azure portal.
- Navigate to Key Vaults and create a new Azure Key Vault, if one does not already exist.
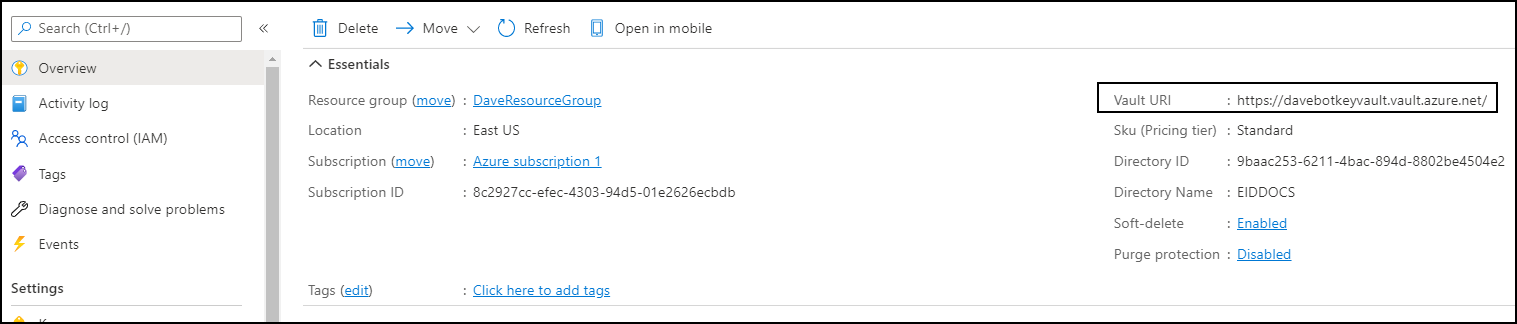
- After provisioning, go to the Overview blade of the Key Vault and copy the Vault URI.
Step 2: Configure App Service to Use the Key Vault
- Navigate to the App Service created in Set up App Service.
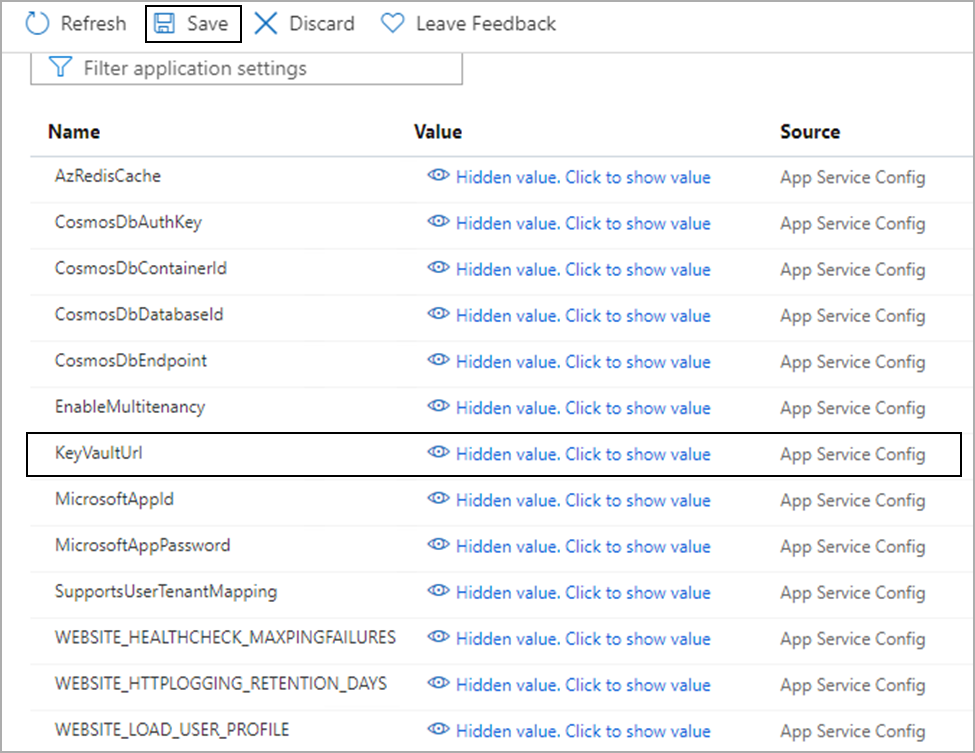
- Under Configuration, add a new application setting:
- Key:
KeyVaultUrl - Value: Paste the Vault URI copied in Step 3
- Key:
Step 3: Enable System-Assigned Managed Identity
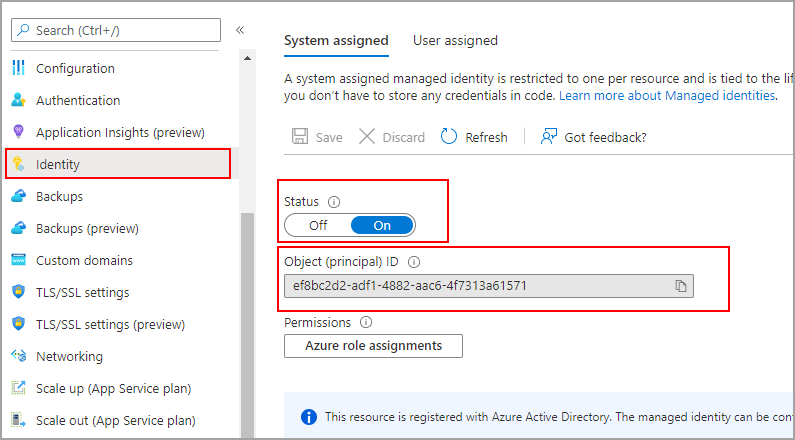
- In the App Service, select Identity from the left navigation.
- Under the System assigned tab, set Status to On and click Save.
Step 4: Grant Access to Key Vault
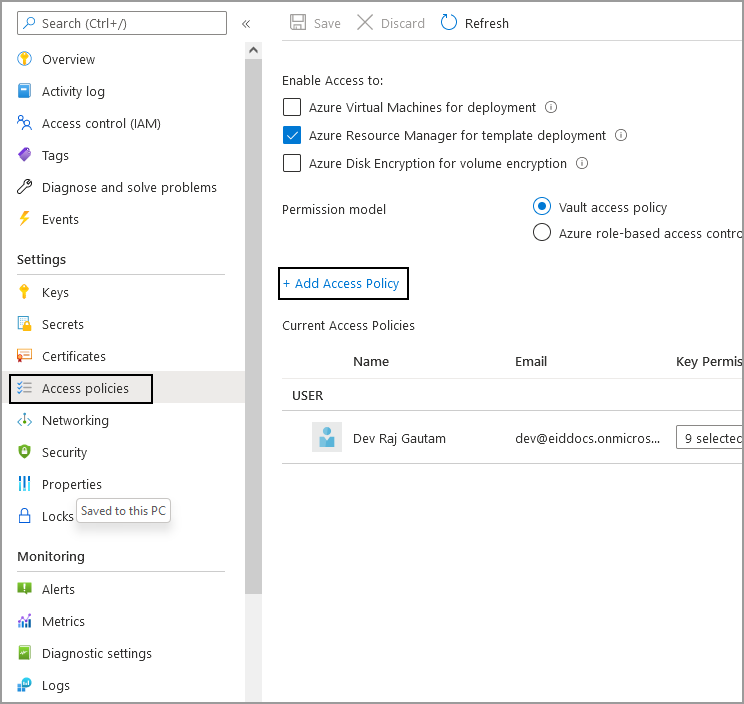
- In the Azure portal, return to the Key Vault created in Step 2.
- Under Access policies, click + Add Access Policy.
- Configure the following permissions for the access policy:
- Secret permissions:
Get,List,Set,Delete,Recover - Certificate permissions:
Get,List - Principal: Select the App Service created in Step 4 as the principal
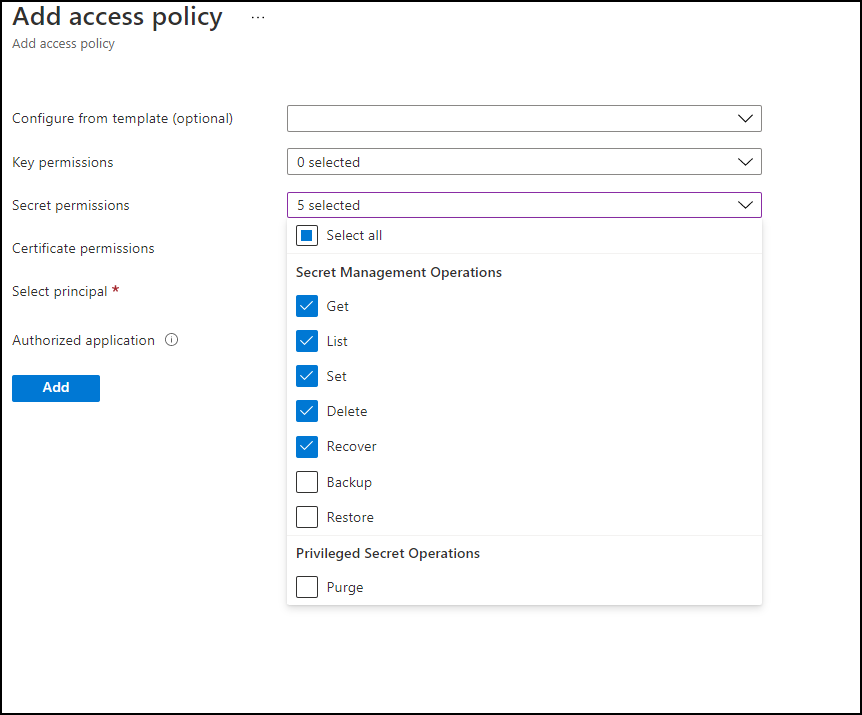
- Secret permissions:
- Click Save to apply the access policy.
Next Step
In the next step, you will Set up the Microsoft App ID.