Set Up Azure App Service for EmpowerID Bot
This garticleuide provides step-by-step instructions to deploy the EmpowerID Bot by setting up an Azure Linux App Service using the .NET Core 3.1 runtime. This App Service hosts the bot microservice and functions as the messaging endpoint for Microsoft Bot Framework integration.
Prerequisite
Before deploying the EmpowerID Bot, ensure that your organization’s Azure Active Directory (Azure AD) tenant has been inventoried into EmpowerID.
⚠️ Azure AD user accounts not associated with an EmpowerID Person object will not be authorized to interact with the bot.
You must also have the following:
- An active Azure subscription with contributor access
- EmpowerID platform configured and accessible
- Azure CLI or Azure Portal access
- Administrative credentials for EmpowerID and Azure
Configuration Procedure
Step 1: Log in to Azure
Sign in to your Azure account via the Azure Portal or Azure CLI.
Step 2: Create a Linux App Service
- In the Azure Portal, navigate to App Services and click Create.
- Select Linux as the operating system.
- Under the Runtime stack, select .NET Core 3.1 (LTS).
- Complete the remaining fields (Resource Group, App Service Plan, etc.) as appropriate for your environment, and click Create.
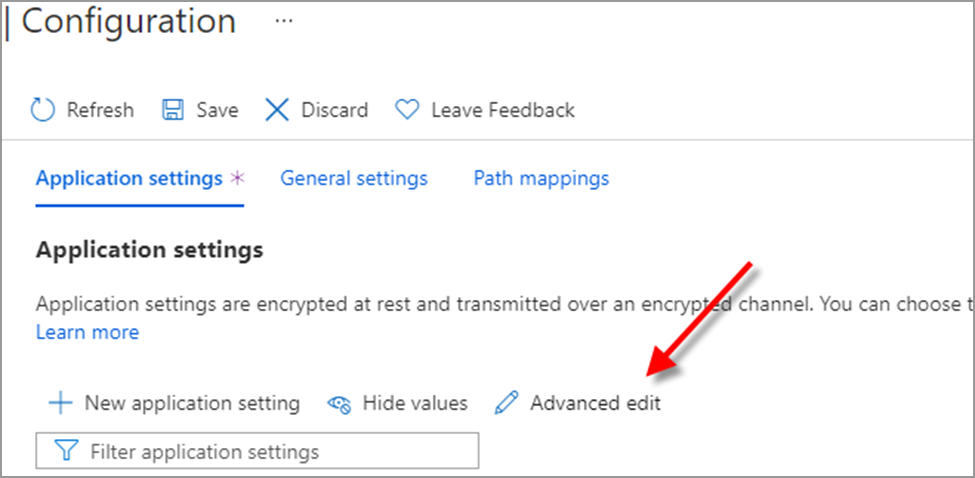
Step 3: Configure Application Settings
-
Open the newly created App Service instance.
-
Navigate to Settings > Configuration.
-
Click Advanced Edit in the Application settings section.
-
Replace any existing content (including
[ ]) with the following JSON block:[
{
"name": "AzRedisCache",
"value": "",
"slotSetting": false
},
{
"name": "CosmosDbAuthKey",
"value": "",
"slotSetting": false
},
{
"name": "CosmosDbContainerId",
"value": "",
"slotSetting": false
},
{
"name": "CosmosDbDatabaseId",
"value": "",
"slotSetting": false
},
{
"name": "CosmosDbEndpoint",
"value": "",
"slotSetting": false
},
{
"name": "EnableMultitenancy",
"value": "true",
"slotSetting": false
},
{
"name": "KeyVaultUrl",
"value": "",
"slotSetting": false
},
{
"name": "MicrosoftAppId",
"value": "",
"slotSetting": false
},
{
"name": "MicrosoftAppPassword",
"value": "",
"slotSetting": false
},
{
"name": "SupportsUserTenantMapping",
"value": "false",
"slotSetting": false
},
{
"name": "WEBSITE_HEALTHCHECK_MAXPINGFAILURES",
"value": "10",
"slotSetting": false
},
{
"name": "WEBSITE_HTTPLOGGING_RETENTION_DAYS",
"value": "2",
"slotSetting": false
},
{
"name": "WEBSITE_LOAD_USER_PROFILE",
"value": "1",
"slotSetting": false
}
]⚠️ Important: Ensure the default
[]is removed from the editor before pasting the above JSON content.
Step 4: Save Configuration
Once the JSON has been pasted:
- Click OK or Apply to exit the advanced editor.
- Click Save at the top of the Configuration page.
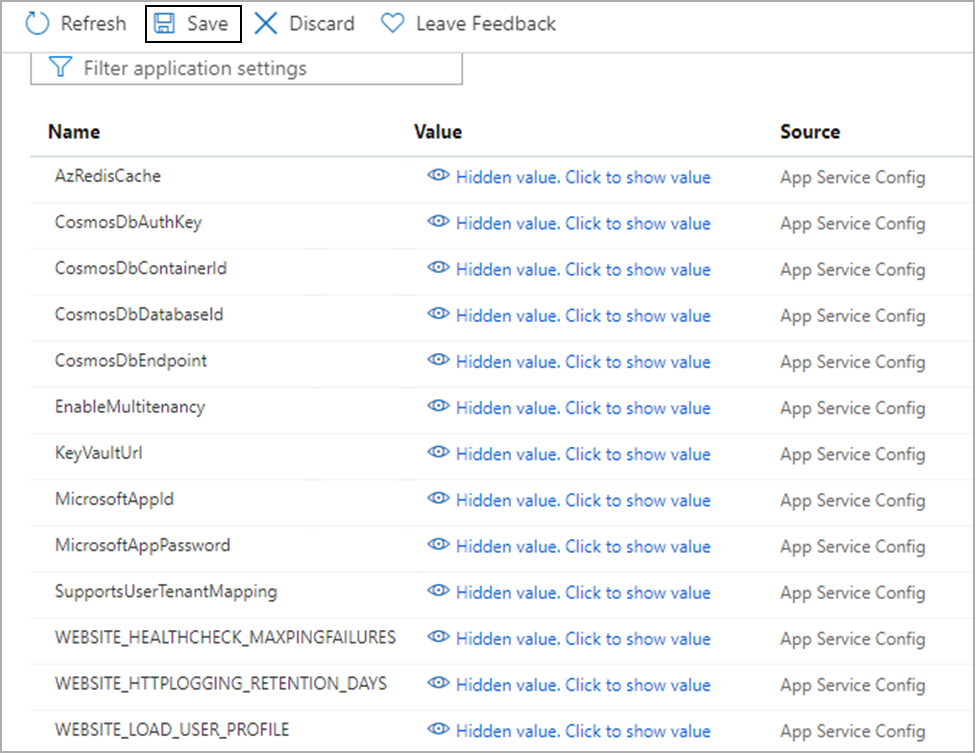
This will populate the App Service with the configuration settings required by the EmpowerID Bot. Most values are left empty and will be filled during subsequent setup procedures.
- The Application settings page will list all the settings in the JSON content you pasted above. Click Save to save the settings.
Next Steps
Next, you will Set up Azure Cache for Redis.