Add App Roles
As a Microsoft Entra application owner, you can define custom app roles to control what users or applications can do within your app. EmpowerID makes this easy by launching a guided workflow in Resource Admin, then writing your defined roles to Entra ID.
This guide walks you through the full process to create app roles, assign their values, and configure visibility and delegation.
What You’ll Need
| Requirement | Description |
|---|---|
| Access to Resource Admin | You must be signed in to the EmpowerID Resource Admin portal. |
| Application Ownership | You must be the owner or a delegated administrator of the application. |
Steps to Add App Roles
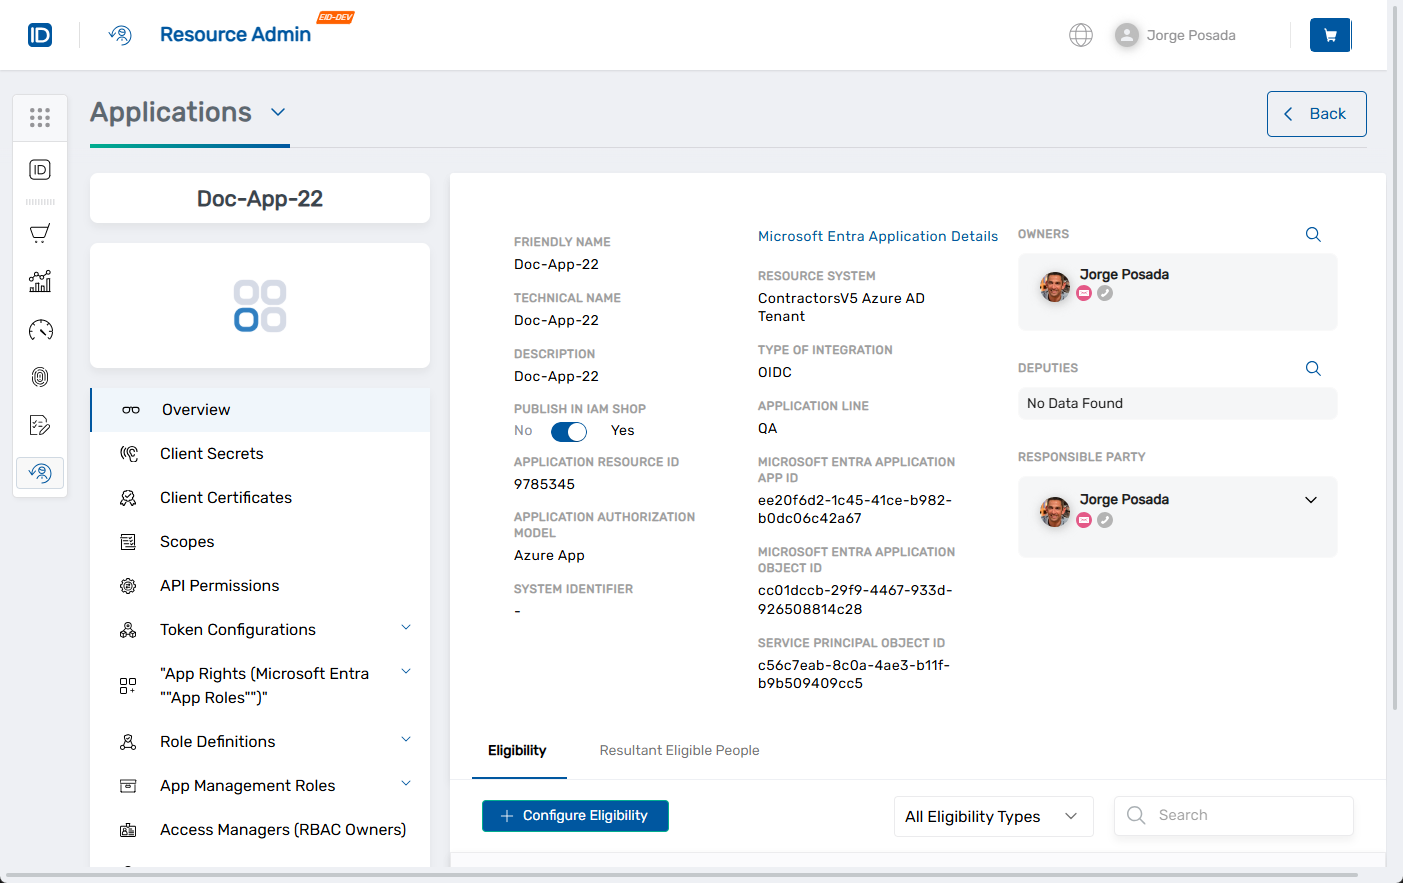
1. Open the Application Overview Page
- Log in to Resource Admin.
- In the Resource Type menu, select Applications.
- Search for and select the Microsoft Entra application you want to update.
- Click the Details button for the application.

This opens the application Overview page.
2. Launch the Create App Role Workflow
- In the left application menu, click App Rights.
- Click the Create App Right button.
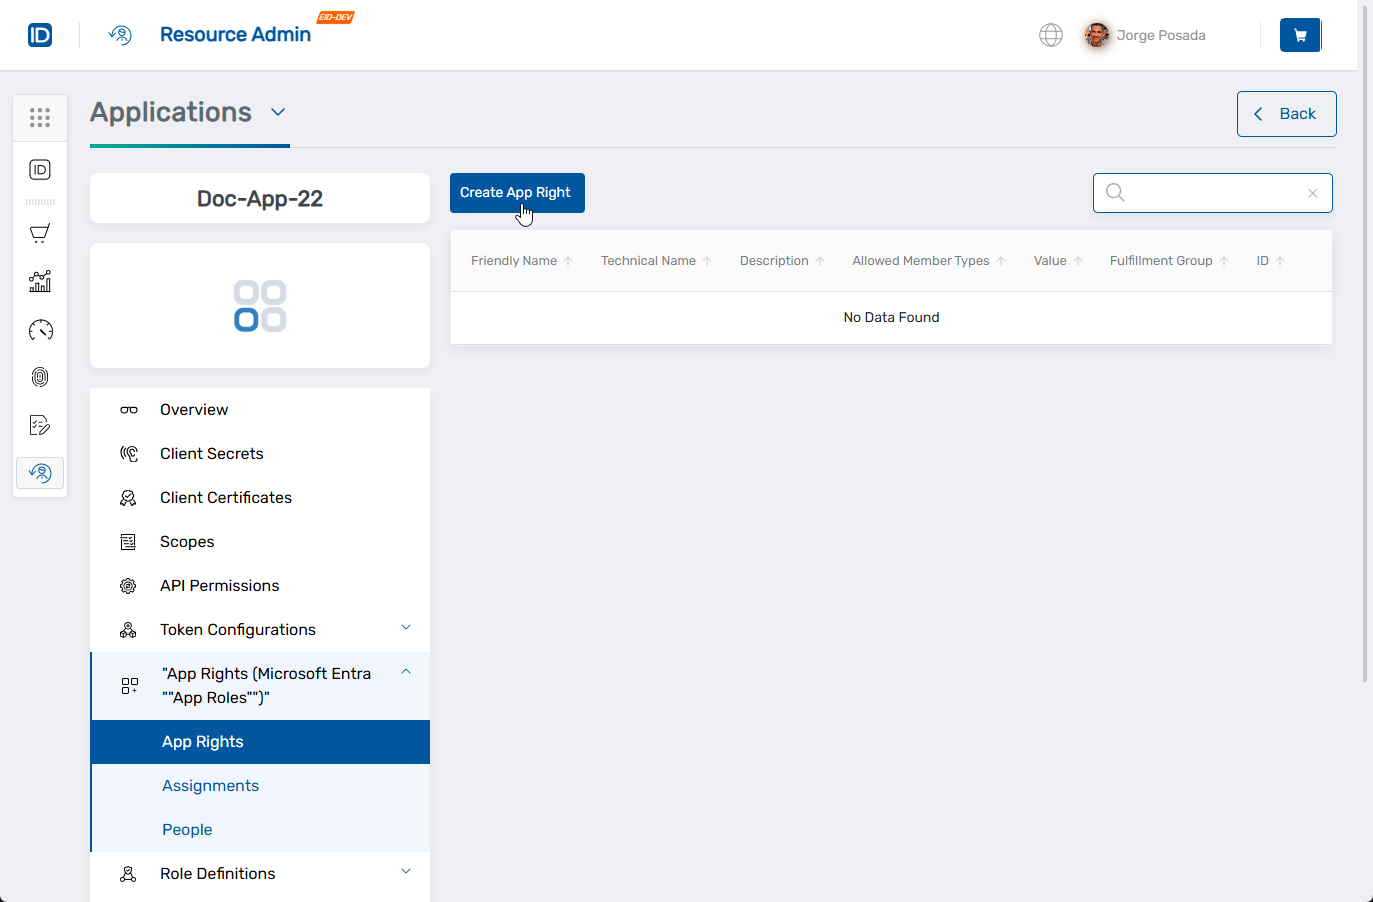
The Create Microsoft Entra Application App Role form opens.
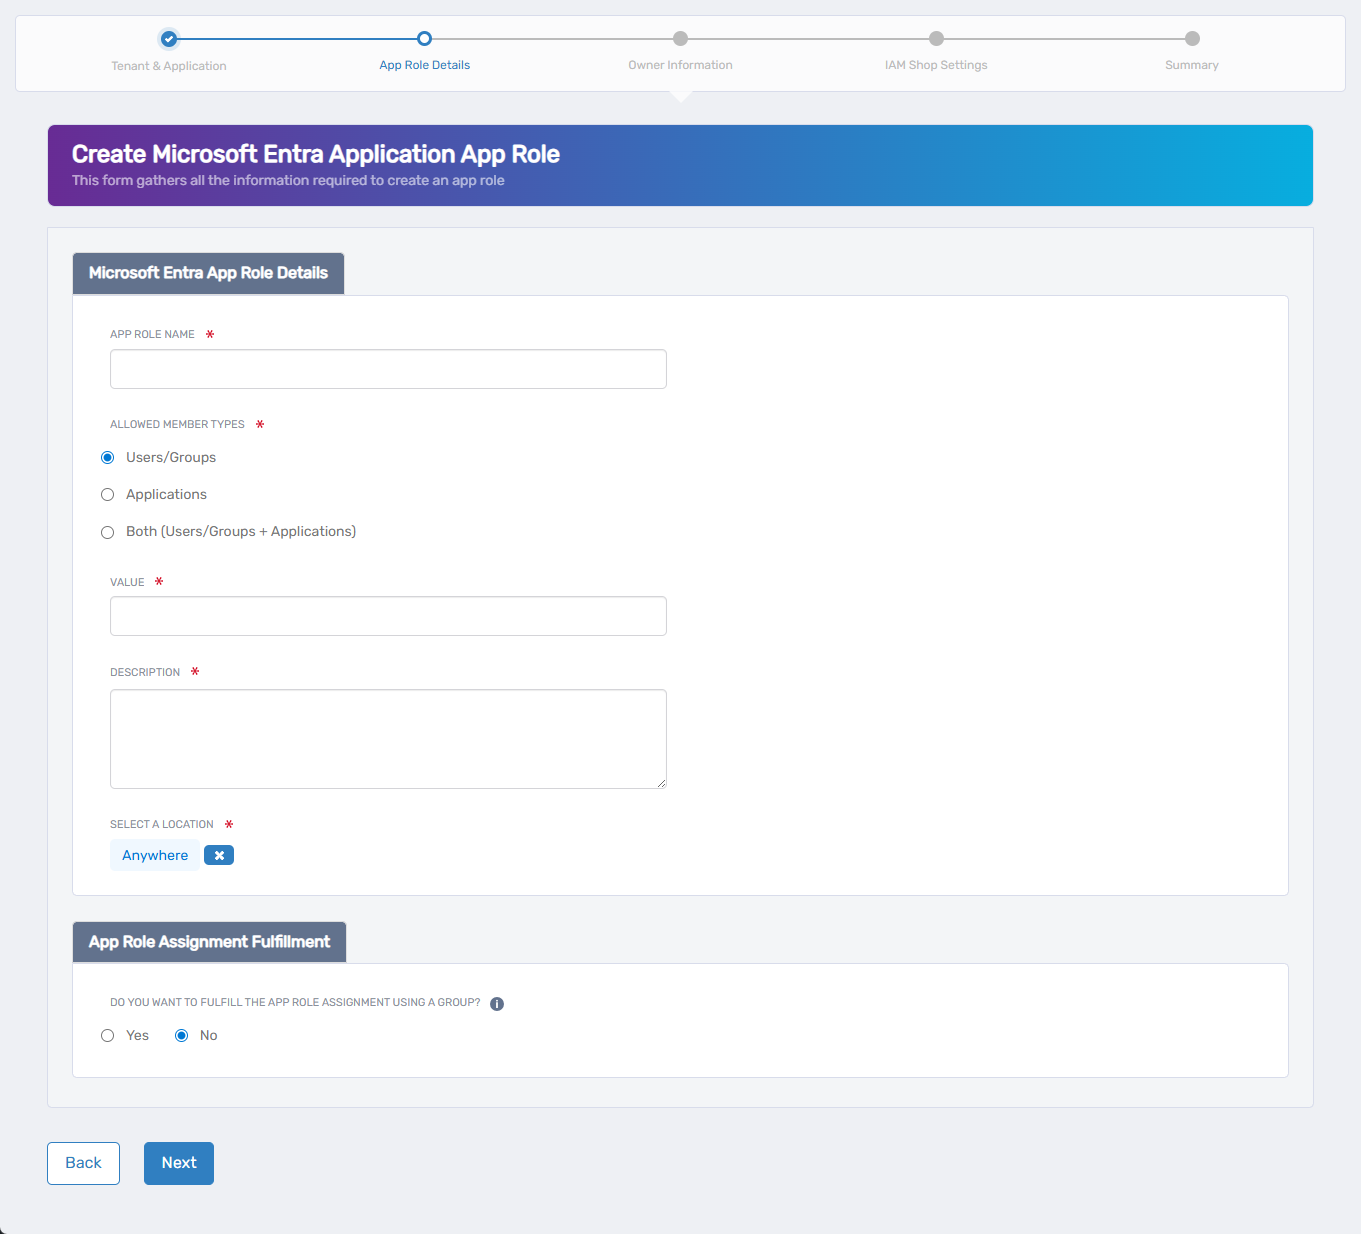
3. Complete the App Role Details
Fill in the fields on the form to define your app role.
- App Role Name – Enter the display name for the role (e.g.,
Report Creator) - Allowed Member Types – Choose one of the following:
Users/Groups– Assignable to user or group principalsApplications– Assignable to client apps (e.g., service-to-service)Both– Available to both user/group and application principals
- Value – Enter the unique identifier that will appear in the
rolesclaim of access tokens (e.g.,Report.Create)noteThis value must be unique across all app roles within the application and is used for access control logic in your application.
- Description – Provide a description of the role for internal documentation or display
- Display Name – Optional. Used in some UI listings. If left blank, App Role Name is used.
- Is Enabled – Leave checked to make the role available for assignment immediately
4. Select the EmpowerID Location (RBAC Delegation)
This sets the RBAC location for the role within EmpowerID.
If a default location is preselected and you wish to change it:
- Click the × icon to clear the default
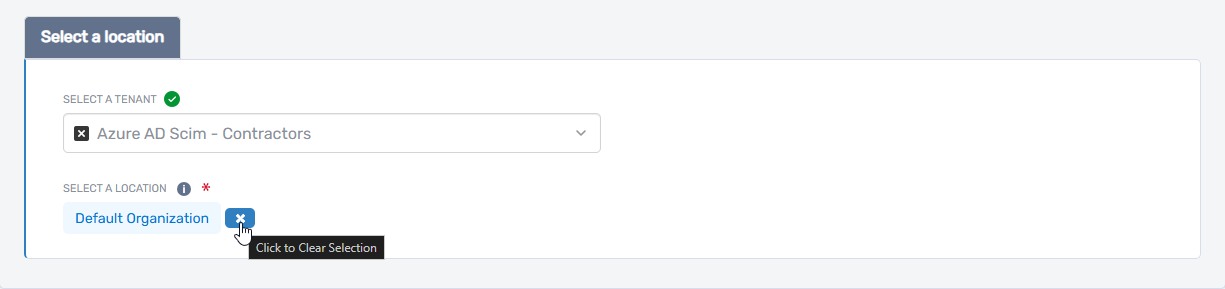
- Click Select a Location
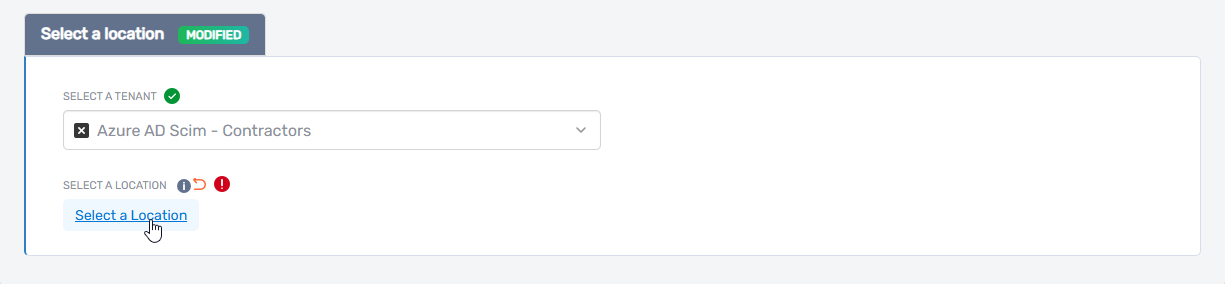
- Browse or search for the location you want
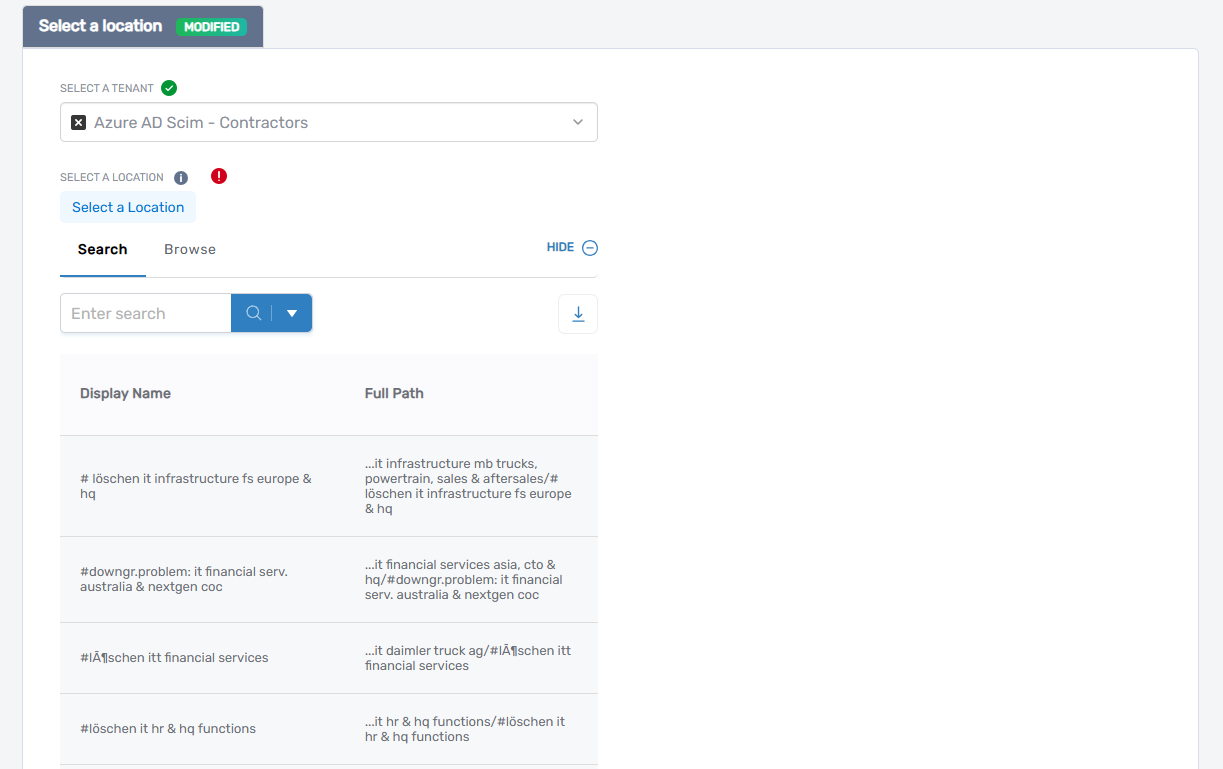
- Click the desired location to select it
If no location is preselected, simply click Select a Location to begin.
5. Configure Assignment Fulfillment
Specify how EmpowerID should fulfill access requests for this role:
| Field | Description |
|---|---|
| Fulfill via Group | Select an EmpowerID group whose membership will drive app role assignment. When enabled, members of the selected group are automatically assigned the role. |
Use group fulfillment to simplify ongoing app role management via dynamic or delegated group membership.
6. Submit the Role
- Click Next to review your input.
- On the Summary screen, confirm your configuration.
- Click Submit to create the app role in Microsoft Entra ID.
What Happens Next
- EmpowerID creates the app role in Microsoft Entra ID.
- If fulfill via group is configured, EmpowerID ensures role assignments stay in sync with group membership.
- The role is now available for use in token-based access control or within applications.
All changes are logged in the EmpowerID audit trail for auditing and compliance.