Update Claims Mapping Policy in EmpowerID
As an administrator, you can update an existing claims mapping policy to add new source or static claims or remove claims that are no longer needed. Additions are made through a workflow, while deletions can be performed directly from the policy overview or within the workflow.
If you haven't created a claims mapping policy yet, start with the Create Claims Mapping Policy guide.
What You'll Need
| Requirement | Description |
|---|---|
| Workflow Access | You must have permission to run the UpdateAzureClaimsMappingPolicy workflow. |
| Policy Permissions | You must have access to view and modify Claims Mapping Policies. |
| Existing Policy | A claims mapping policy must exist before you can update it. |
Steps to Update Claims in a Mapping Policy
- Navigate to the portal for the Resource Admin app in your environment.
- Log in using your credentials.
If you don't know the direct URL to Resource Admin, contact your EmpowerID administrator.
- From the dropdown menu, choose Applications.
- Under Filters, select Claims Mapping Policies.
- Search for the policy you want to update.
- Click the Details button on the record returned for the policy.
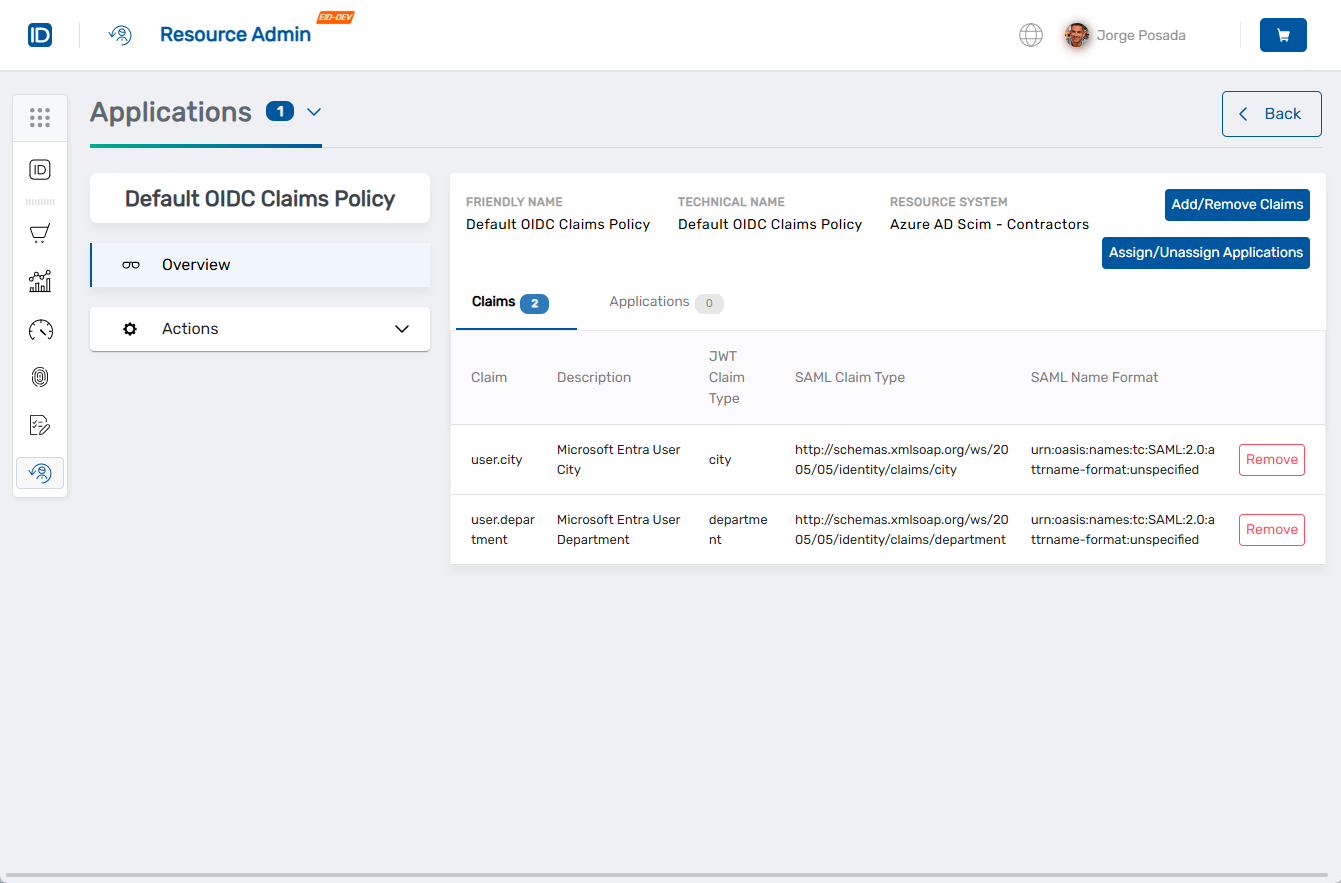
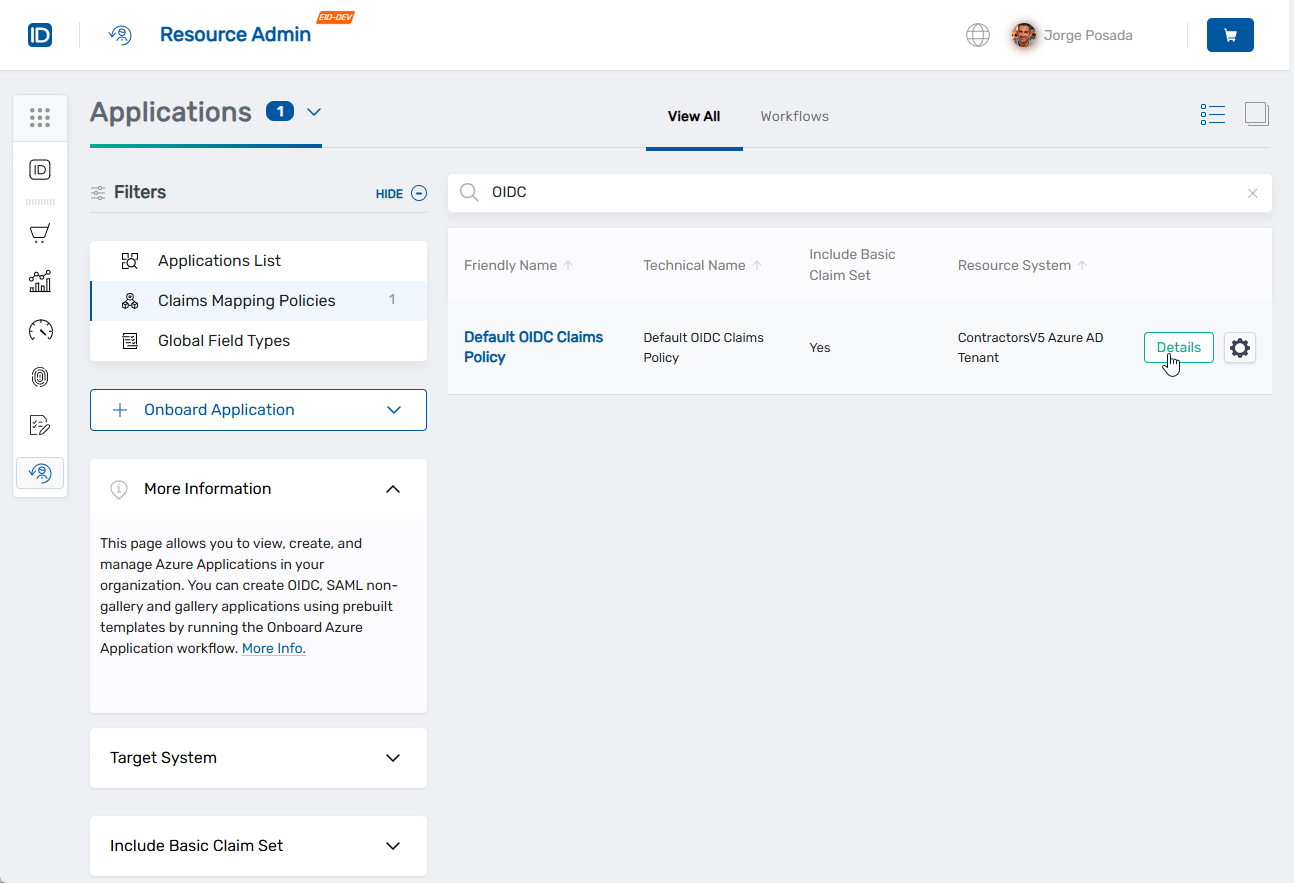 This opens the Overview screen for the policy, where you can view details and perform actions.
Remove a Claim
You can remove a claim directly from the policy overview or within the claim editing workflow.
Option 1 – Remove directly from the Overview
- Click the Remove button next to the claim you want to delete.
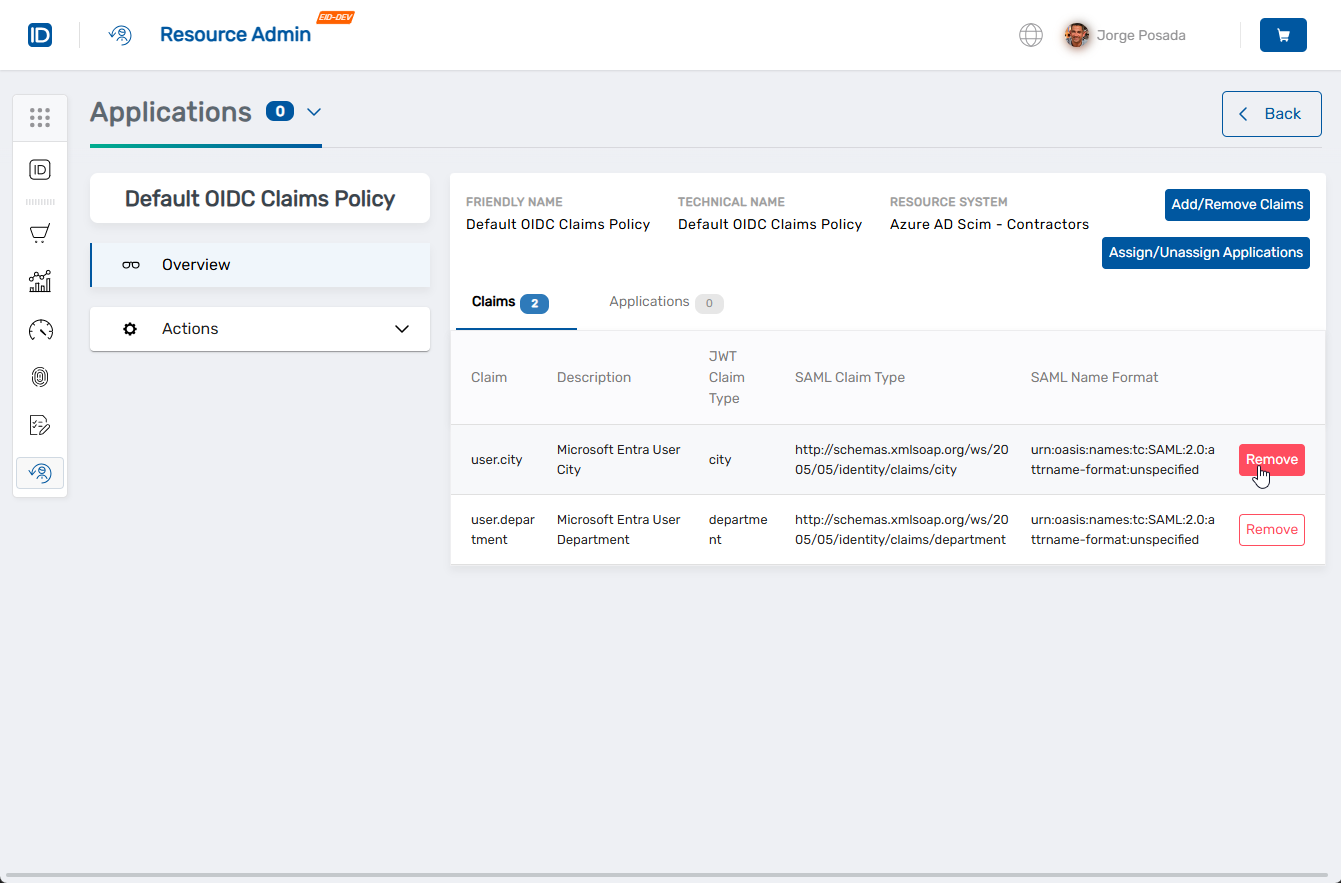
- Click Yes when prompted to confirm the removal.
- Repeat for any additional claims you want to remove.
Option 2 – Remove within the Workflow
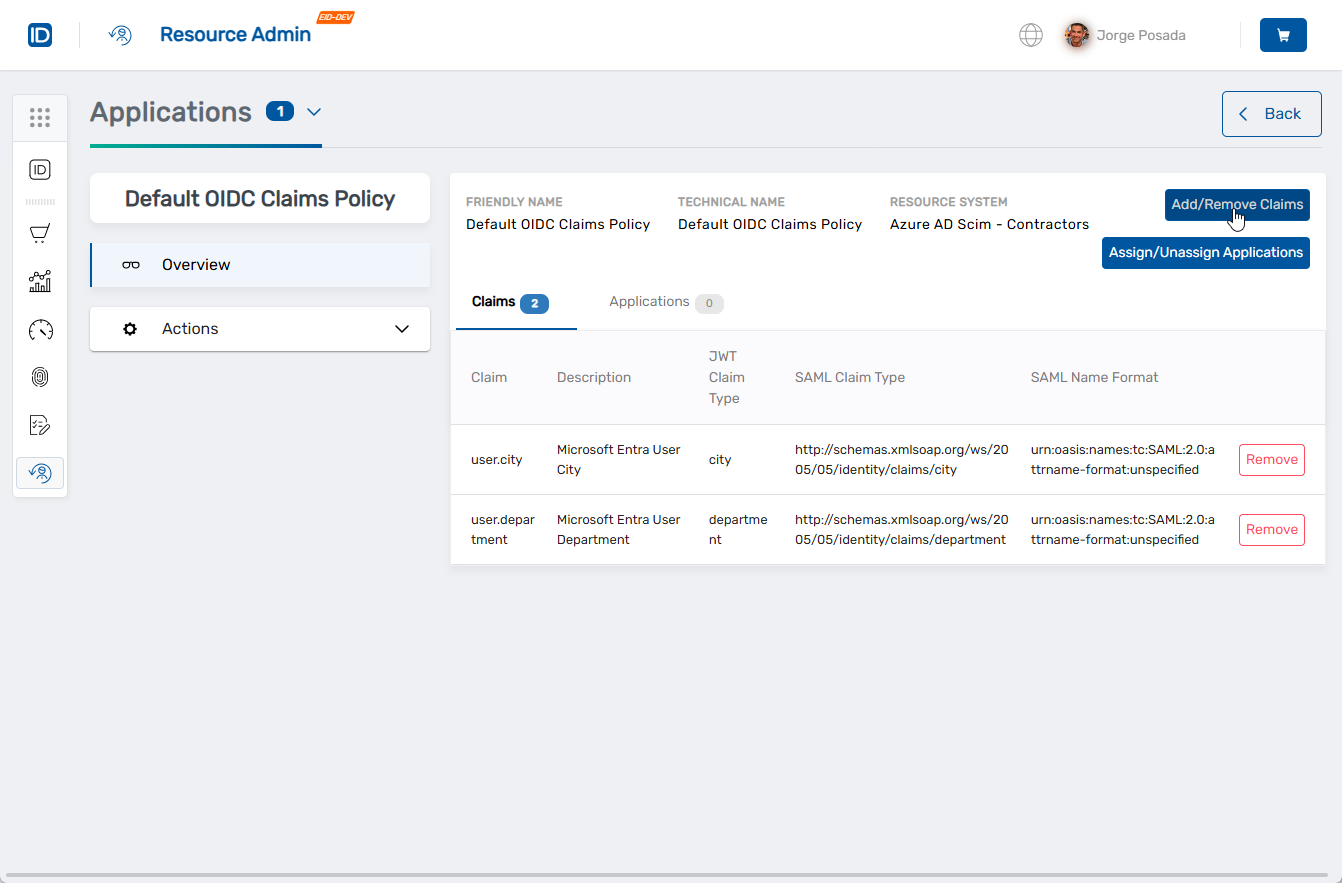
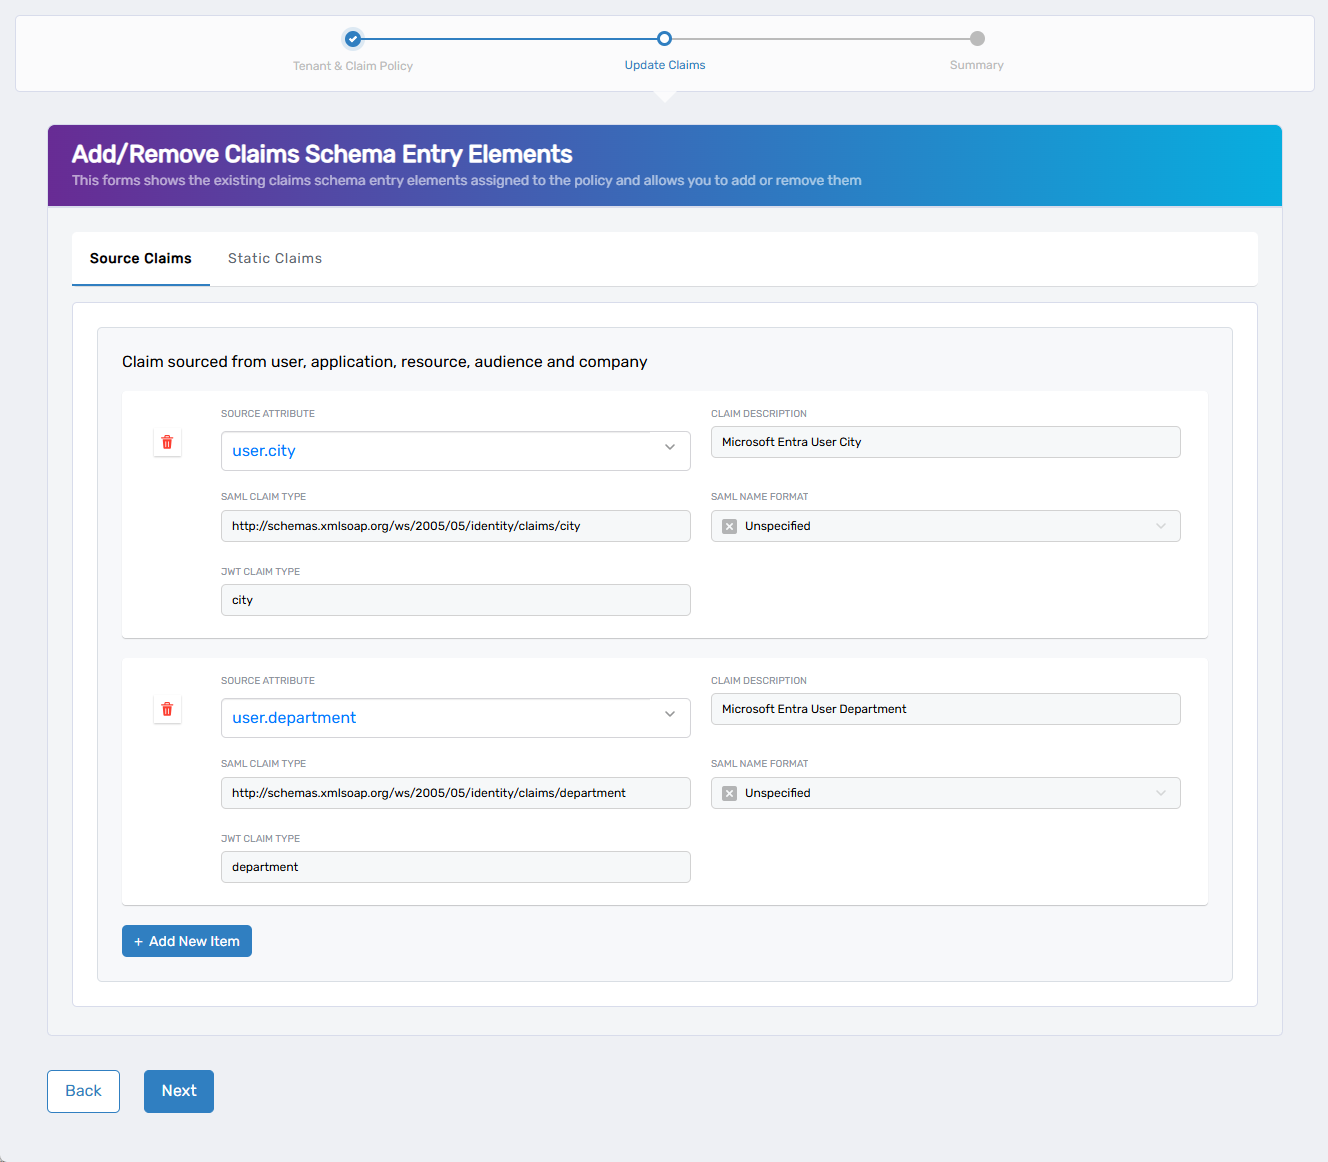
- Click the Add/Remove Claims button to launch the UpdateAzureClaimsMappingPolicy workflow.
 The wizard opens to the Update Claims step with two tabs:
- Source Claims – For dynamic claims pulled from user, application, resource, or audience attributes
- Static Claims – For fixed values returned in the token
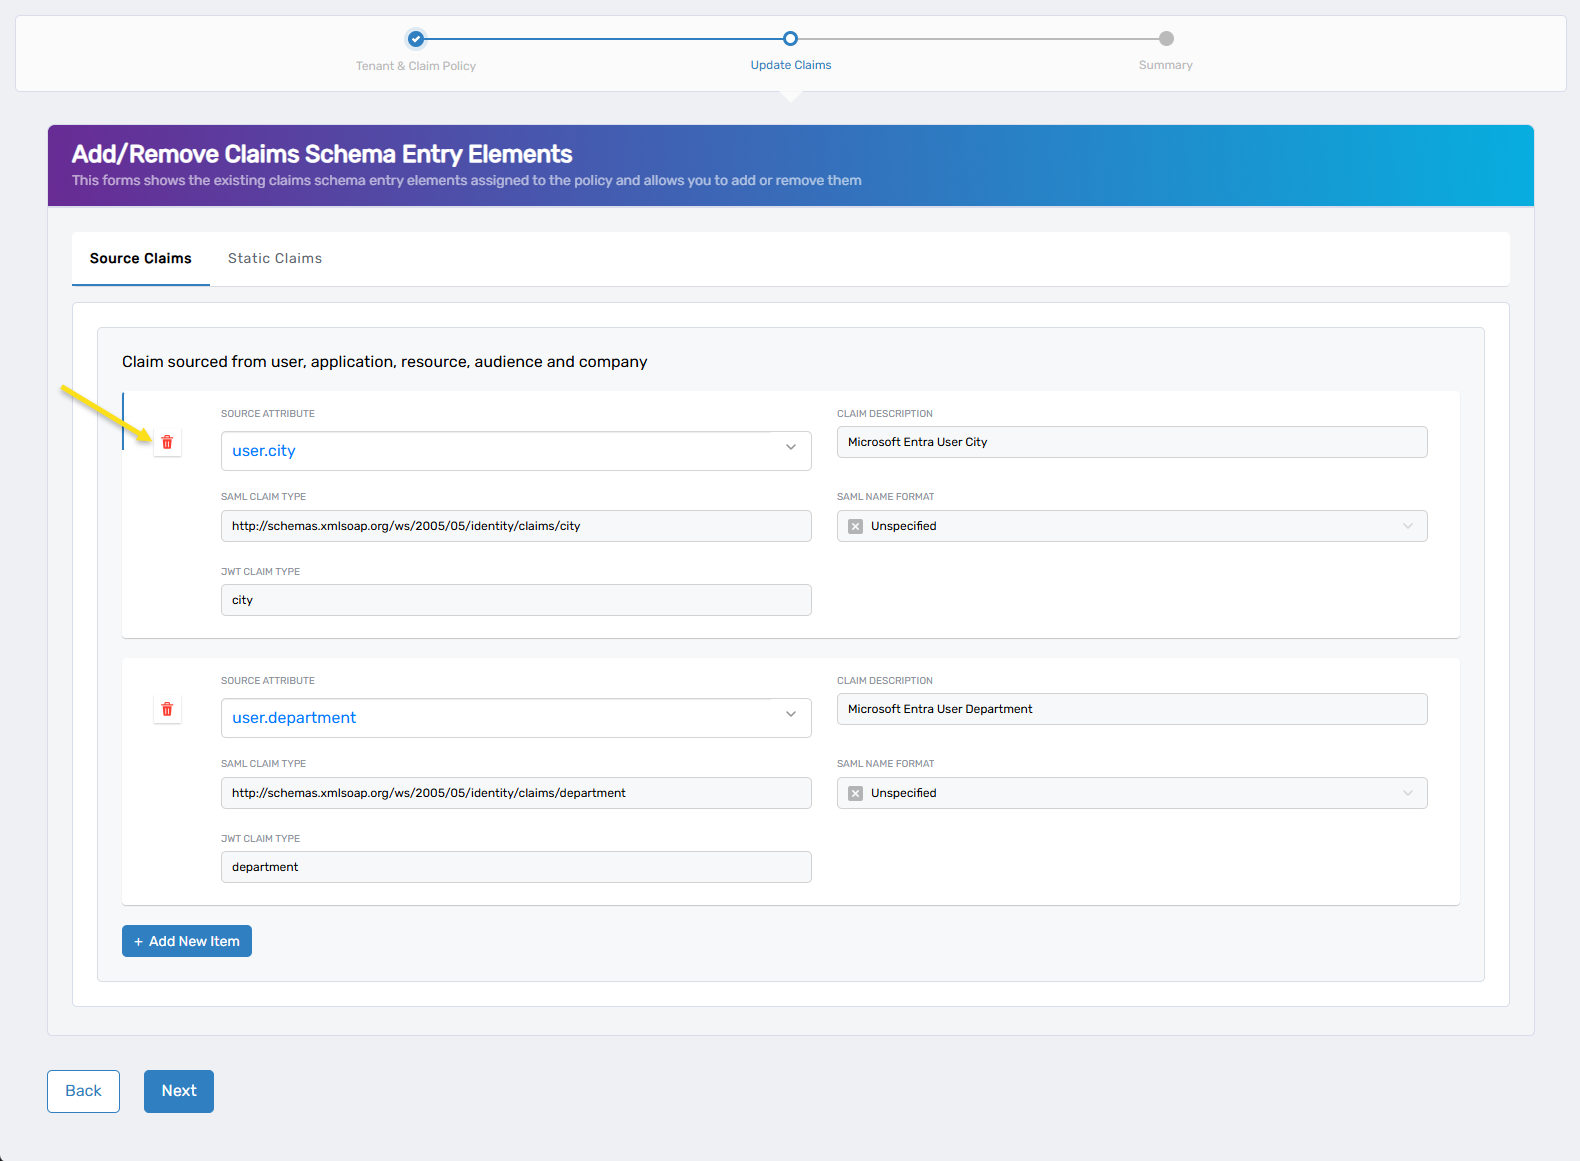
- Select the appropriate tab for the claim type you want to remove (Source Claims or Static Claims)
- Click the red trash icon next to the claim you want to delete.
- Click Yes when prompted to confirm the removal.
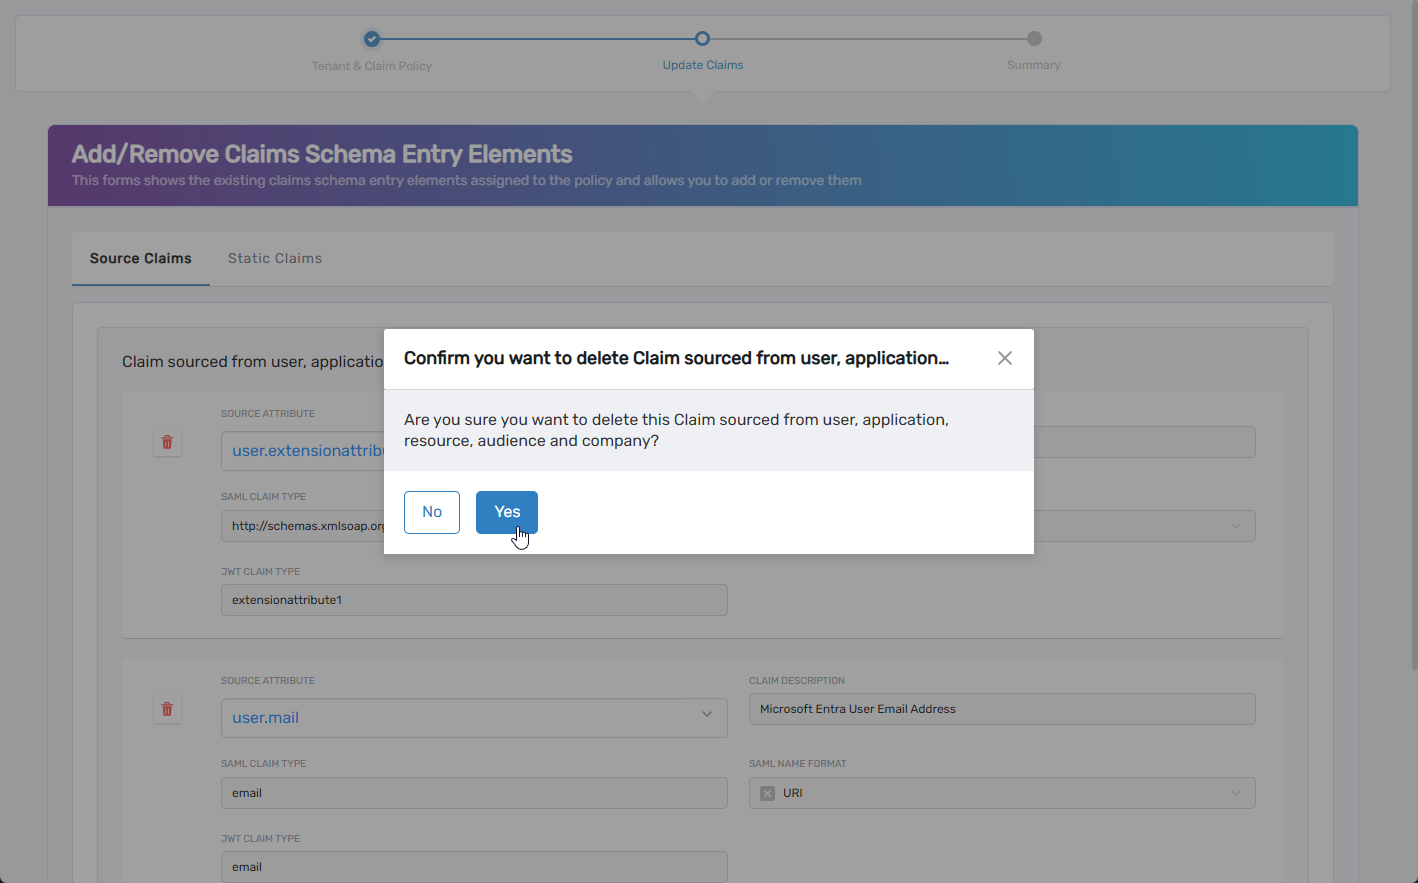
- Repeat for any additional claims you want to remove.
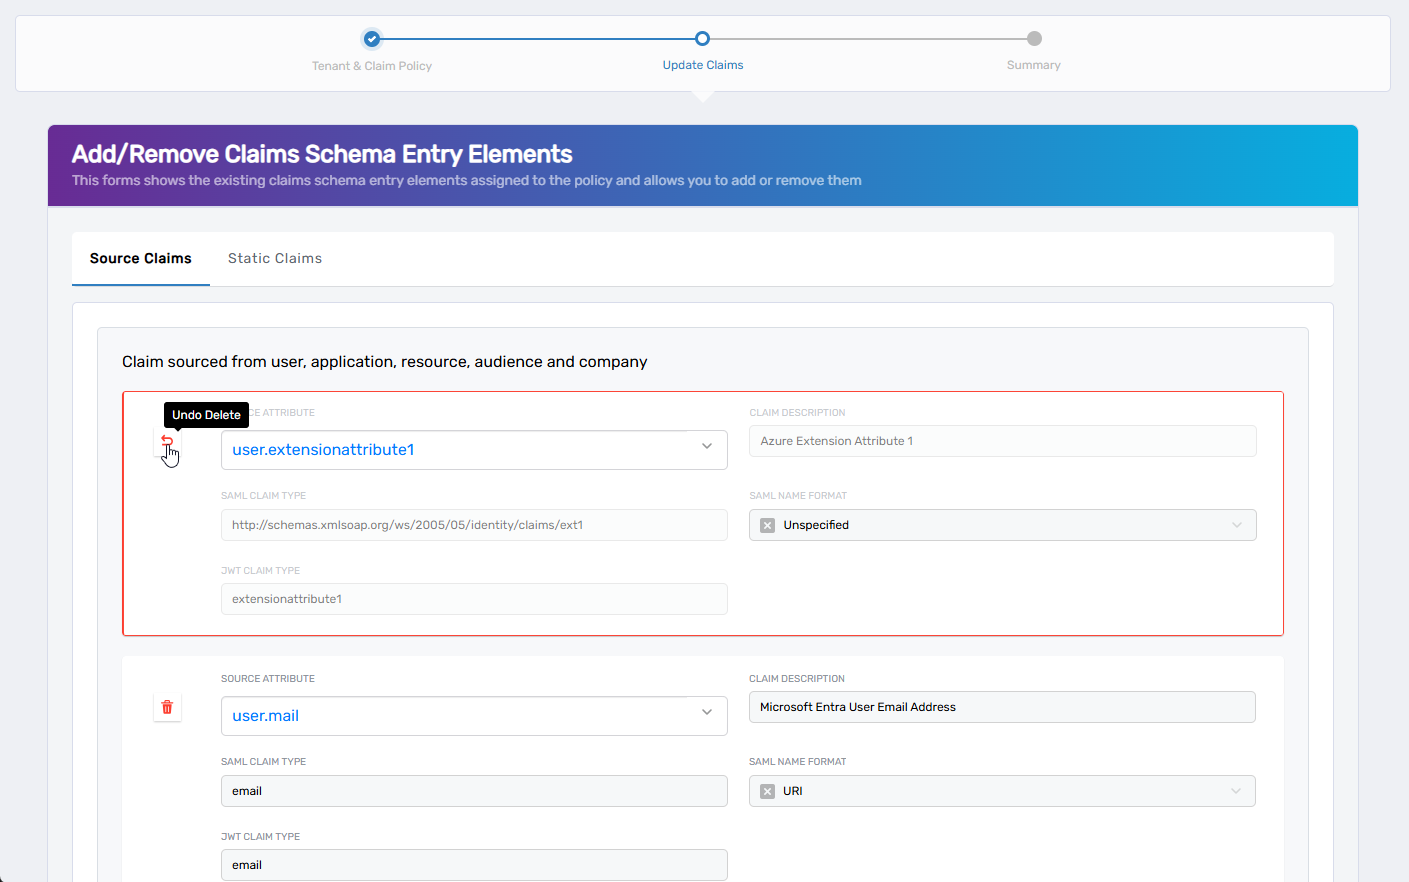
tip
To undo removing a claim before proceeding, click the Undo button for the claim in question.
- When finished, click Next to proceed to the Summary step.
- Review the summary and click Submit to apply the changes or click Back to return to the Update Claims step.
Returning to the Update Claims step will clear your entries and require re-entry of all claims.
Add Claims
To add source or static claims to the policy:
- On the policy overview, click the Add/Remove Claims button to launch the UpdateAzureClaimsMappingPolicy workflow.
The wizard opens to the Update Claims step with two tabs:
- Source Claims – For dynamic claims pulled from user, application, resource, or audience attributes
- Static Claims – For fixed values returned in the token
If the policy does not contain any claims yet, you can fill out the form for the first claim directly. For additional claims, click + Add New Item after each entry.
- If this is not the first claim, click + Add New Item.
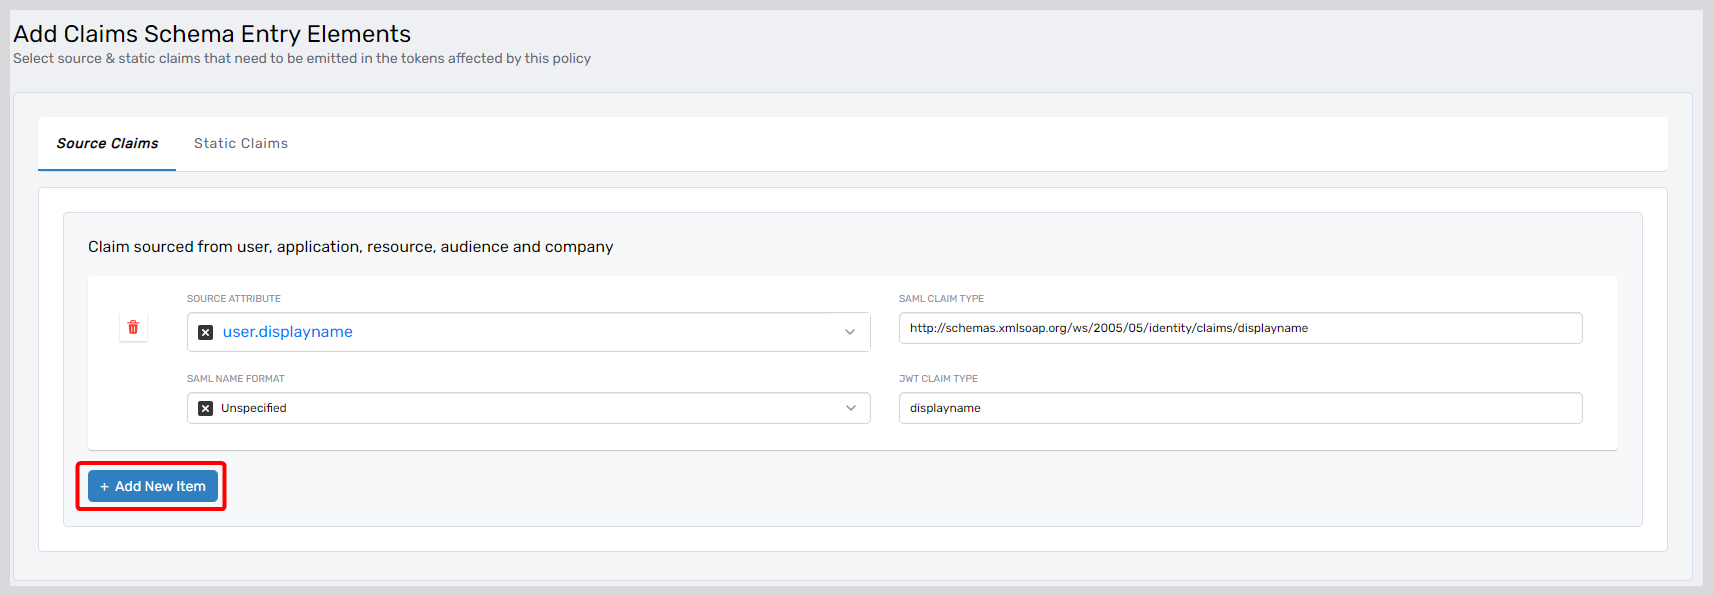
- In the appropriate tab, complete the following fields for the claim:
| Field | Description |
|---|---|
| Source Attribute | (Source only) Attribute to source the claim value from (e.g., user.city). |
| Claim Value | (Static only) The constant value to return in the token. |
| Claim Description | Optional label describing the claim. |
| SAML Claim Type | The SAML URI for the claim. |
| SAML Name Format | SAML name identifier format (e.g., unspecified, email). |
| JWT Claim Type | The name of the claim in JWT tokens. |
- To add more claims, repeat step 2.
- When finished, click Next to proceed to the Summary step.
- Review the summary and click Submit to apply the changes or click Back to return to the Update Claims step.
Returning to the Update Claims step will clear your entries and require re-entry of all claims.
What Happens Next
- Updated claims are applied to the policy immediately.
- All applications assigned to this policy will emit the updated claims in their tokens.
- Changes take effect the next time a token is issued for an assigned application.
- All modifications are logged in EmpowerID's audit trail.