Assign Claims Mapping Policies to Entra Applications
As an administrator, you can assign a claims mapping policy to one or more Microsoft Entra applications, enabling the defined user claims to be passed to those applications during authentication.
note
You must have an existing claims mapping policy before you can assign it to an application. See Create a Claims Mapping Policy for instructions.
What You'll Need
| Requirement | Description |
|---|---|
| Workflow Access | You must have permission to run the UpdateAzAppClaimsMappingPolicyAssignments workflow. |
| Policy Permissions | You must have access to view Claims Mapping Policies. |
| Existing Policy | A claims mapping policy must exist. |
| Azure Application | The target Azure application must be registered in EmpowerID. |
Steps to Assign Claims Mapping Policies to Azure Apps
- Navigate to the portal for the Resource Admin app in your environment.
- Log in using your credentials.
note
If you don't know the direct URL to Resource Admin, contact your EmpowerID administrator.
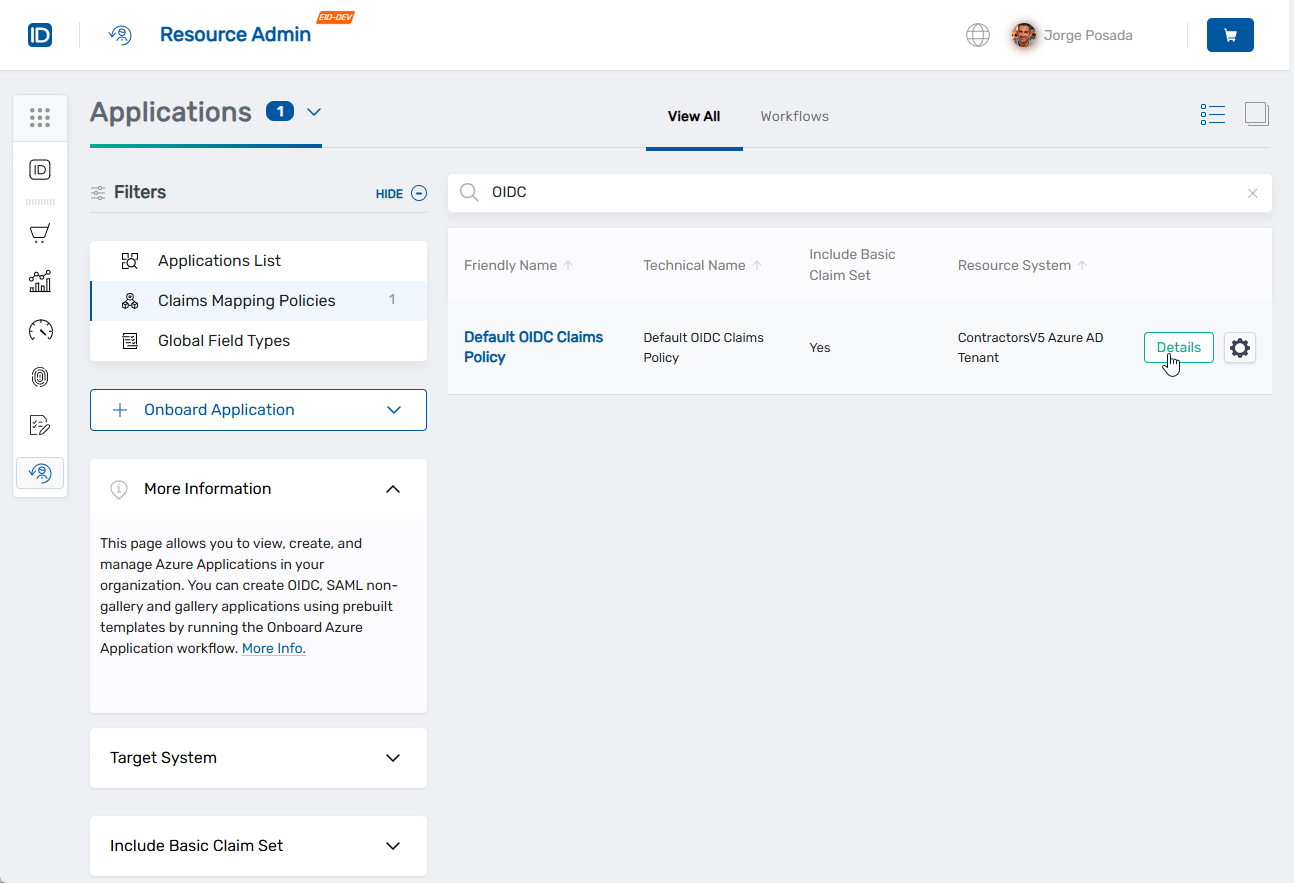
- From the dropdown menu, choose Applications.
- Under Filters, select Claims Mapping Policies.
- Search for the policy you want to update.
- Click the Details button on the record returned for the policy.
 This opens the Overview screen for the policy, where you can view details and perform actions.
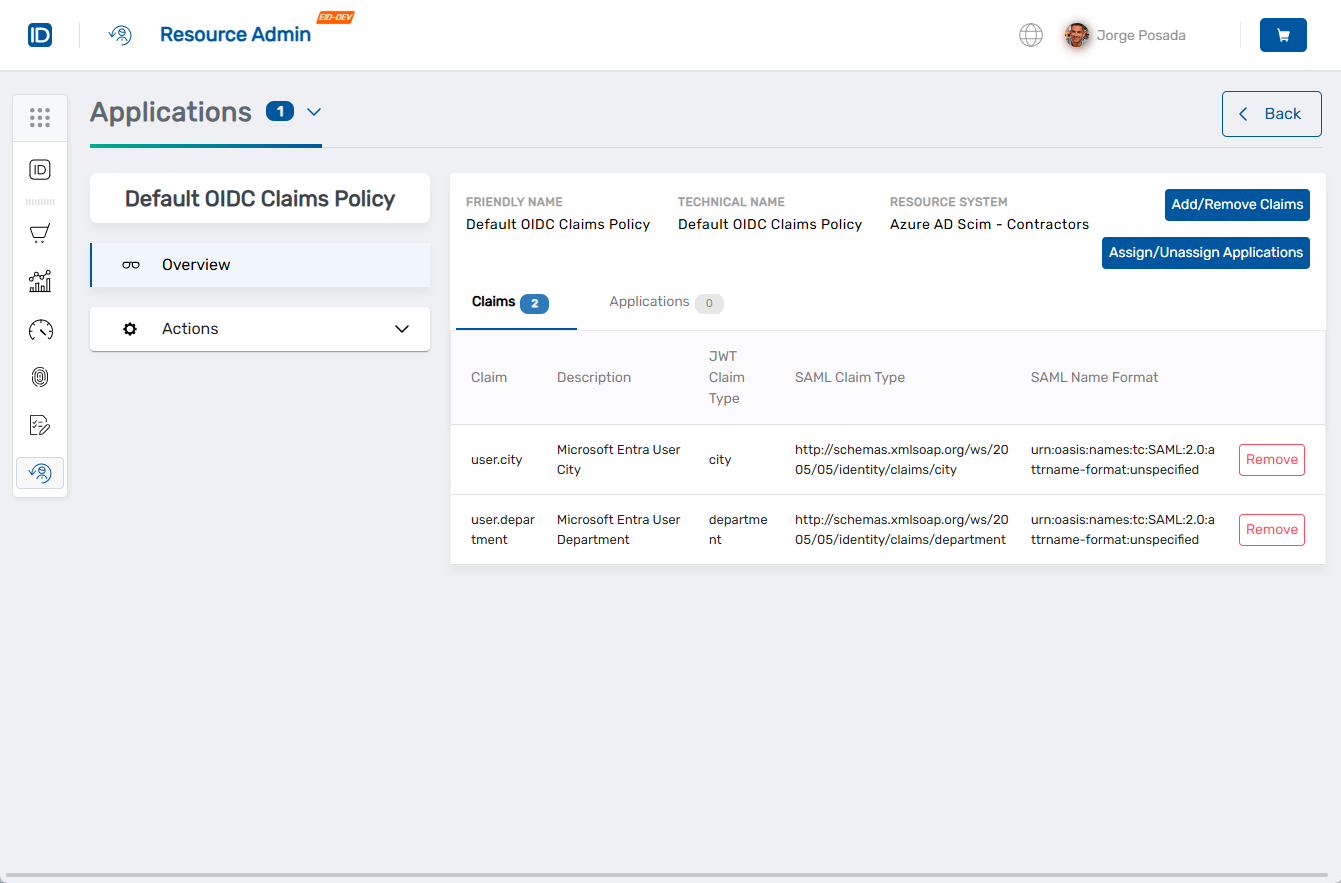
To assign a claims mapping policy to an Azure application:
- On the policy Overview screen, click the Assign/Unassign Applications button.
 This initiates the UpdateAzAppClaimsMappingPolicyAssignments workflow and opens the Assignable Applications step.
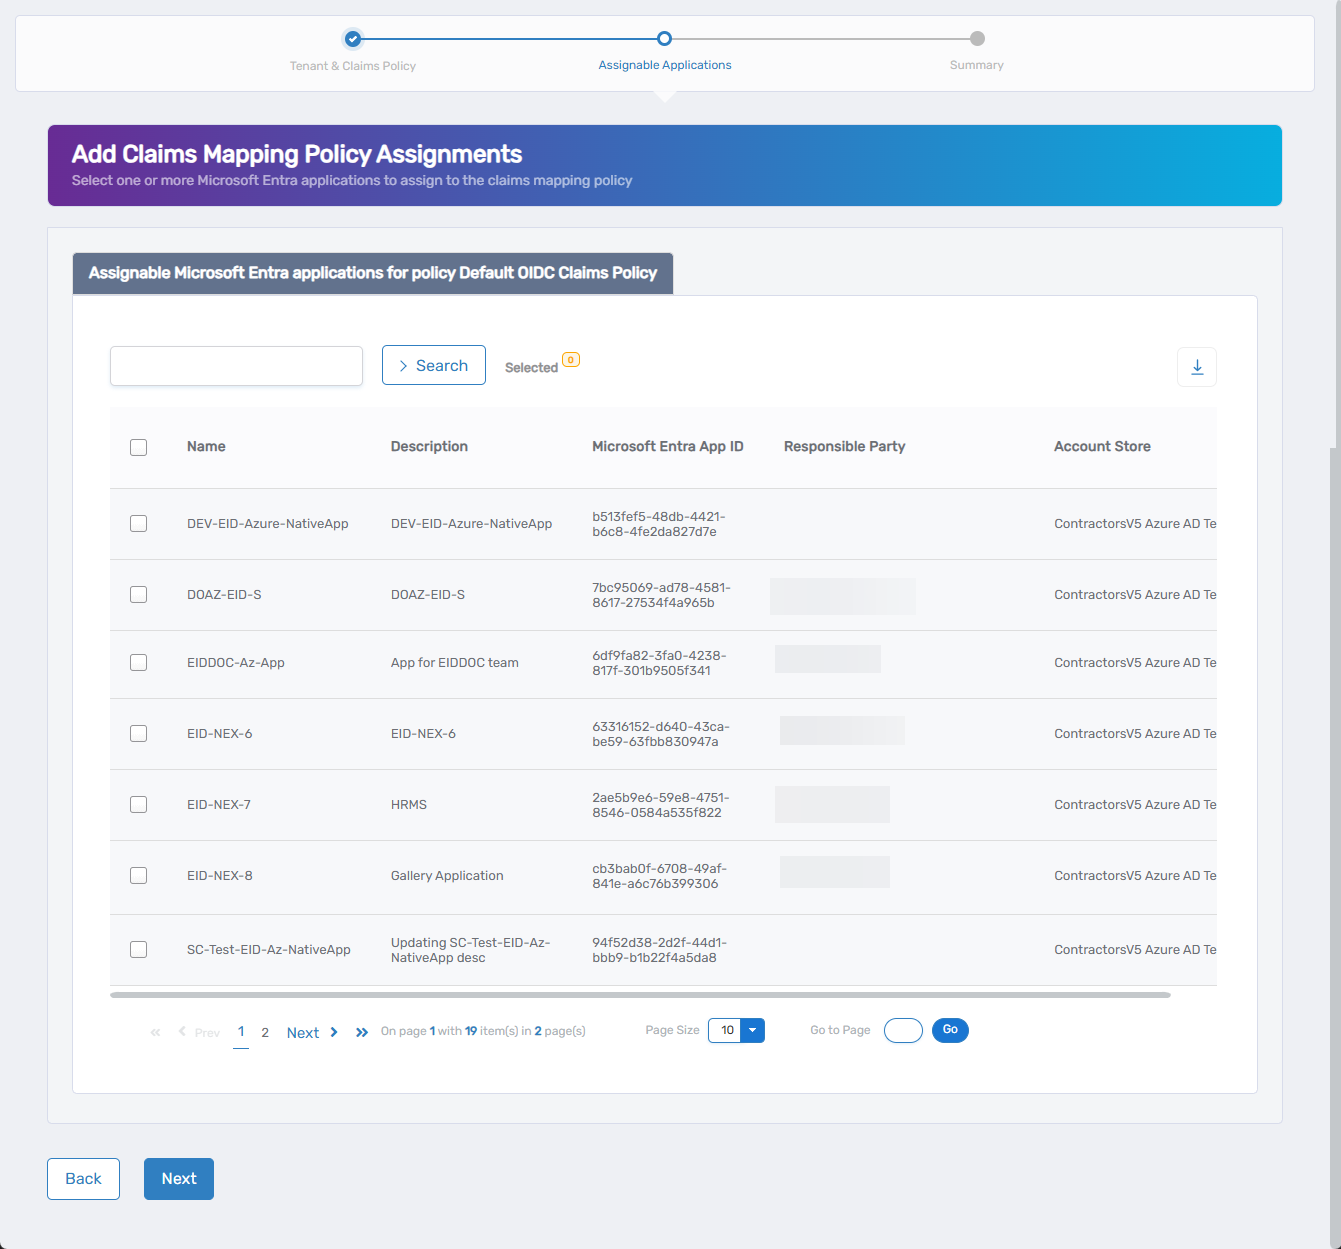
- In the lookup, search for the target application.
- Check the box next to the application name to select it.
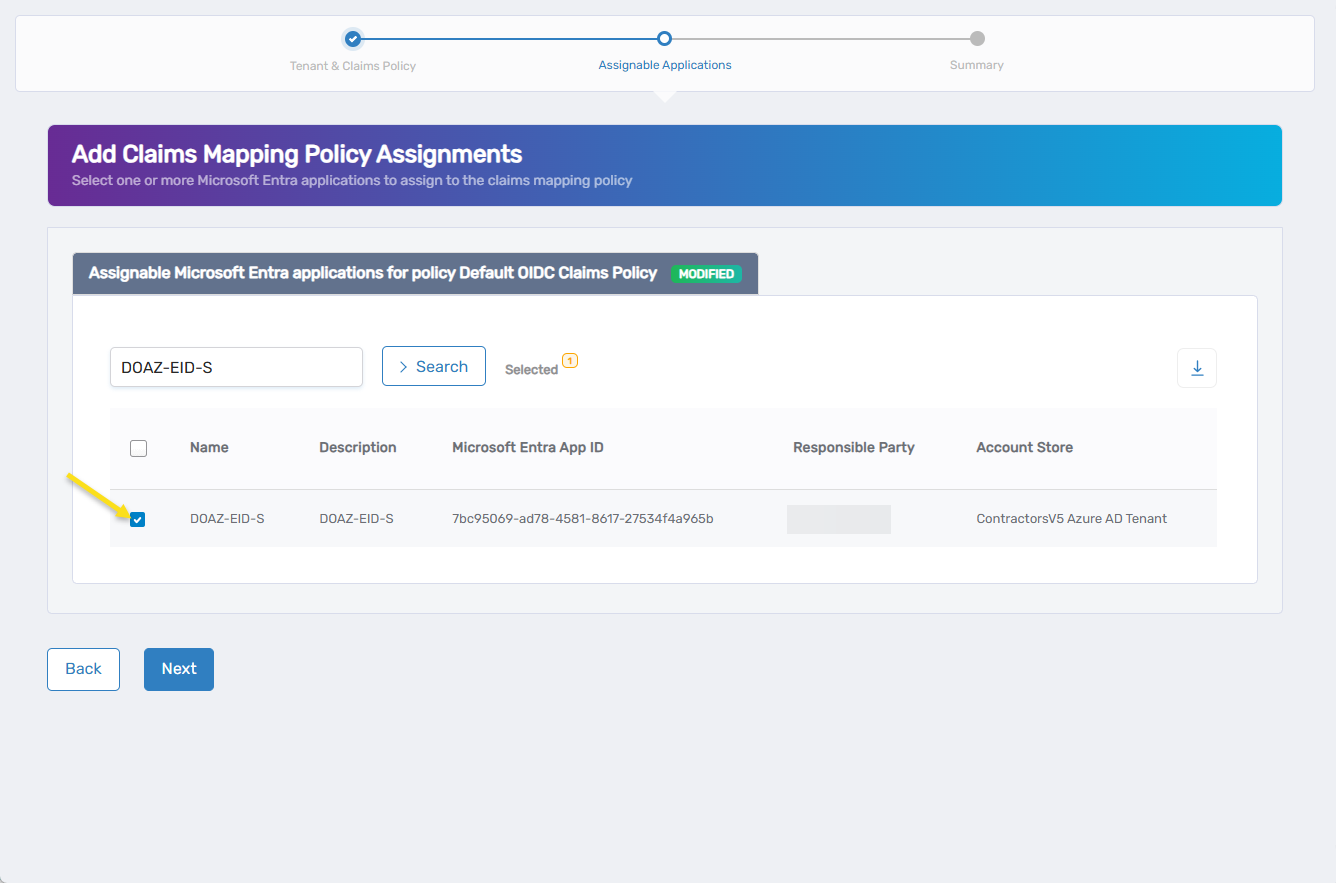
- Repeat steps 8 and 9 to select additional applications as needed.
- When finished, click Next to proceed to the Summary step.
- Review the summary and click Submit to apply the changes or click Back to return to the Assignable Applications step.
note
Returning to the Assignable Applications step will clear your selected applications and require reselecting applications.
A confirmation message appears once the claims mapping policy has been successfully assigned to the selected Azure application(s).
What Happens Next
- The claims mapping policy is applied to the selected application(s).
- Claims defined in the policy are included in tokens issued to those applications.
- Changes take effect the next time a token is issued.
- All assignments are logged in EmpowerID's audit trail.