This document is a work in progress, and the information is not yet complete and might not be fully correct.
Create and Manage ZScaler Access Policy
Managing Zscaler access policies in EmpowerID ensures centralized control over user access and security enforcement. By integrating with Zscaler, EmpowerID enables seamless policy creation and management, reducing administrative overhead and ensuring policies remain synchronized across systems.
This article explains how to create and manage Zscaler Access Policies using the `Create Zscaler Access Policy wizard', which simplifies the process by guiding you through policy configuration in EmpowerID, ensuring it is properly created in the downstream Zscaler Account Store.
When you run the workflow to create an access policy, the Azure group selected is not immediately assigned to the access policy. This delay occurs because a new Azure group is created in the background during the successful execution of the workflow. More details have been provided in the Zscaler Connecter Features & Jobs article.
- Navigate to Applications
- Go to Resource Admin → Applications.
- Search for the ZScaler application.
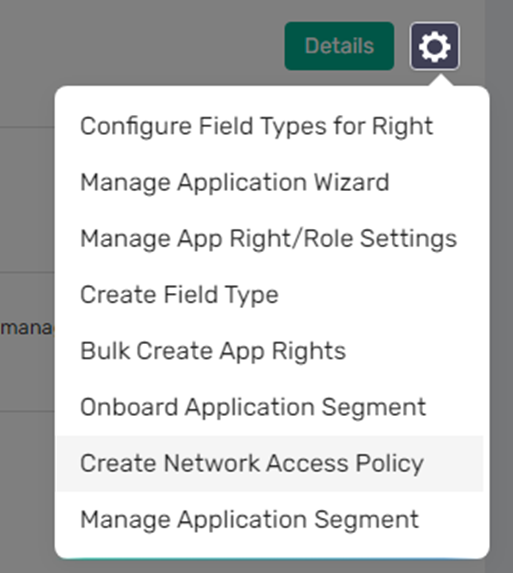
- Click the gear icon and select the Onboard ZScaler Segment menu item.
- Select Resource System
- Search for and select the appropriate Zscaler resource system.
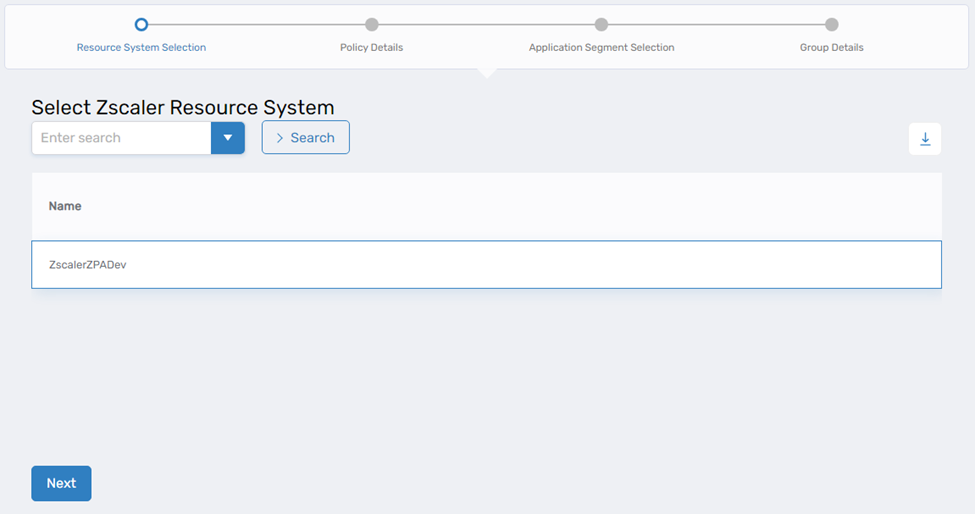
- Click Next.
- Search for and select the appropriate Zscaler resource system.
- Provide Policy Details
- Name: Enter the prefix to be used for the Access Policy name.
- Description: Provide a brief description of the Access Policy.
- Action: Choose between "Allow Access" or "Block Access".
- Select Application Segment
- Search and Select the Application Segment
- Input Group Details
- Create SCIM Group: Indicates a SCIM Group will be created (cannot be unchecked since it is by default).
- Create App Right with the same Fulfillment Group: If checked, an AzLocalRight will be created.
- Group Name: Prefix for the SCIM Group name.
- Group Type: Select the appropriate type (e.g., Microsoft 365 Group / Security Group).
- The Access Policy will be created in EmpowerID and synchronized with ZScaler.
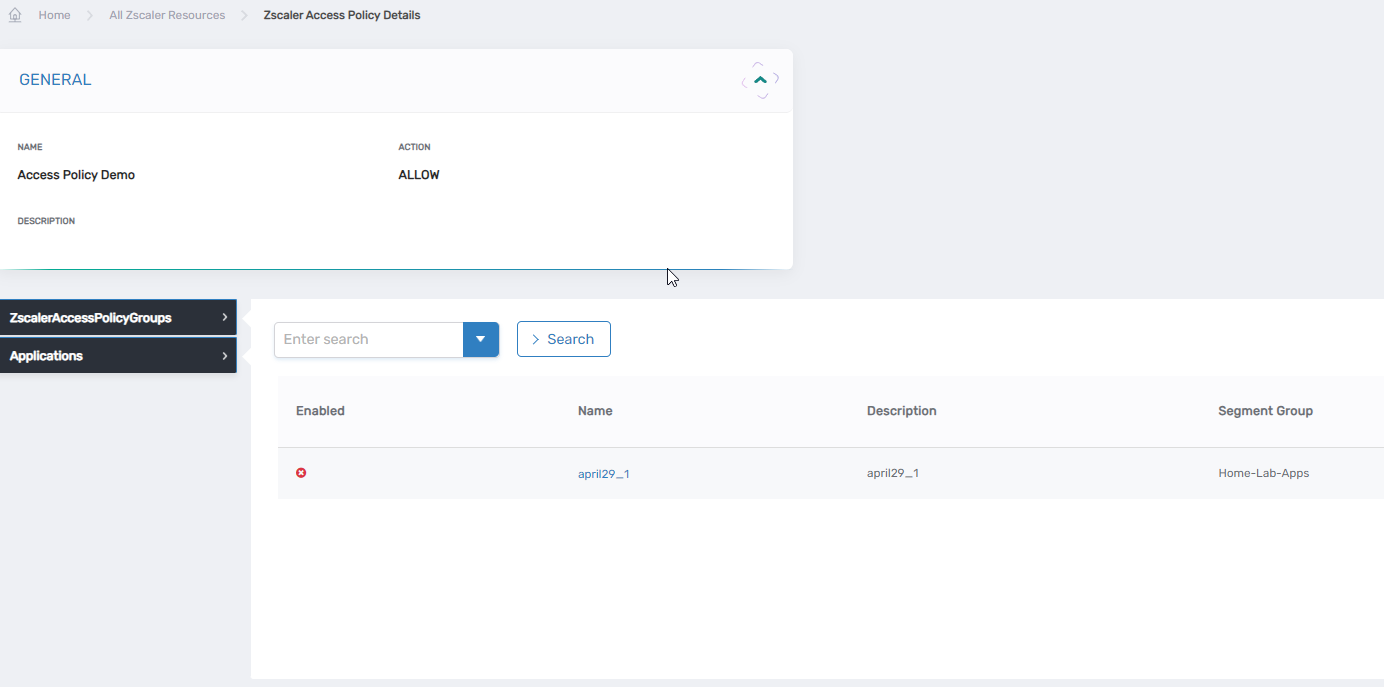
View Access Policy
- On the navbar, expand Identity Administration and click Specialized Systems.
- Click on ZScaler Manager
- Select the Access Policy tab.

- Click the Name link for the policy.
This directs you to the details page for the access policy. There, you can find the ZscalerAccessPolicyGroups and applications associated with the server.