Connect to UltiPro
This article provides step-by-step instructions for connecting EmpowerID to UltiPro. By following this article, administrators can synchronize user and employee data between the two systems, ensuring consistent and up-to-date information across both platforms.
Prerequisites
In order to connect EmpowerID to UltiPro, you must have an UltiPro account that is configured to interface with external systems. This means that you must have the following (provided by UltiPro):
- Username
- Password
- User Access Key
- Client Access Key
These values are used to authenticate EmpowerID to UltiPro. In addition, you must create a report as a Web service that specifies the fields you want to expose and then provide EmpowerID with the path to that service. Additionally, you will need to create a report and expose it as a service. The report needs to have the below fields. Fields designated as required indicate that a value must be provided.
| Field Position | Description | Required |
|---|---|---|
| 1 | Last Name | Yes |
| 2 | Middle Name | No |
| 3 | First Name | Yes |
| 4 | Preferred First Name | No |
| 5 | Location | No |
| 6 | Phone Number | No |
| 7 | Email Address | No |
| 8 | Mobile Phone | No |
| 9 | Job Title | No |
| 10 | Department Name | No |
| 11 | Company | No |
| 12 | Manager Name | No |
| 13 | Manager ID | No *Required if Manager Name is provided |
| 14 | Employee ID | No *Must be unique for each employee |
| 15 | Windows Login | No |
| 16 | Sales ID | No |
| 16 | Sales ID | No |
| 17 | Manager Flag | Yes *Yes for manager; No for non-manager |
| 18 | Employee Status | Yes *Active, Terminated |
| 19 | Employee Type | No |
| 20 | Sales Force | No |
| 21 | Date Of Birth | No |
| 22 | Division | No |
| 23 | Business Unit | No |
| 24 | Department Summary | No |
| 25 | Hire Date | No |
Procedure
Step 1 – Create an UltiPro account store in EmpowerID
- Navigate to Admin > Applications and Directories on the EmpowerID navbar and select Account Stores and Systems.
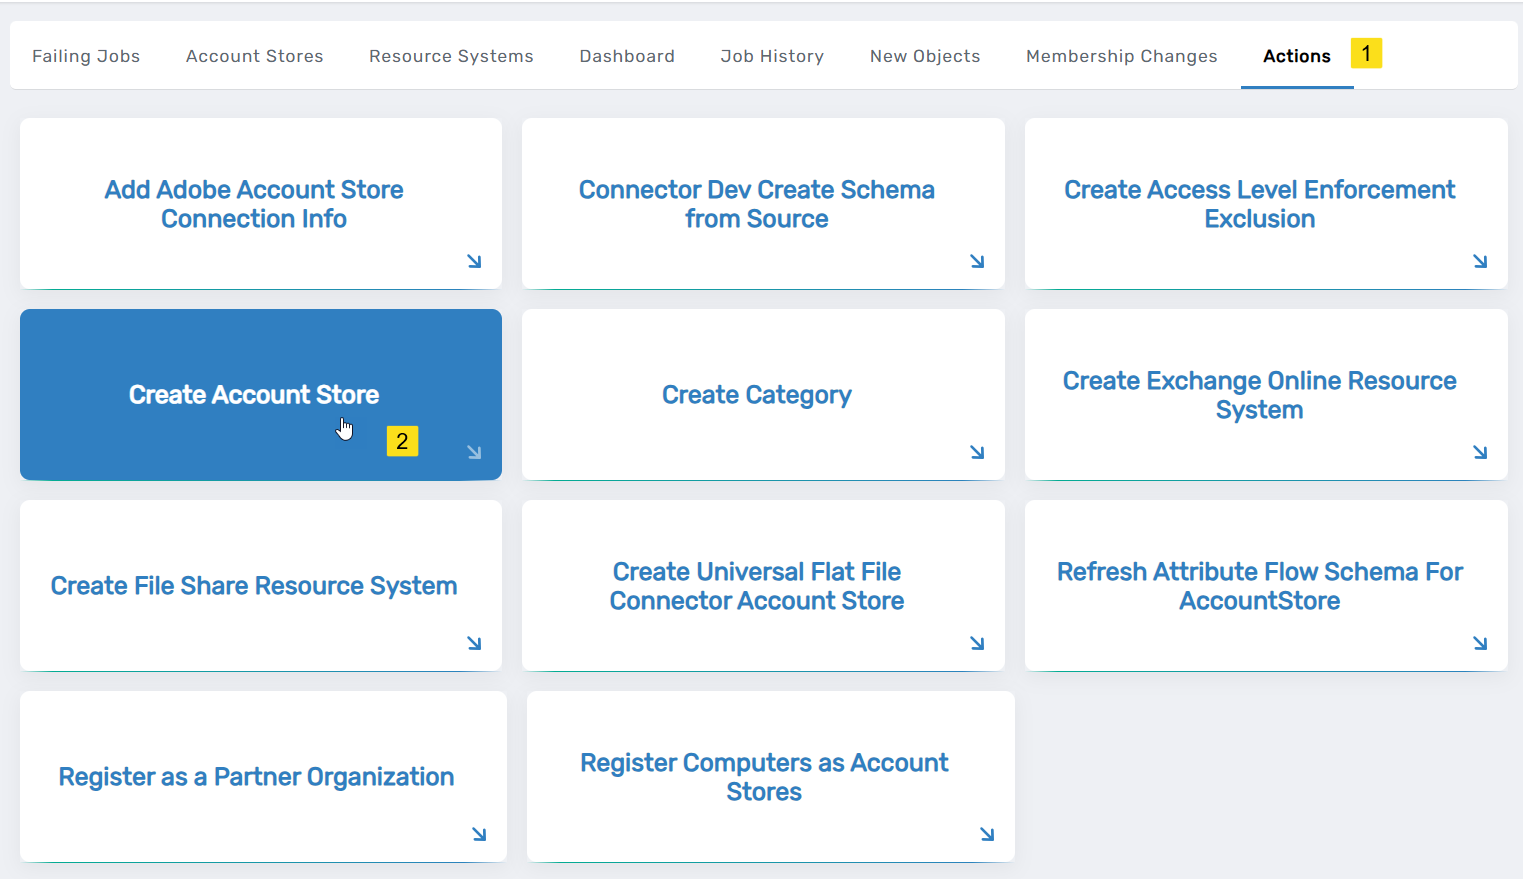
- Click the Actions tab and select Create Account Store.

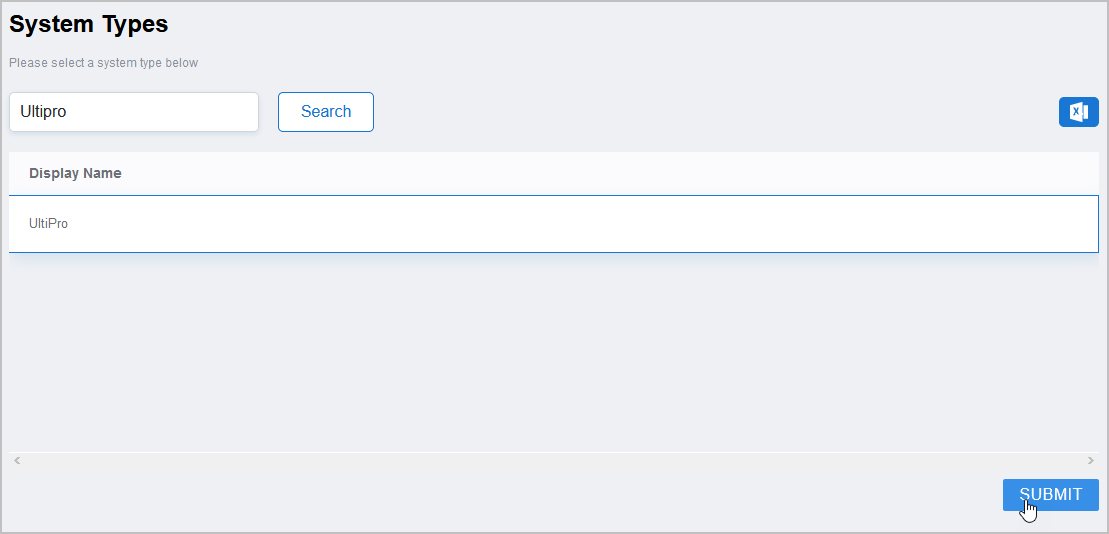
- Under System Types, search for UltiPro.
- Click UltiPro to select the type and then click Submit.

- On the UltiPro Settings page that appears, fill in the following information:
- Name — Enter a name for the account store
- Client Key — The Customer API Key issued by UltiPro
- User API Key — The User API Key issued by UltiPro
- Report Path — The path to the report that you created in UltiPro and exposed as a service
- Base URL — The Base URL for your UltiPro system, e.g.,
https://service123.ultipro.com/service/ - User Name and Password — Your UltiPro credentials
- When ready click Submit to create the account store.
- EmpowerID creates the account store and the associated resource system. The next step is to configure attribute flow between the account store and EmpowerID.
Step 2 – Configure Attribute Flow
EmpowerID allows configuring attribute synchronization rules between the Linux system and the EmpowerID Identity Warehouse. Attribute flow rules define how attributes are synchronized and can be weighted for prioritization across multiple sources.
Attribute Flow Options
- No Sync: No synchronization occurs between EmpowerID and the Linux system.
- Bidirectional Flow: Changes in either system are reflected in the other.
- Account Store Changes Only: Changes made in Linux sync to EmpowerID but not vice versa.
- EmpowerID Changes Only: Changes made in EmpowerID sync to Linux but not vice versa.
CRUD Operations
- Create: Creates an attribute if it does not exist.
- Update: Updates an existing attribute.
- Delete: Removes an attribute value.
Configuring Attribute Flow
- Navigate to Account Stores and Systems and locate the newly created Linux account store.
- Click on the Account Store link.
- Select the Attribute Flow Rules tab.
- Adjust the synchronization direction using the Attribute Flow dropdown.
- Modify CRUD operation scores as needed to prioritize attribute sources.
- Save your changes.
EmpowerID only considers scores for attribute CRUD operations when multiple account stores with the same user records are connected to EmpowerID, such as would be the case if an HR System and this account store were being inventoried by EmpowerID.
Now that the attribute flow has been set, the next steps include configuring the account store and enabling EmpowerID to inventory it.
Step 3 – Configure account store settings
-
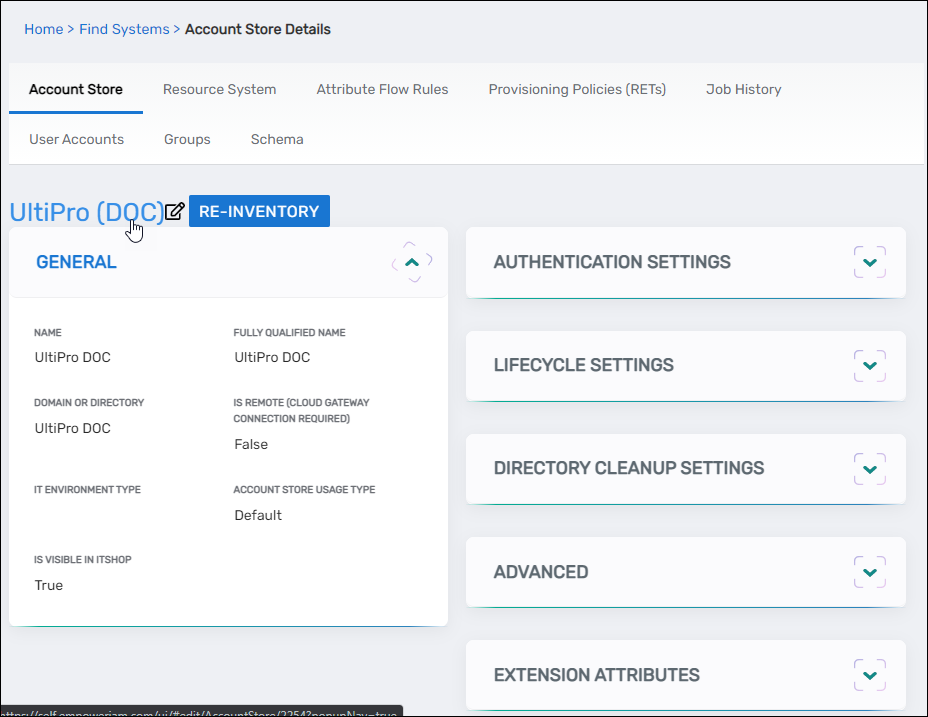
On the Account Store and Resource System page, click the Account Store tab and then click the pencil icon to put the account store in edit mode.

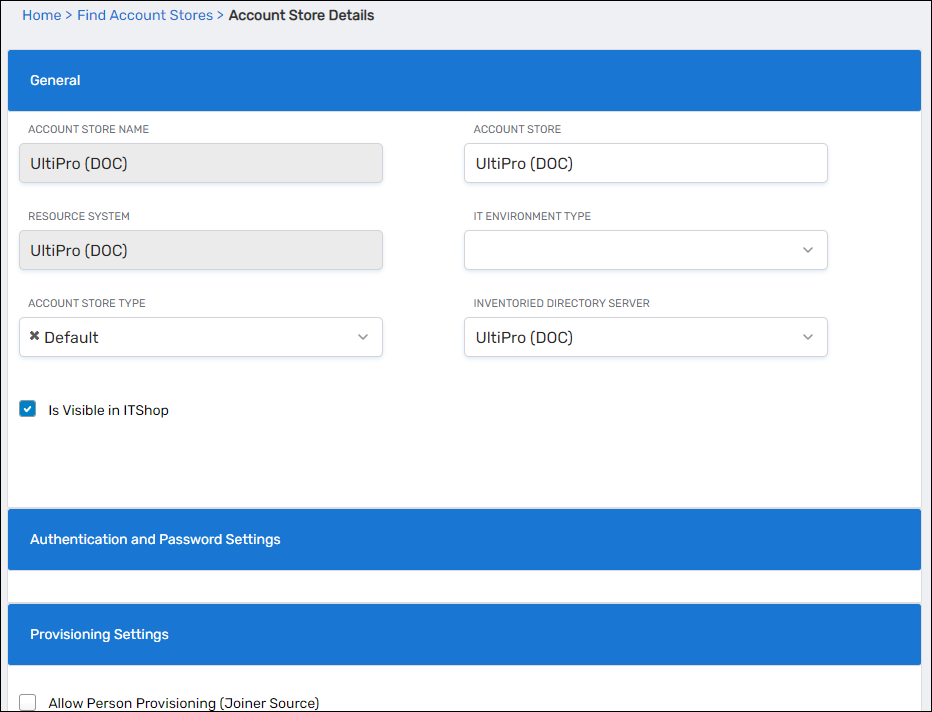
This opens the edit page for the account store. This page allows you to specify the account proxy used to connect EmpowerID to your UltiPro account as well as how you want EmpowerID to handle the user information it discovers in UltiPro during inventory. Settings that can be edited are described in the table below the image.

Account Store Settings Setting Description General Settings IT Environment Type Allows you to specify the type of environment in which you are creating the account store. Inventoried Directory Server Allows you to select a connected server as the directory server for the account store. Provisioning Settings Allow Person Provisioning (Joiner Source) Specifies whether EmpowerID Persons can be provisioned from user accounts in the account store. Allow Account Creation on Membership Request Specifies whether EmpowerID creates user accounts in the account store when an EmpowerID Person without one requests membership within a group belonging to the account store. Recertify All Group Changes as Detected Specifies whether detected group changes should trigger recertification. Directory Clean Up Enabled Settngs Directory Clean Up Enabled Specifies whether the SubmitAccountTermination permanent workflow should claim the account store for processing account terminations. When enabled, accounts in the account store that meet the qualifications to be marked for deletion are moved into a special OU within the external directory, disabled and finally deleted after going through an automated approval process. This process involves setting a number of system settings in EmpowerID and requires multiple approvals by designated personnel before an account is finally removed from the account store. Report Only Mode (No Changes) When enabled, a report of what the Directory Clean Up process would do is written to the log. The process itself is ignored and all accounts are set to Termination Pending, Special Use Settings Queue Password Changes on Failure Specifies whether EmpowerID should send password changes to the Account Password Reset Inbox only when the change fails. -
Edit the account store as needed and then click Save to save your changes.
Next, enable the Account Inbox permanent workflow to allow the Account Inbox to provision or join the user accounts in UltiPro to EmpowerID Persons as demonstrated below.
Step 4 – Enable Account Inbox Permanent Workflow
The Account Inbox workflow is essential for processing user accounts discovered during inventory.
- Navigate to Infrastructure Admin > EmpowerID Server and Settings > Permanent Workflows.
- Locate Account Inbox and click its Display Name link.
- Click the pencil icon to enter edit mode.
- Check Enabled.
- Click Save to activate the workflow.
Step 5 - Monitor Inventory
EmpowerID continuously inventories the account store, identifying new, updated, or orphaned accounts.
- Navigate to Identity Lifecycle > Account Inbox.
- Use the tabbed views to monitor inventory:
- All: Lists all discovered user accounts and their statuses.
- Dashboard: Displays an overview of account inventory activities.
- Orphans: Highlights user accounts without an associated EmpowerID Person.
Regular monitoring ensures that newly discovered accounts are processed correctly and remain synchronized with EmpowerID policies.