Unshare Folders
When you need to remove network sharing from shared folders while keeping the folders and their contents intact, you can unshare them through EmpowerID. This removes network access to the folders but preserves all files and the folder structure on the file system.
Access Requirements: You must have appropriate access to manage shared folders.
Use this workflow when you need to restrict network access to folders temporarily, when transitioning folder access methods, or when folders no longer need to be shared but should remain on the server.
Before You Start
Make sure you have:
- Understanding of which folders need to be unshared
- Knowledge that unsharing removes network access but preserves folder contents
- Confirmation from stakeholders that network sharing should be removed
- Awareness of any applications or users currently accessing the shared folders
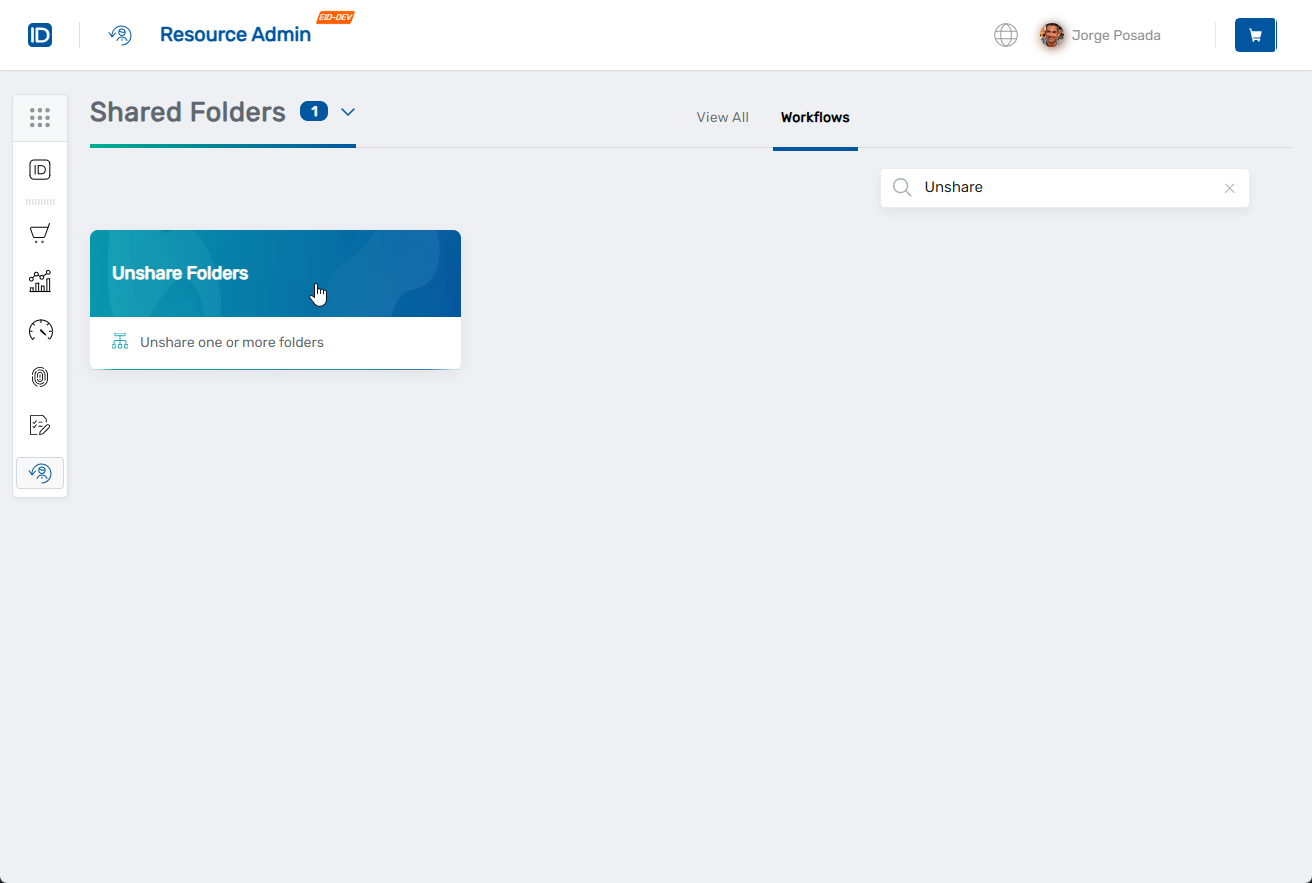
Get Started
- Navigate to the Resource Admin portal.
- Select Shared Folders from the resource type menu.
- Click the Workflows tab.
- Find and click Unshare Folders.
Step 1: Select Shared Folders
Search for and select the shared folders you want to unshare.
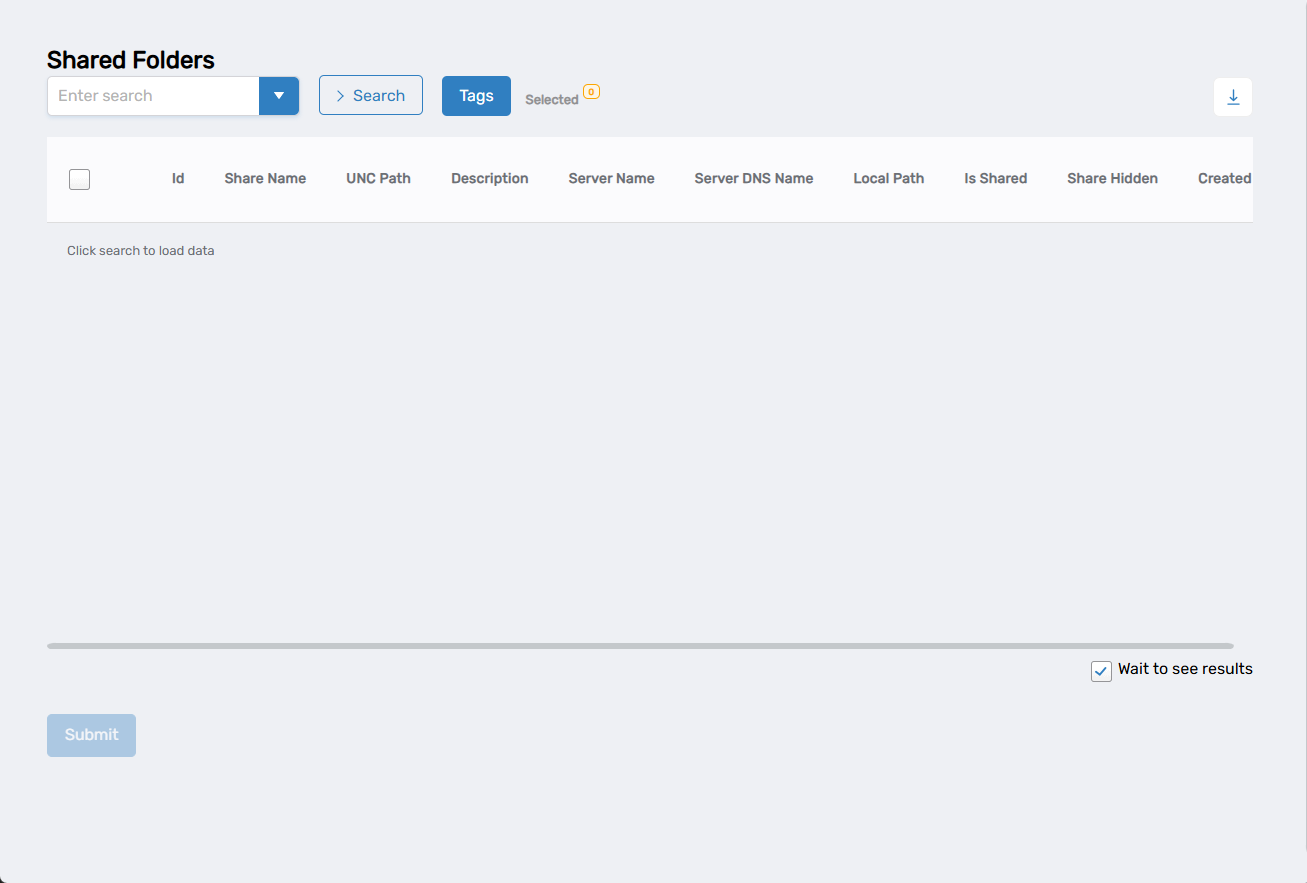
- Search and select folders:
- Enter search criteria in the search field.
- Click Search to load available shared folders.
- Select folders by checking the box next to each one.
- Add more folders (if needed):
- Enter different search criteria to find other folders.
- Click Search again to load new results.
- Select additional folders as needed.
- The Selected counter shows your total selections.
- Configuration:
- Uncheck Wait to see results to create a collaboration task in My Tasks that you can complete later. This will end the current workflow session.
- Click Submit to proceed.
Step 2: Confirm Unsharing
-
Review the selected folders and confirm the unsharing action.

- Review the folders that will be unshared.
- Verify the folder names and locations are correct.
- Uncheck Wait to see results to create a collaboration task in My Tasks that you can complete later.
-
Click Yes to unshare the selected folders, or No to cancel.
Step 3: Complete the Workflow
- Review the Operation Execution Summary to confirm the folders were unshared successfully.
- Click Submit to exit the workflow.
What Happens Next
- Network sharing is removed from the selected folders.
- The folders and all their contents remain intact on the file system.
- Users can no longer access the folders through network shares or UNC paths.
- The folders are removed from EmpowerID's shared folder management.
- Local access to the folders on the server remains unchanged.
If You Run Into Problems
Folder not found: The folder may have been moved, deleted, or you may not have access to view it.
Related Actions
- To create new shared folders, see Create Shared Folders.
- To bring existing folders under management, see Register Shared Folders.
- To permanently remove folders, see Delete Shared Folders.