Create Custom SSO Extensions
SSO extensions provide integration points for SAML 2.0 Web Profile based Single Sign On. You can use these extensions to do any of the following:
- Manipulate the SAML response being sent from the Login Workflow.
- Manipulate the SAML response being sent from IDP without the aid of the Login Workflow when the user already has an SSO session.
- Merge and/or manipulate the local SAML response and the external IDP SAML response.
- Parse the SAML Assertion sent to the OAuth Provider in the OAuth SAML Bearer Assertion Grant
- Resolve Smartcard user identity during SAML SSO transaction.
- Resolve an account for a Service Provider given one or more accounts. This is usually necessary when you need to address situations where a person is linked to more than one account.
- Resolve a person for an IDP given one or more people. This is usually necessary when you need to address situations where an account LogonName is associated with multiple people in different account stores for a given IDP.
- Create AuthnRequest, Connection and RelayState from a legacy web request.
What You'll Learn
In this tutorial, you'll create a custom SSO extension that:
- Provides integration points for SAML 2.0 Web Profile based Single Sign On
- Implements methods to manipulate SAML responses during authentication flows
- Handles complex federation scenarios and custom validation logic
- Integrates with EmpowerID's SSO framework through proper publishing
Developing SSO Extensions
Step 1: Create the SSO Extension
- In Workflow Studio, click the application menu and select Extensibility > EmpowerID SAML 2.0 SSO Extension.
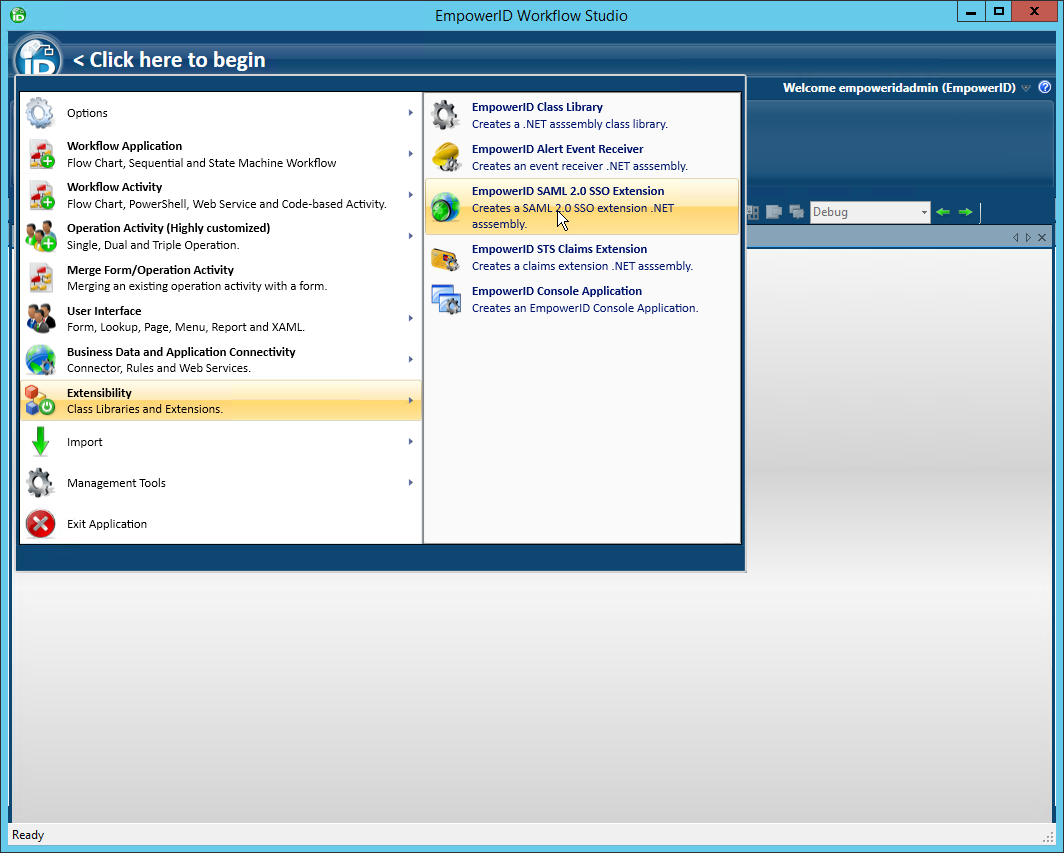
- Name the SSO extension appropriately and save it to the package of your choice.

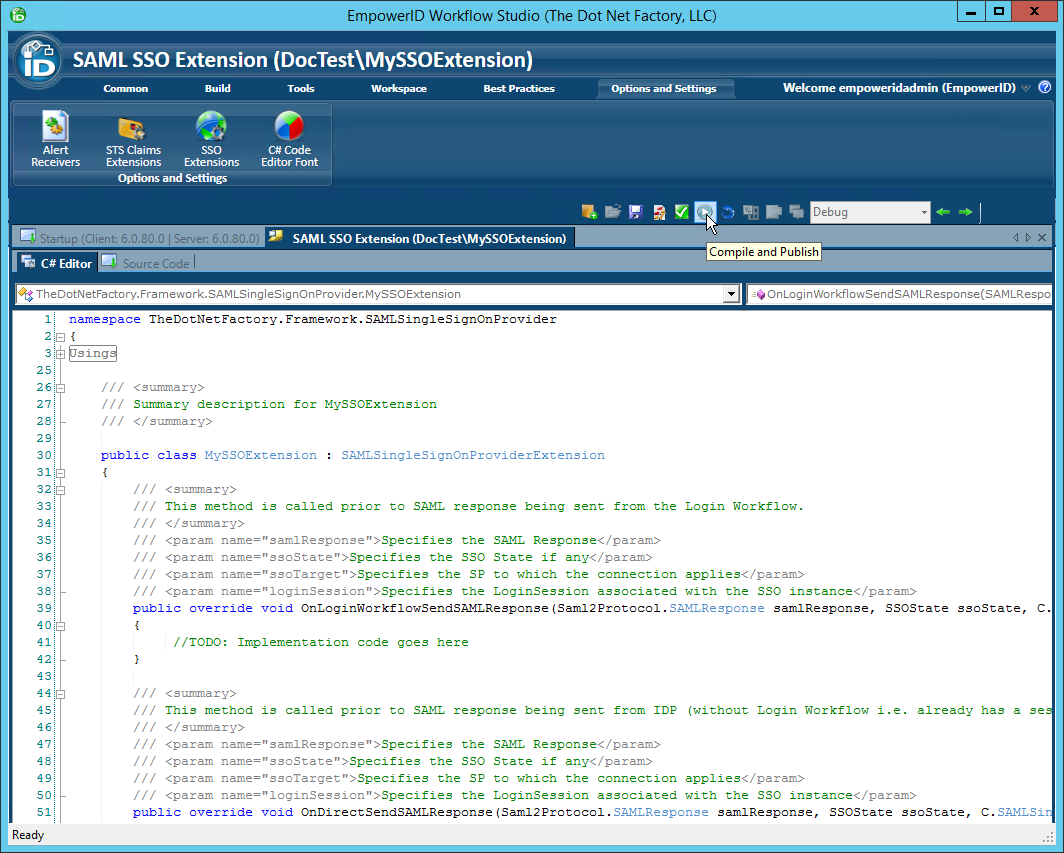
Workflow Studio creates the SAML SSO extension stub and opens the SSO extension template.

Step 2: Implement Extension Methods
Add your logic to any of the methods in the template as needed for your specific situation. These methods include the following:
OnLoginWorkflowSendSAMLResponse Method
This method allows you to manipulate the SAML response prior to be sent from the Login Workflow during an SSO sign-in.
C# Syntax
public override void OnLoginWorkflowSendSAMLResponse(
    Saml2Protocol.SAMLResponse samlResponse,
    SSOState ssoState,
    C.SAMLSingleSignOn ssoTarget,
    C.LoginSession loginSession
)
Parameters
| Parameter | Description |
|---|---|
samlResponse[in] | Specifies the SAML Response object |
ssoState[in] | Specifies the SSO state if any. Typically, the SSO state contains the SAML Authentication Request, the SSO connection and other contextual objects |
ssoTarget[in] | Specifies the SSO connection as configured in EmpowerID |
loginSession[in] | Specifies the SSO Login Session associated with the SSO instance |
OnDirectSendSAMLResponse Method
This method allows you to manipulate the SAML response prior to be sent from the login process during an SSO sign whereby the Login Workflow was bypassed.
C# Syntax
public override void OnDirectSendSAMLResponse(
    Saml2Protocol.SAMLResponse samlResponse,
    SSOState ssoState,
    C.SAMLSingleSignOn ssoTarget,
    C.LoginSession loginSession
)
Parameters
| Parameters | Description |
|---|---|
samlResponse[in] | Specifies the SAML Response object |
ssoState[in] | Specifies the SSO state if any. Typically, the SSO state contains the SAML Authentication Request, the SSO connection and other contextual objects |
ssoTarget[in] | Specifies the SSO connection as configured in EmpowerID |
loginSession[in] | Specifies the SSO Login Session associated with the SSO instance |
MergeFederatedResponses Method
This method allows you merge SAML response from an external IDP with the local SAML response when performing SSO in the context of an EmpowerID-to-EmpowerID federation.
C# Syntax
public override SAMLResponse MergeFederatedResponses(
     Saml2Protocol.SAMLResponse localSAMLResponse,
     Saml2Protocol.SAMLResponse externalSAMLResponse,
     C.SAMLSingleSignOn ssoTarget,
     C.LoginSession loginSession
)
Parameters
| Parameter | Description |
|---|---|
localSAMLResponse[in] | Specifies the local SAML Response object |
externalSAMLResponse[in] | Specifies the SAML response from the external Identity Provider |
ssoTarget[in] | Specifies the SSO connection as configured in EmpowerID |
loginSession[in] | Specifies the SSO Login Session associated with the SSO instance |
Remarks
This method returns the merged SAML response.
CustomOAuthSAMLValidation Method
This method provides custom parsing for the SAML Assertion sent to the OAuth Provider in the OAuth SAML Bearer Assertion Grant
C# Syntax
public override string CustomOAuthSAMLValidation(
    Saml2.SAMLAssertion assertion,
    C.SAMLSingleSignOn samlSingleSignOn,
    string logonName
)
Parameters
| Parameter | Description |
|---|---|
assertion[in] | Specifies the SAML assertion sent to the OAuth Provider |
samlSingleSignOn[in] | Specifies the SSO connection as configured in EmpowerID |
logonName[in] | Specifies the logon name of the user that was parsed from the assertion |
Remarks
This method returns the logon name of the user.
ResolveSmartCardUserID Method
This method is called to retrieve the Smartcard user identity.
C# Syntax
public override string ResolveSmartCardUserID(
    C.SAMLSingleSignOn idpTarget,
    C.SAMLSingleSignOn ssoTarget,
    X509Certificate2 certificate
)
Parameters
| Parameter | Description |
|---|---|
idpTarget[in] | Specifies the SSO IDP connection as configured in EmpowerID |
ssoTarget[in] | Specifies the SSO SP connection as configured in EmpowerID |
certificate[in] | Specifies the client X509 certificate from which user identity is to be resolved |
Remarks
This method returns the resolved user identity.
Publishing SSO Extensions
Step 1: Compile and Publish
- Click the Compile and Publish button located just above the C# Editor.
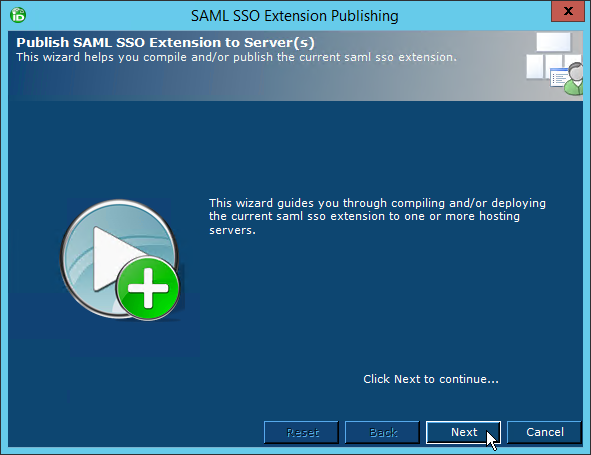
- From the STS Claims Extension Publishing wizard that appears, click Next.
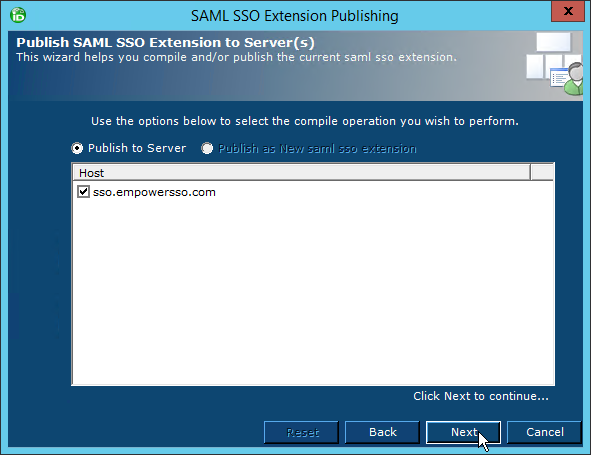
- Select an EmpowerID server as the publishing location and then click Next.
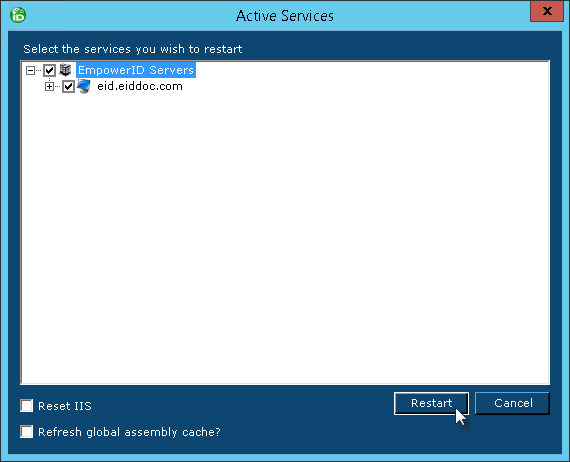
When the wizard has completed publishing, you will be promoted to restart one or more services. Restarting the services allows EmpowerID to pick up your changes as well as make the underlying assembly for the class library available to the local GAC of those services.
- Click Yes when prompted to restart the services.
- In the Active Services dialog that appears, select the services to be restarted and then click Restart.
Disabling SSO Extensions
The only way to disable an SSO extension is to remove the extension from active use. After an extension has been removed, you must reset IIS to ensure that the extension is no longer used.
Step 1: Remove the Extension
- In Workflow Studio, click the Options and Settings ribbon tab and then click the SSO Extensions ribbon button.
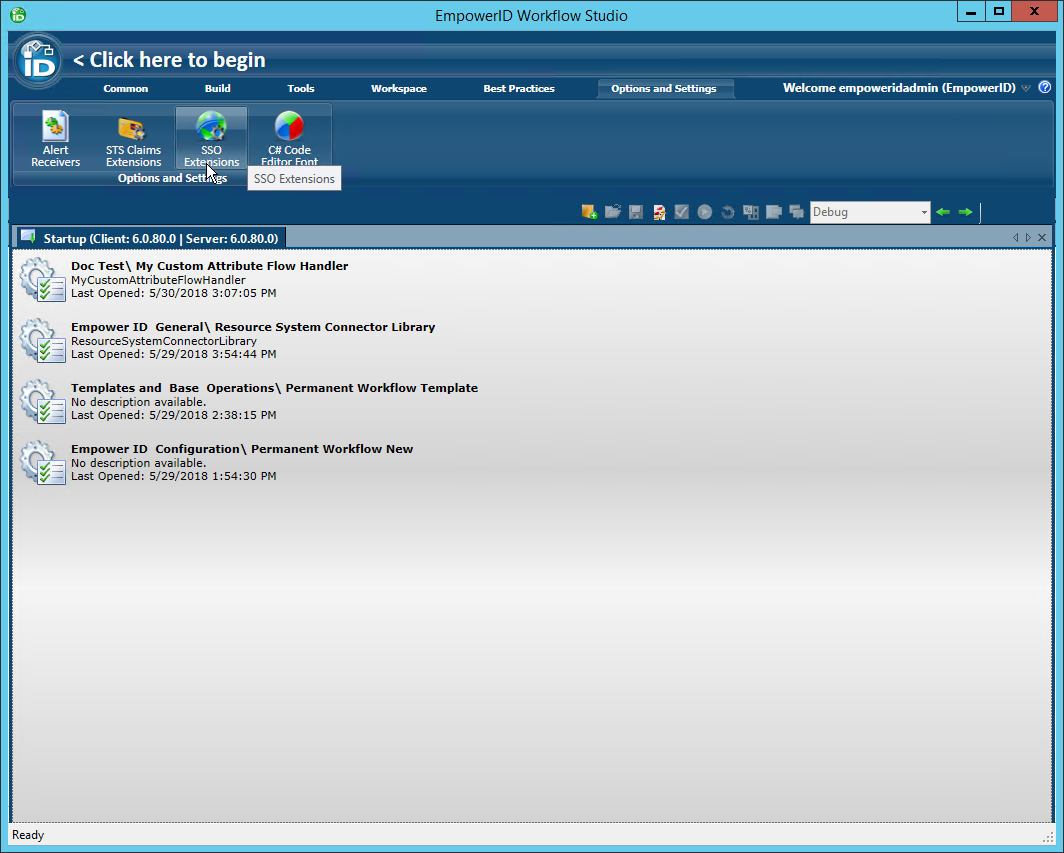
- In the SSO Extensions window that opens, select the extension you wish to remove and then click the red button to the right of the extension.

- Click Yes to confirm your decision.

- Close the SSO Extensions window.
Summary
In this tutorial, you learned how to create custom SSO extensions that:
- Provide integration points for SAML 2.0 Web Profile based Single Sign On scenarios
- Manipulate SAML responses at various points in the authentication flow
- Handle complex federation scenarios including response merging and custom validation
- Resolve user identities from certificates and multiple account scenarios
- Integrate with EmpowerID's SSO framework through proper publishing and configuration
Custom SSO extensions enable you to extend EmpowerID's SSO capabilities to meet specific organizational requirements while leveraging the existing SAML 2.0 infrastructure.