Create a Manifest
Manifest files contain metadata describing all development objects required for a specific application you develop in Workflow Studio. When you create a manifest, you select the items required by your application.
note
You can create as many manifests as needed to test your application with different configurations.
What You'll Learn
In this guide, you'll learn how to:
- Access the Deployment pane in Workflow Studio
- Create a new manifest file
- Select and add items to a manifest
- Save the manifest to a local folder
Create a Manifest
- In Workflow Studio, click the Deployment Services button on the Common menu.
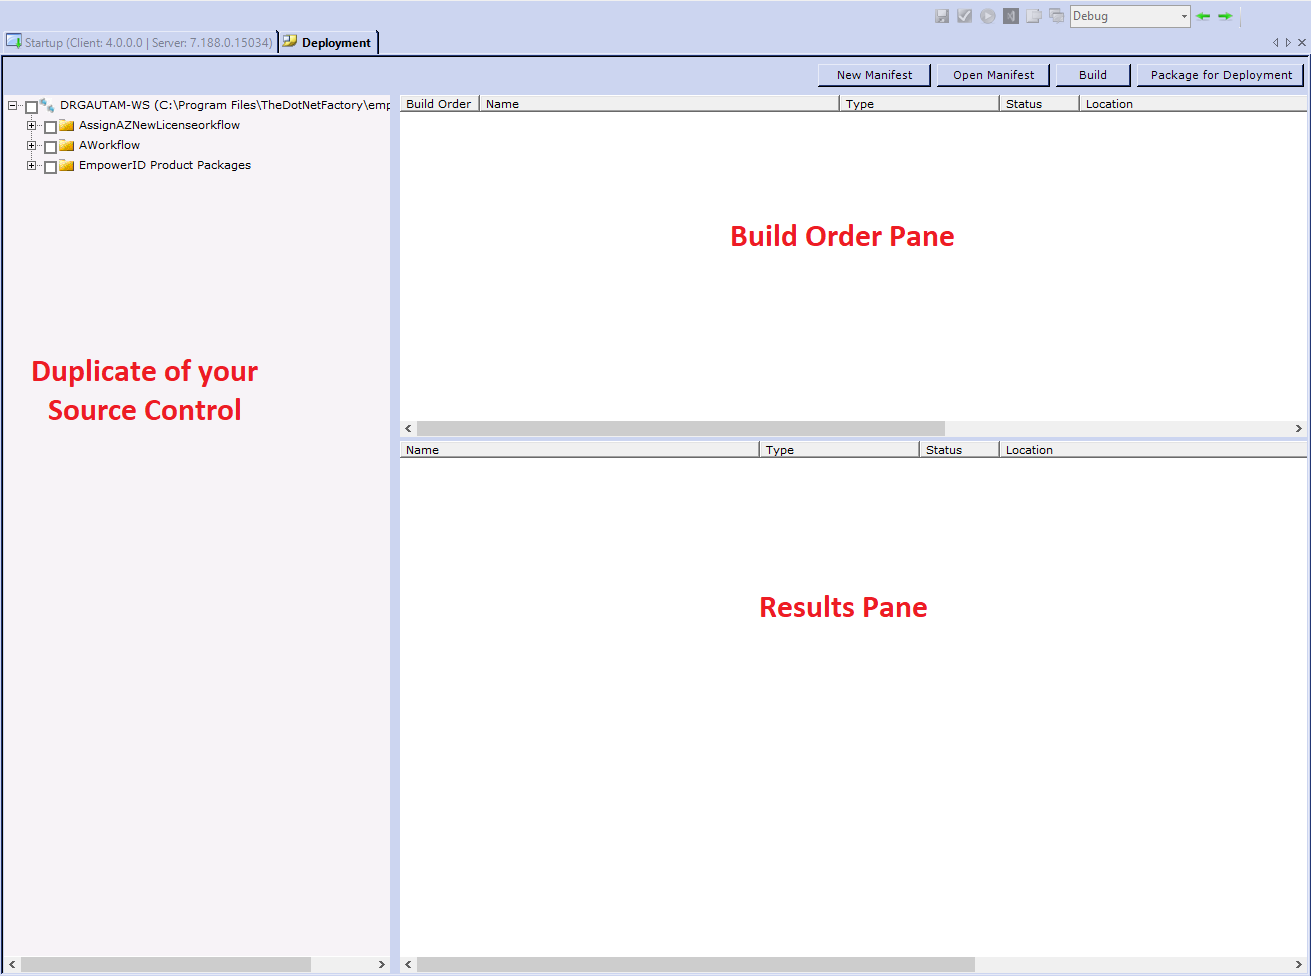
 This opens the Deployment pane. The Deployment pane contains three elements:
- A duplicate of your Source Control tree
- Build order pane
- Results pane
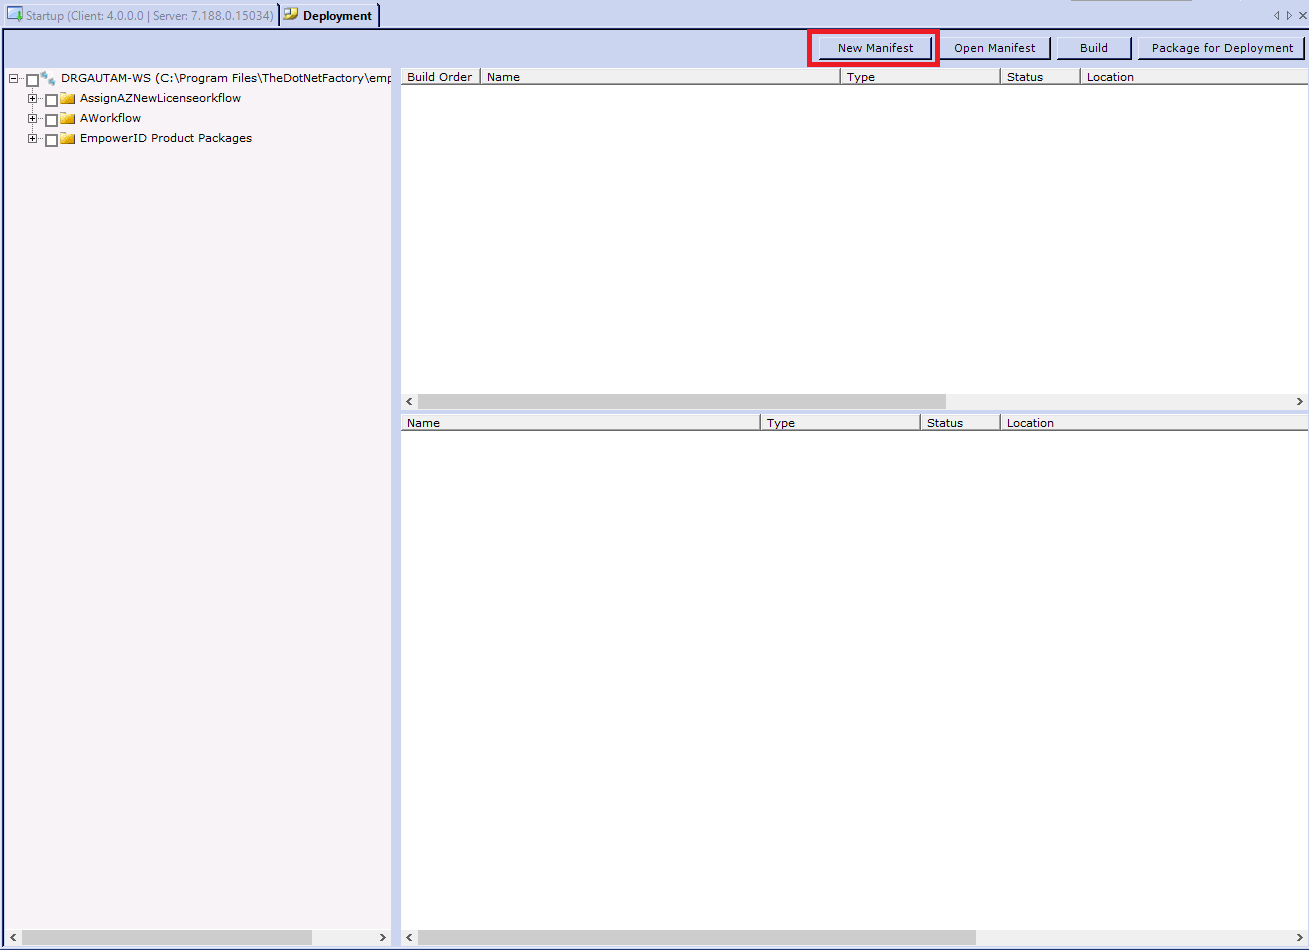
- Click the New Manifest button.
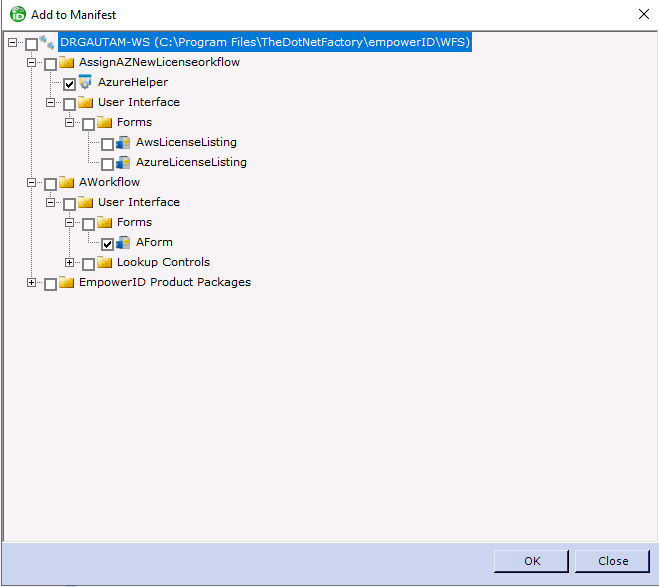
 This opens the Add to Manifest dialog containing a duplicate tree view of your source control.
 - Expand the tree, select the items that you want to include in the manifest, and then click OK.
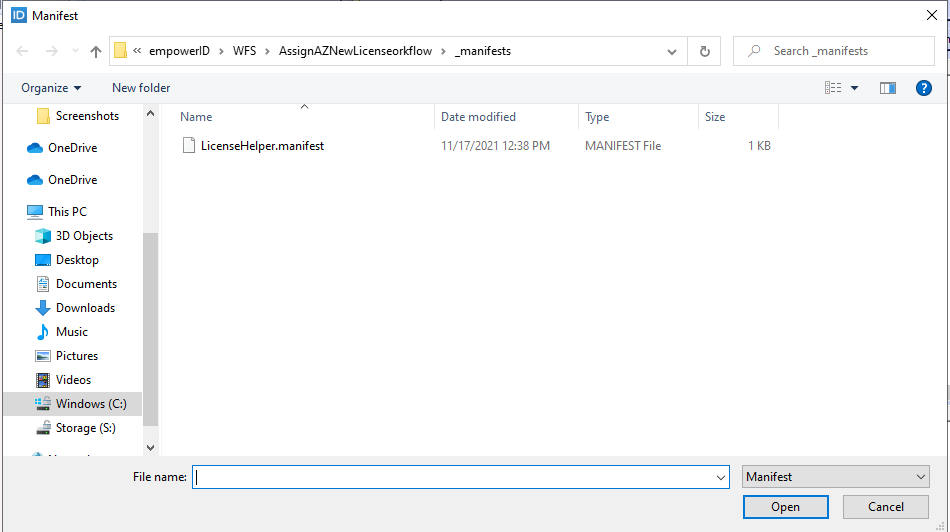
- Select the folder on your machine in which to place the manifest, and then click Save. In our example, we are placing the manifest in a folder we created named _manifests.
note
We created the _manifests folder as a logical location in which to keep our manifests. Prefixing the folder with an underscore keeps it from being added to source control.