Batch Deploy to a Local Folder
Deploying to a local folder is the default build action in Workflow Studio. This action compiles and publishes each workflow, activity, class libraries, user interfaces, and other selected items to the _Assemblies folder on your local machine as well as a .pub file to the _PublishedItems folder on your local machine.
info
This action makes no changes to the EmpowerID SQL-based database. All changes occur to your local system only.
What You'll Learn
In this guide, you'll learn how to:
- Access the Deployment pane in Workflow Studio
- Select items for batch deployment to your local system
- Compile and publish multiple items to local folders
- Verify successful deployment using the Batch Activity Log
How to Batch Deploy Workflow Studio Items to a Local Folder
- In Workflow Studio, click on the Build menu and then click Deployment.
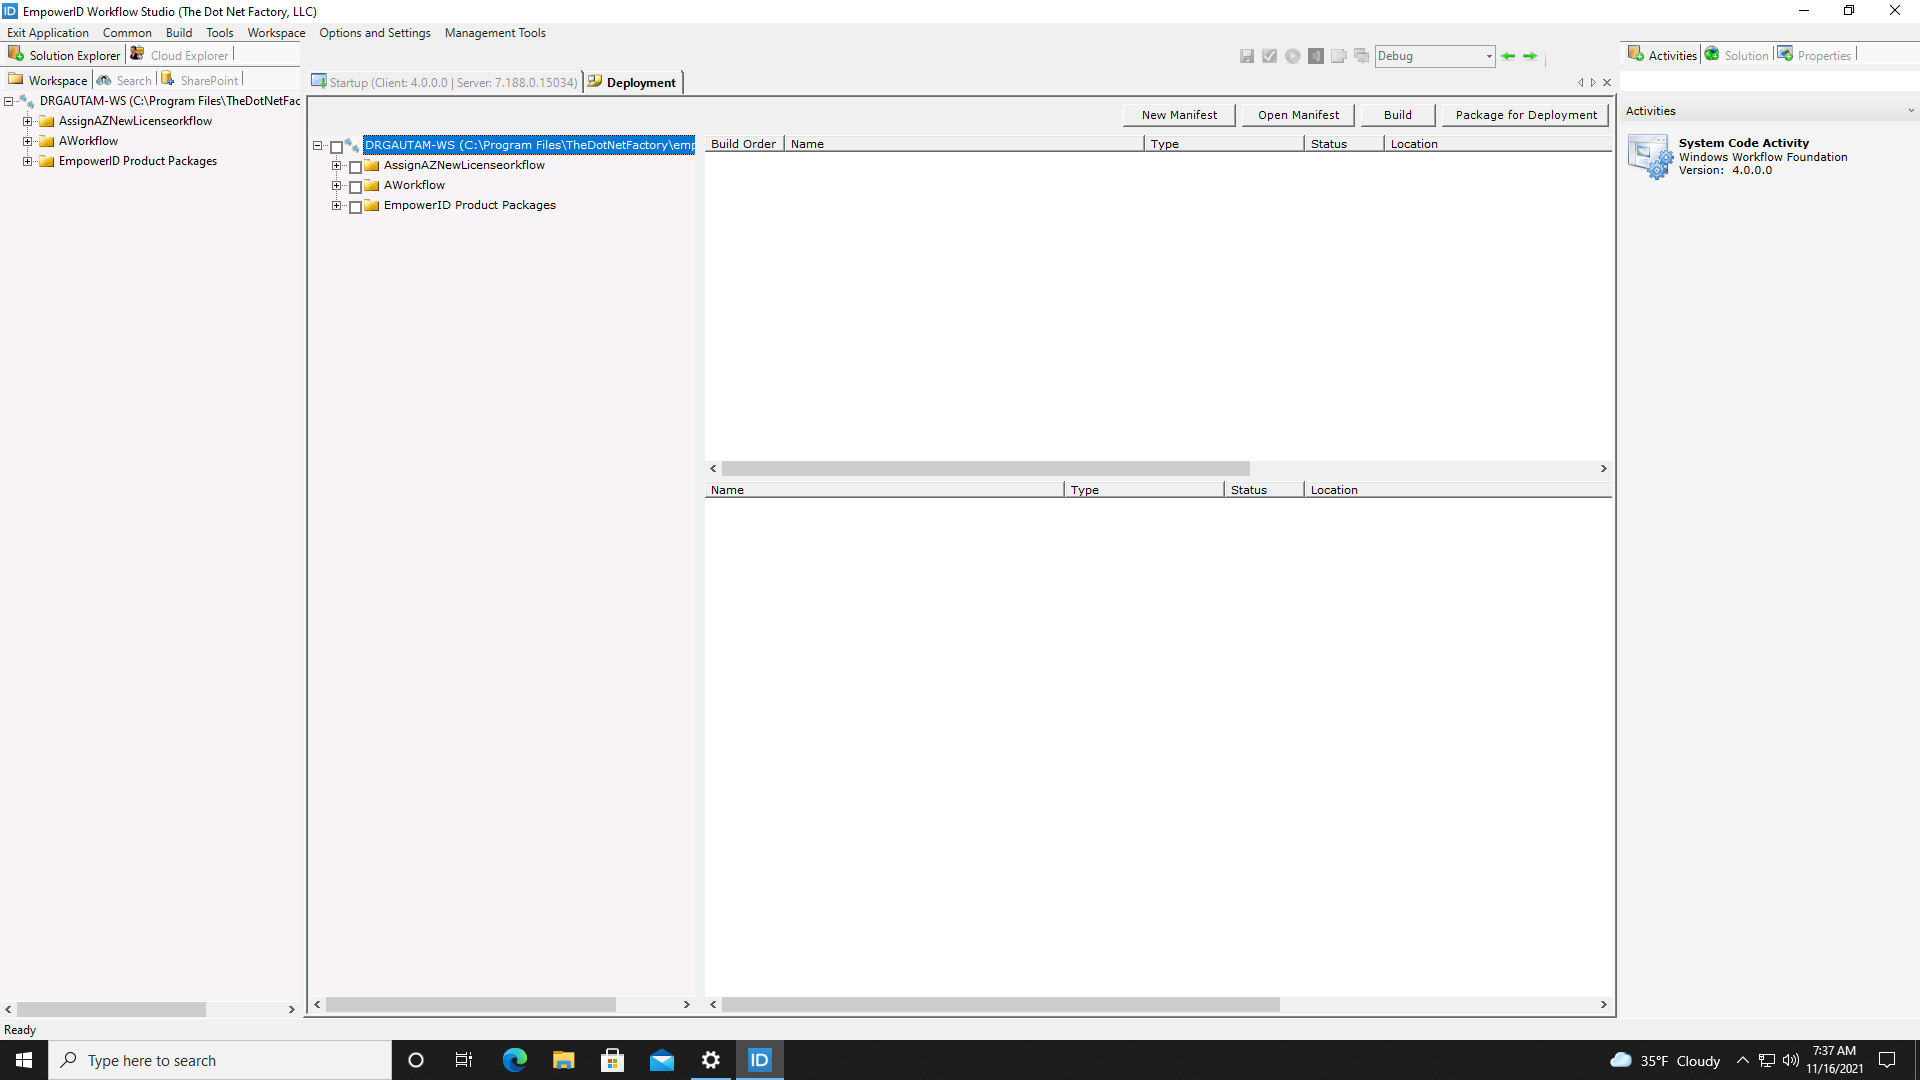
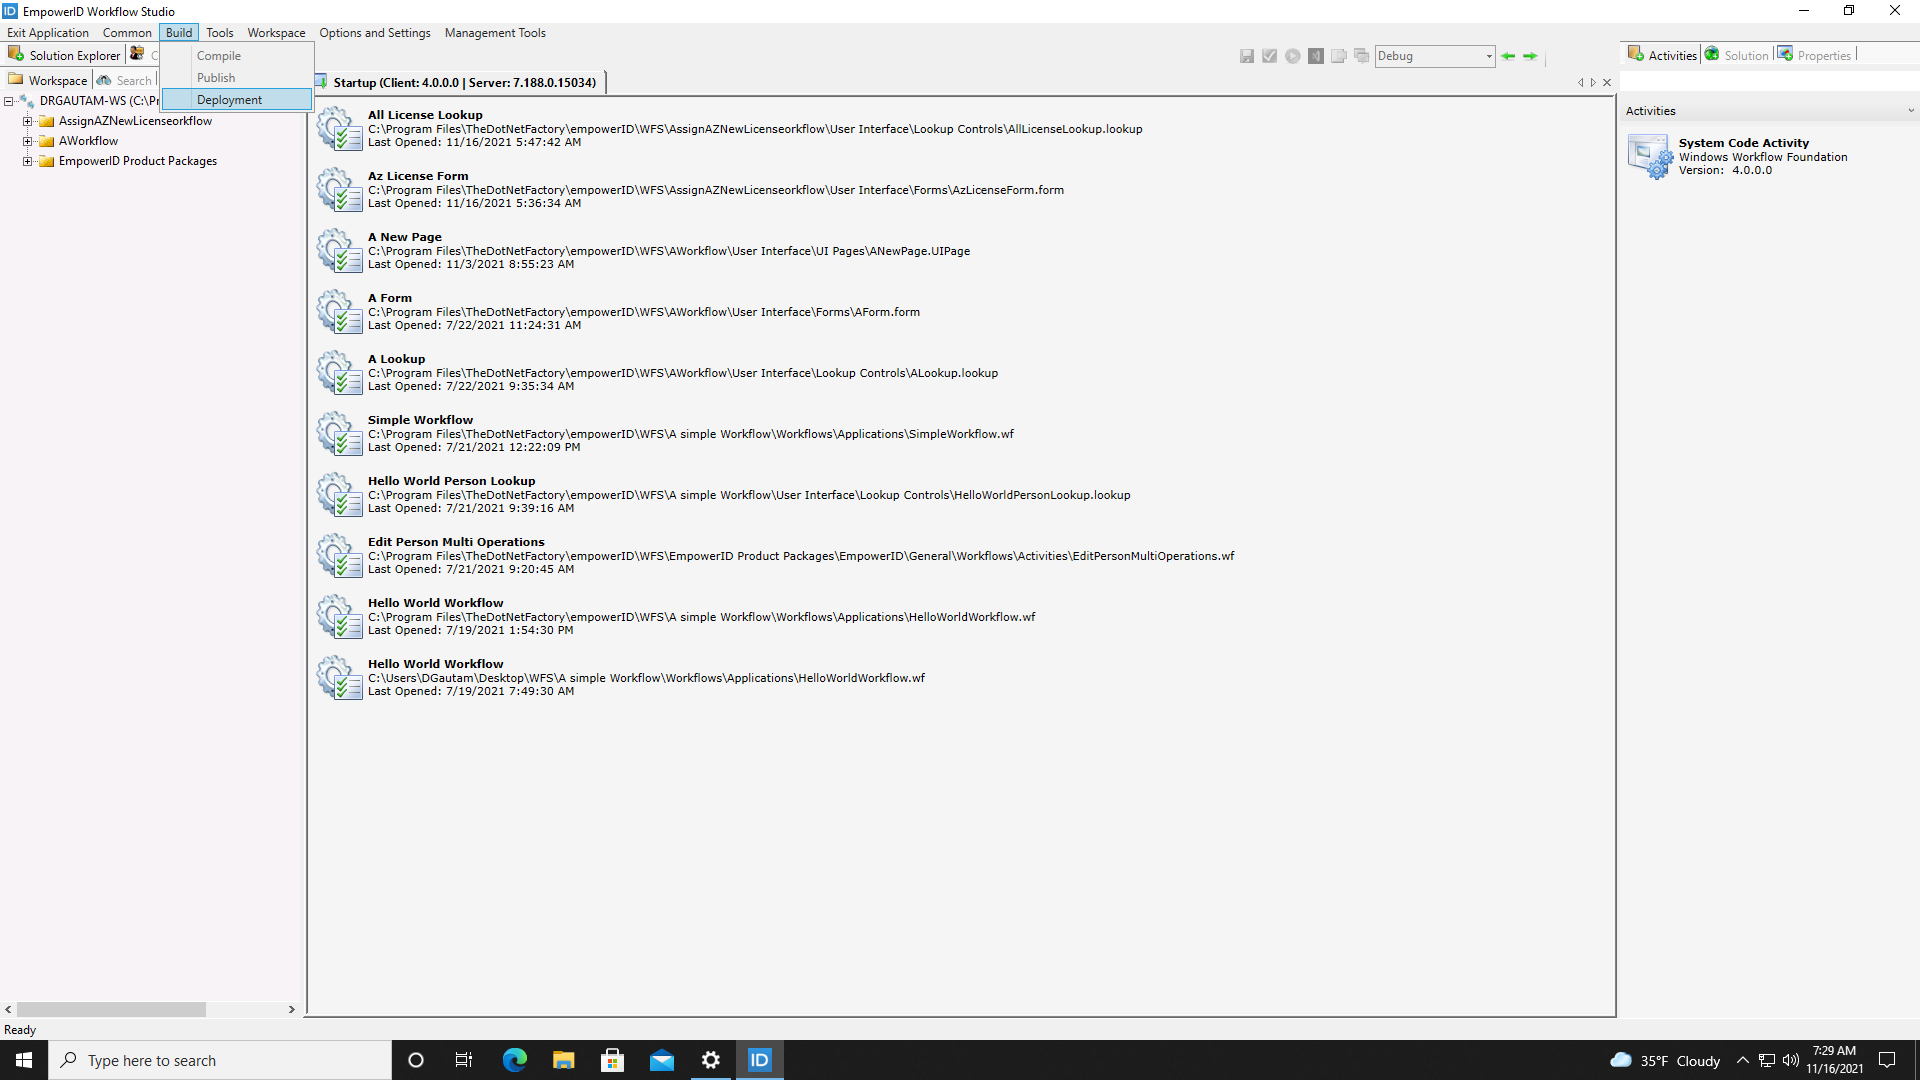 This opens the Deployment pane, which contains a duplicate Source Control tree.
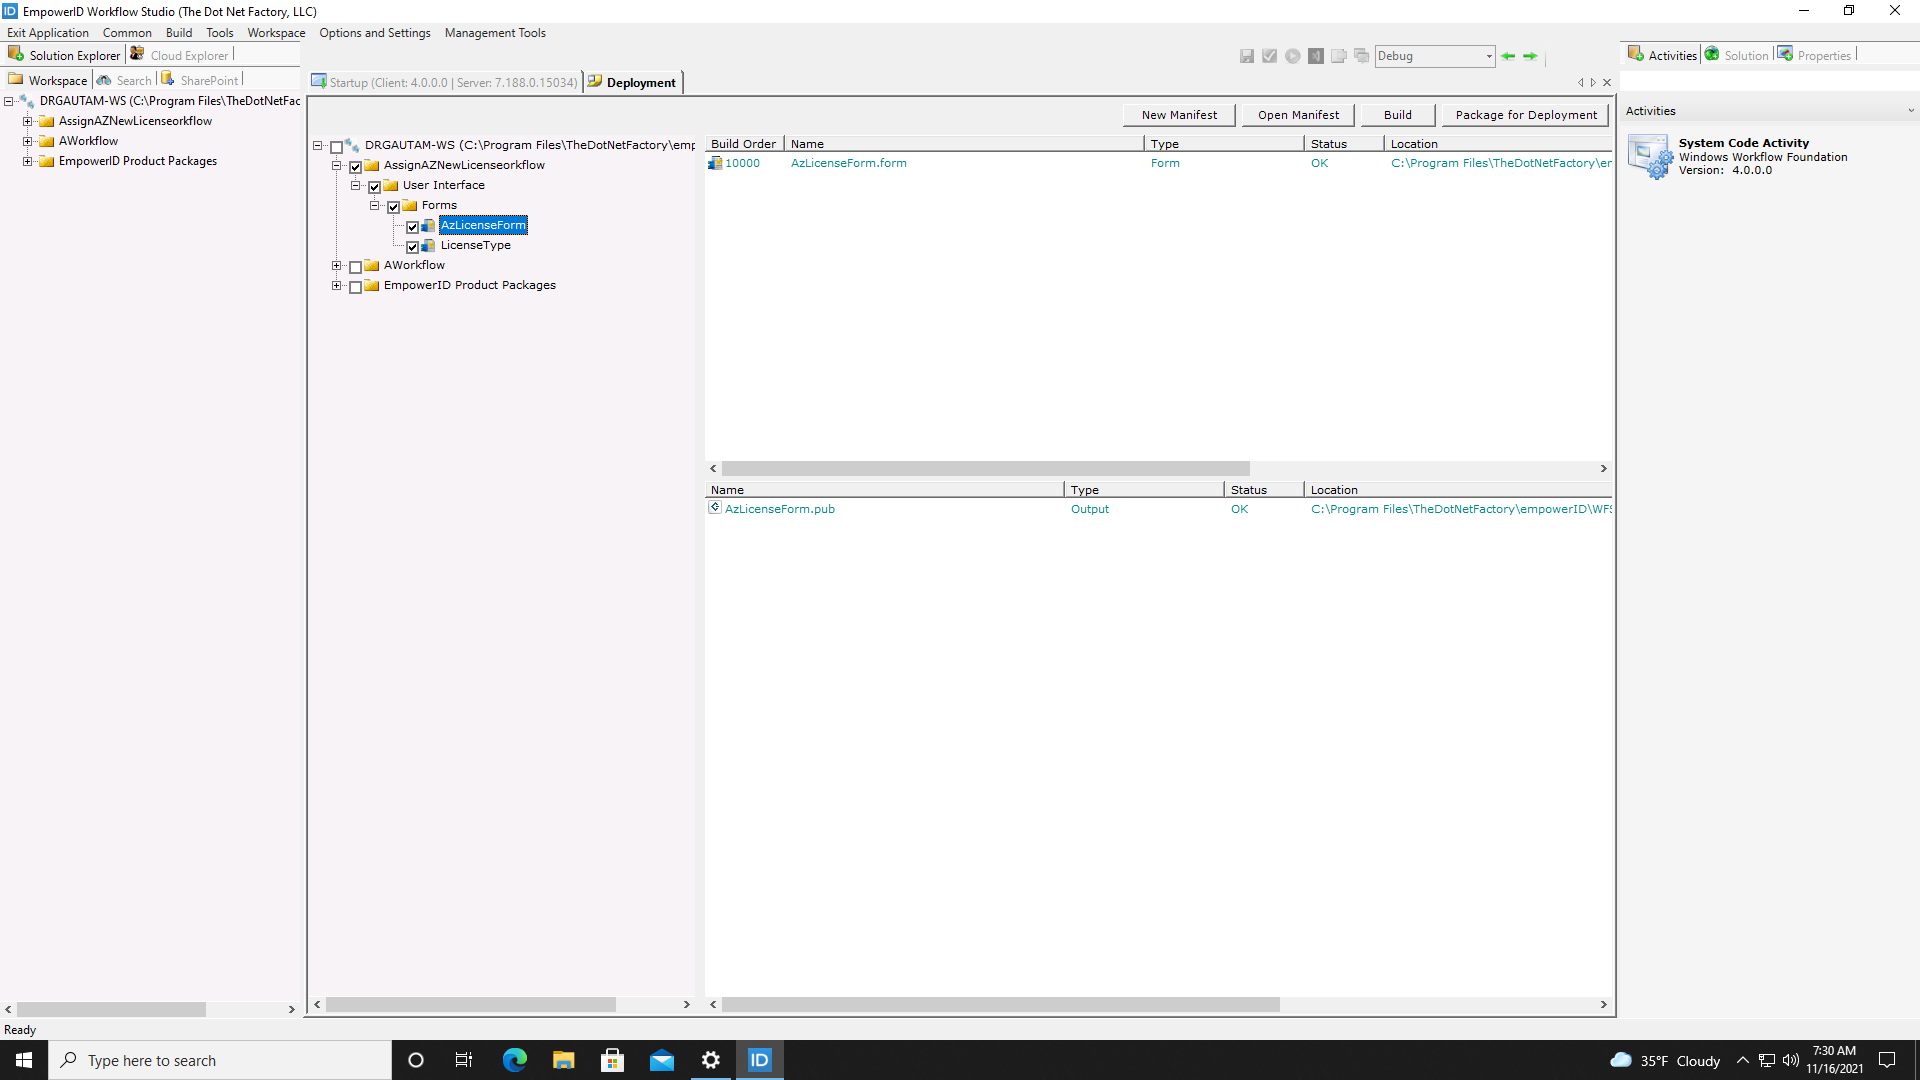
- Select the objects you want to deploy to your local system from the Source Control tree. Please note that if the items you select have already been published, Workflow Studio displays a message alerting you that no build items have been selected.
 You should see a Confirm dialog as well as a preview of the files that the build action will generate.
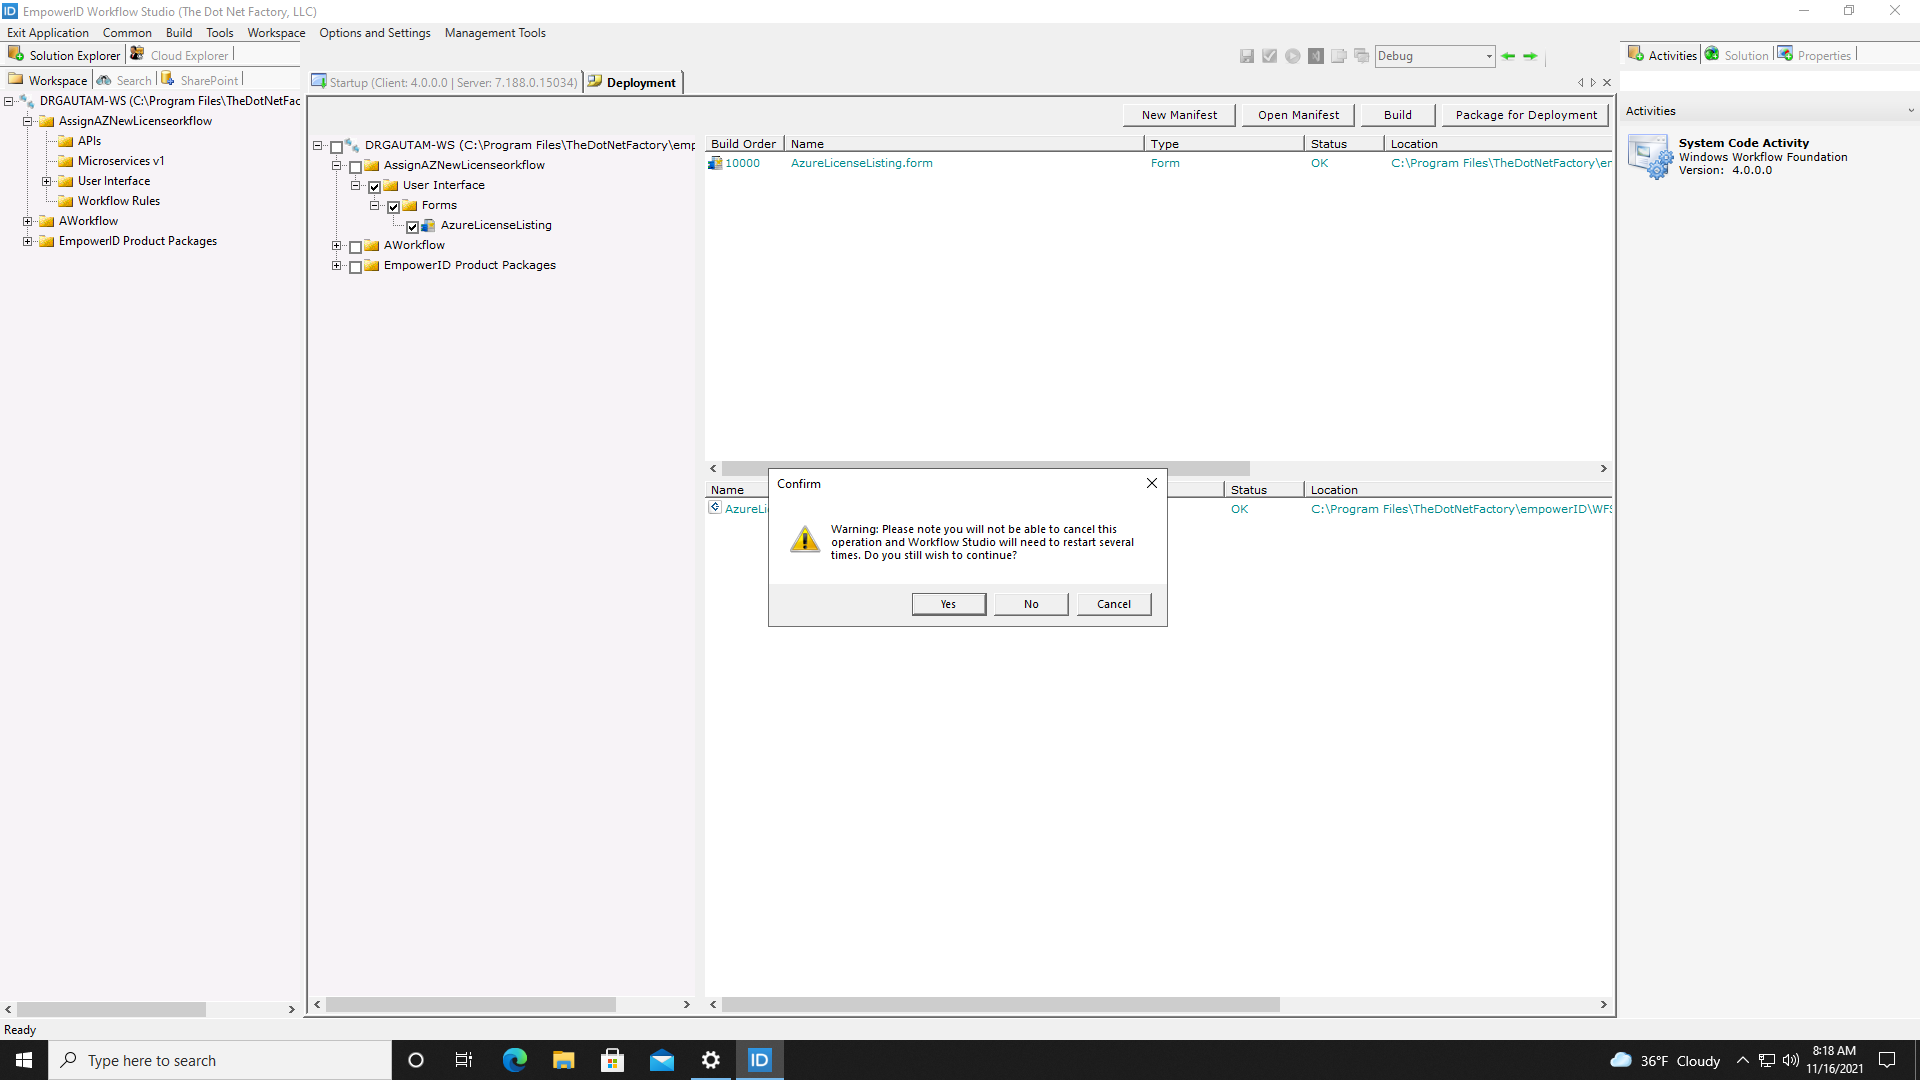
- Click Yes to continue.
After Workflow Studio restarts several times, you should see a Batch Activity Log displaying the results of the publishing event. If successful, the .pub file will be located in the _PublishedItems folder, and the DLLs will be located in the _Assemblies folder on your local machine.