Add Workflow Studio Items to a Manifest
Manifest files contain metadata describing all development objects required for a specific application you develop in Workflow Studio.
What You'll Learn
In this guide, you'll learn how to:
- Open and access manifest files in Workflow Studio
- Add Workflow Studio items to a manifest from your source control tree
- Verify that items have been successfully added to the manifest
Add Workflow Studio Items
- In Workflow Studio, open the Deployment pane by selecting either Deployment Services from the Common menu or Deploy from the Build menu.
- Click the Open Manifest button located above the Build Order pane.
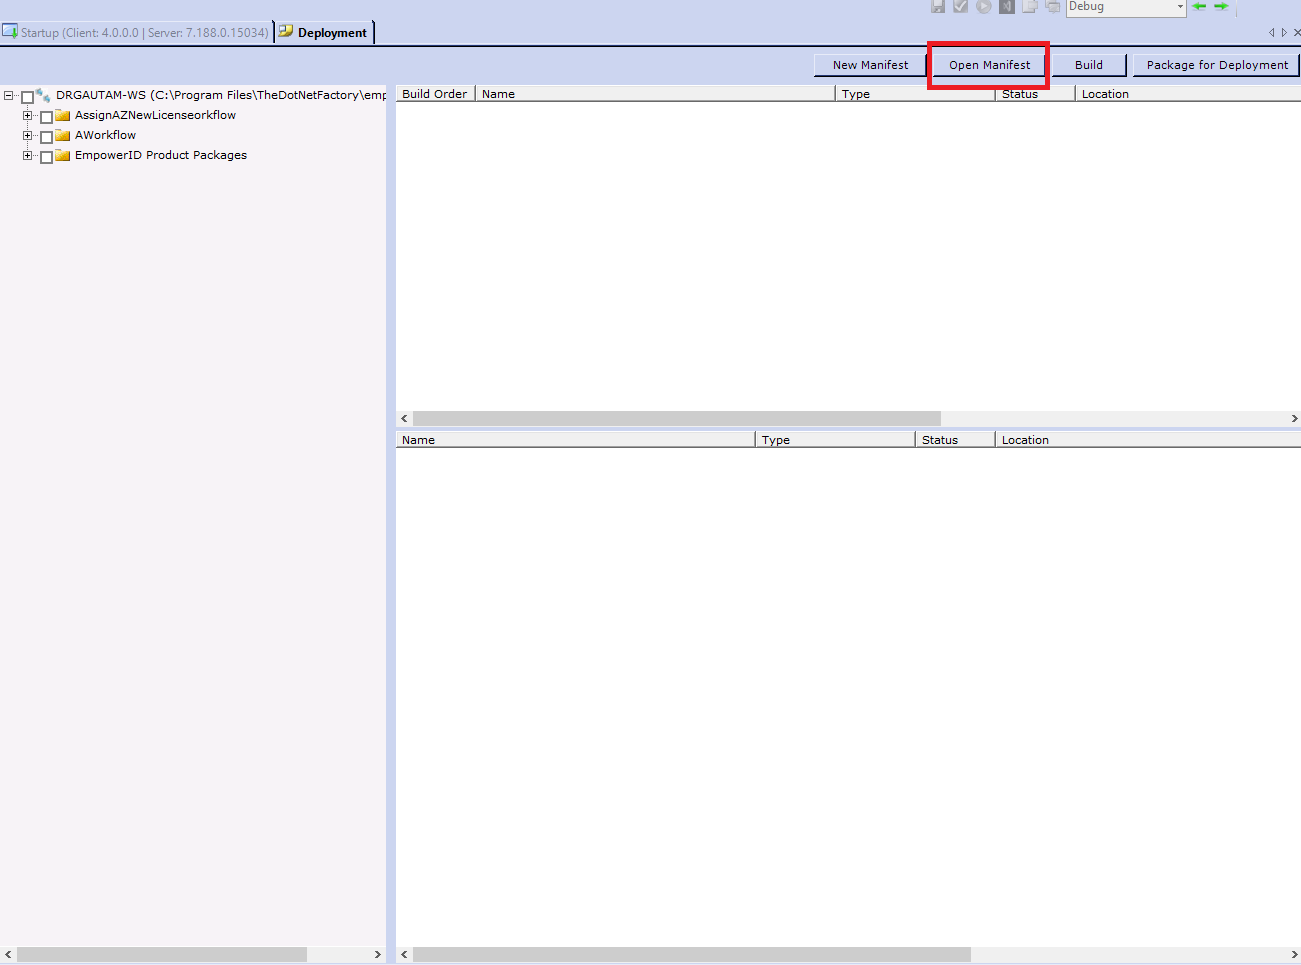
- Search for and select the manifest file you need to update.
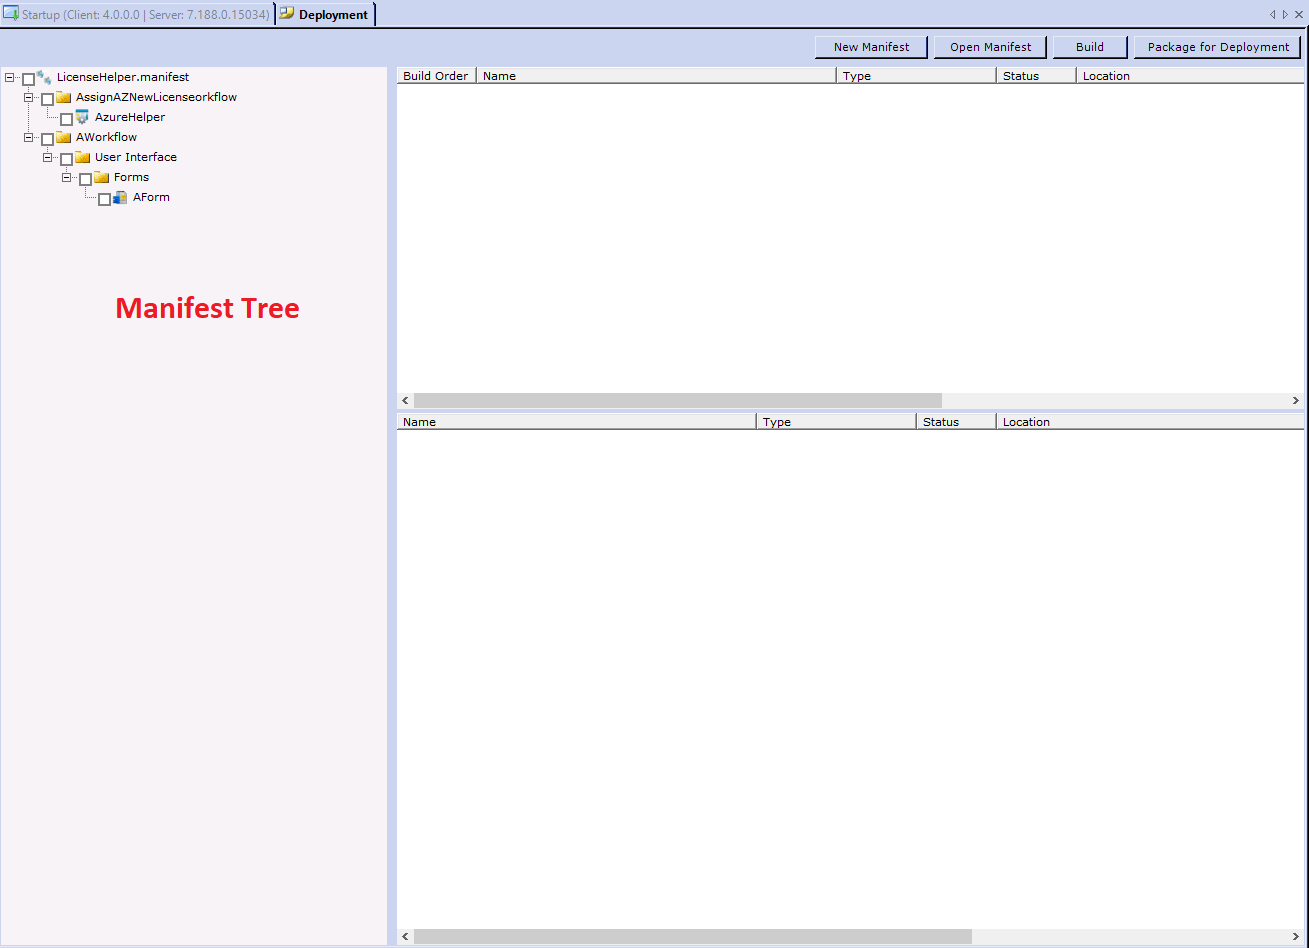
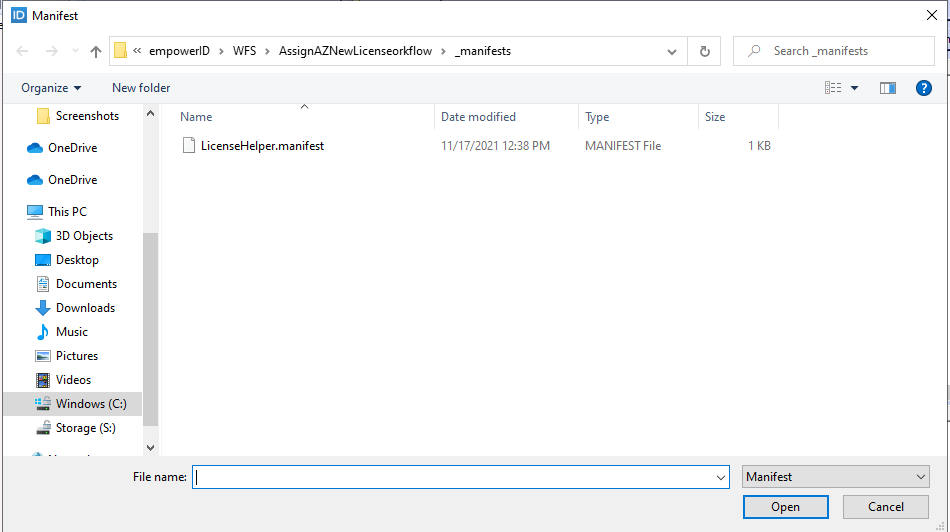 You should see the manifest tree open.
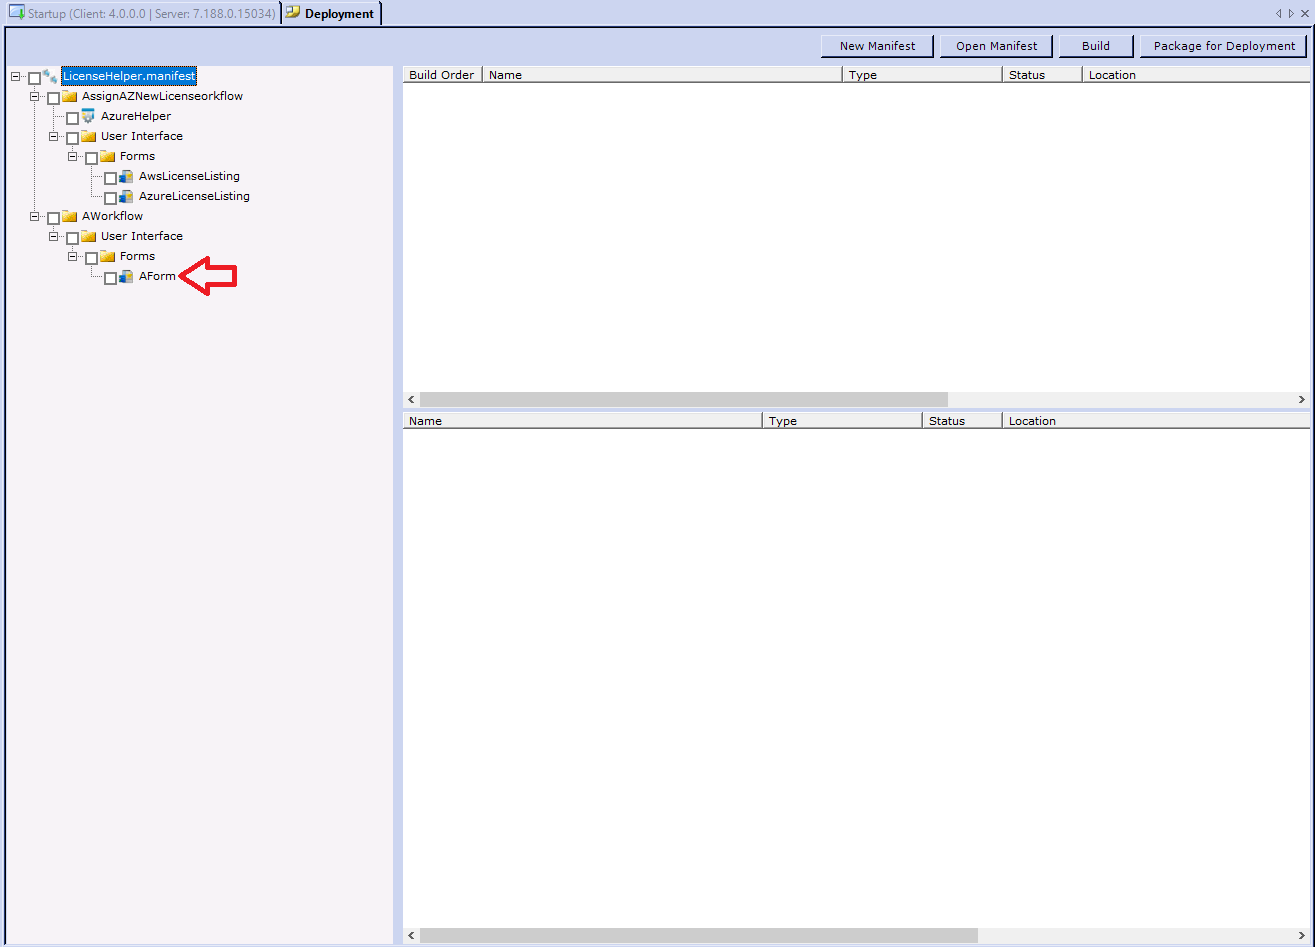
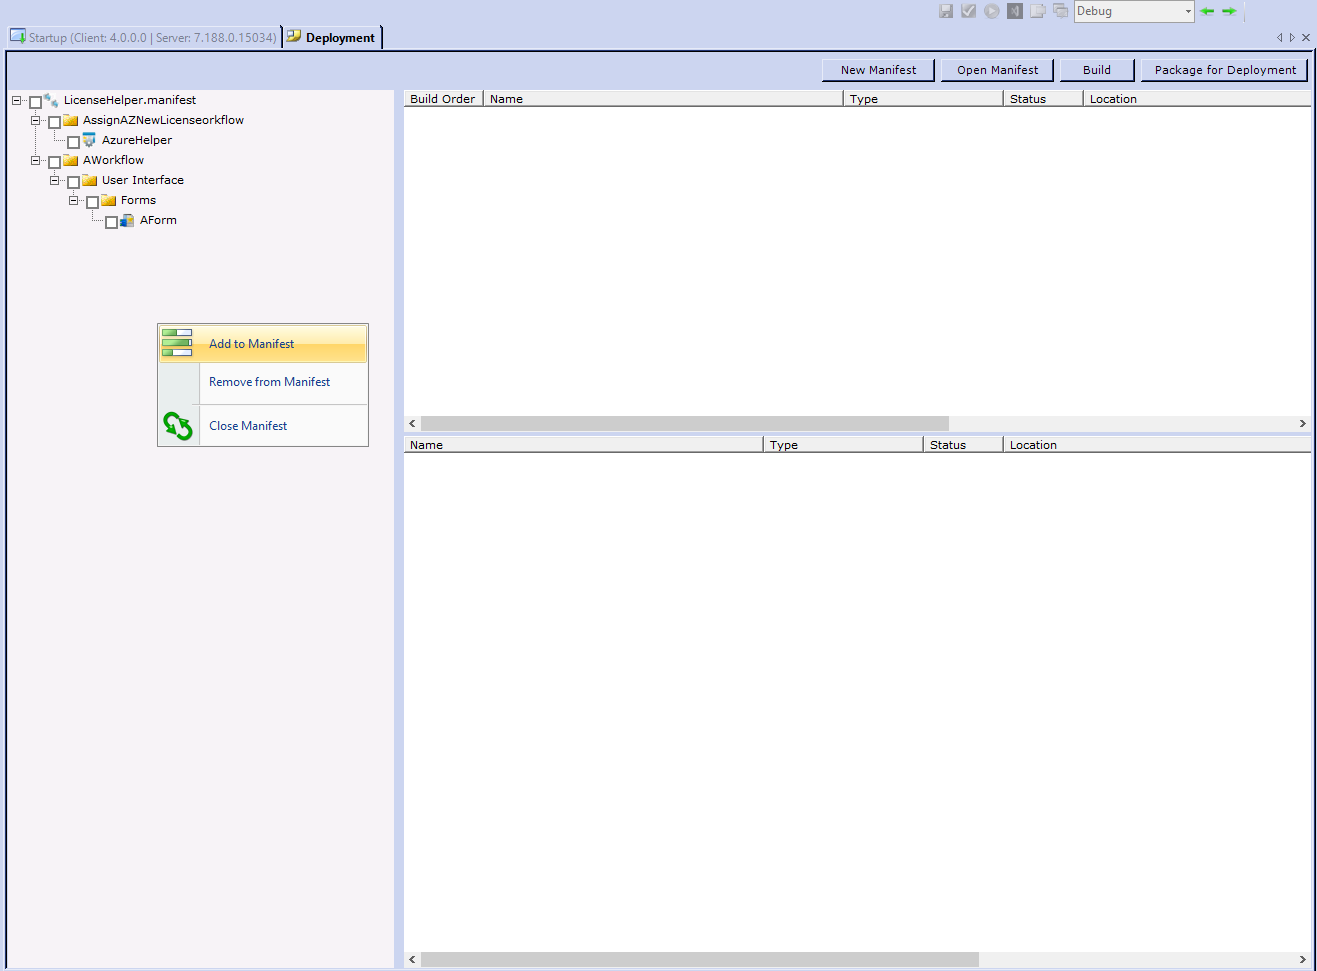
- Right-click in the white space of the Manifest Tree pane and select Add to Manifest. This opens the Add to Manifest dialog containing a copy of your source control tree.
- Expand the tree, select the Workflow Studio items you want to add to your project, and then click OK.
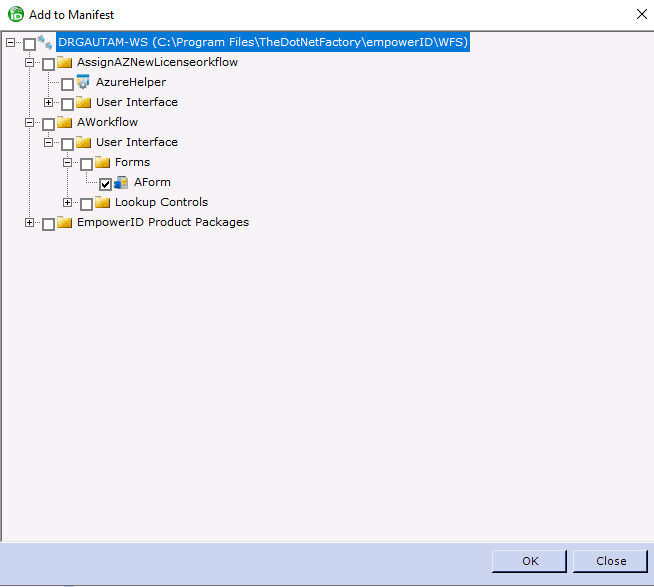 You should see the new items added to the manifest.