Create Flow Policies
Flow Policies connect Flow Events to Flow Definitions based on scope criteria. When an event occurs, the system evaluates all policies for that event type and generates Flow Inbox records for policies whose scope criteria match the event context. This allows different workflows to execute based on criteria—for example, running a comprehensive offboarding Flow Definition for full-time employees but a simpler process for contractors. This article demonstrates creating a Flow Policy and defining its scope criteria.
Create a Flow Policy
Before creating a Flow Policy, ensure you have:
- Created the Flow Definition you want to execute (see Create Flow Definitions)
- Identified which Flow Event will trigger this policy
-
Navigate to Low Code/No Code Workflow > No Code Flow Event Policies.
-
Click the Add New button (plus sign).
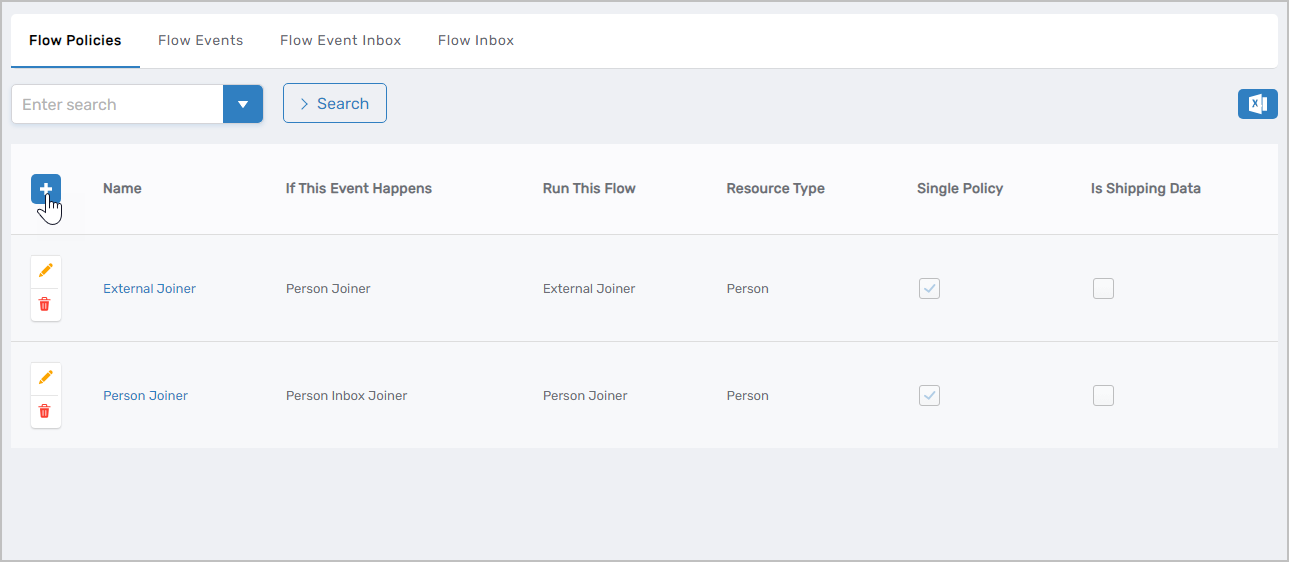 This opens the form for creating a new Flow Policy.
-
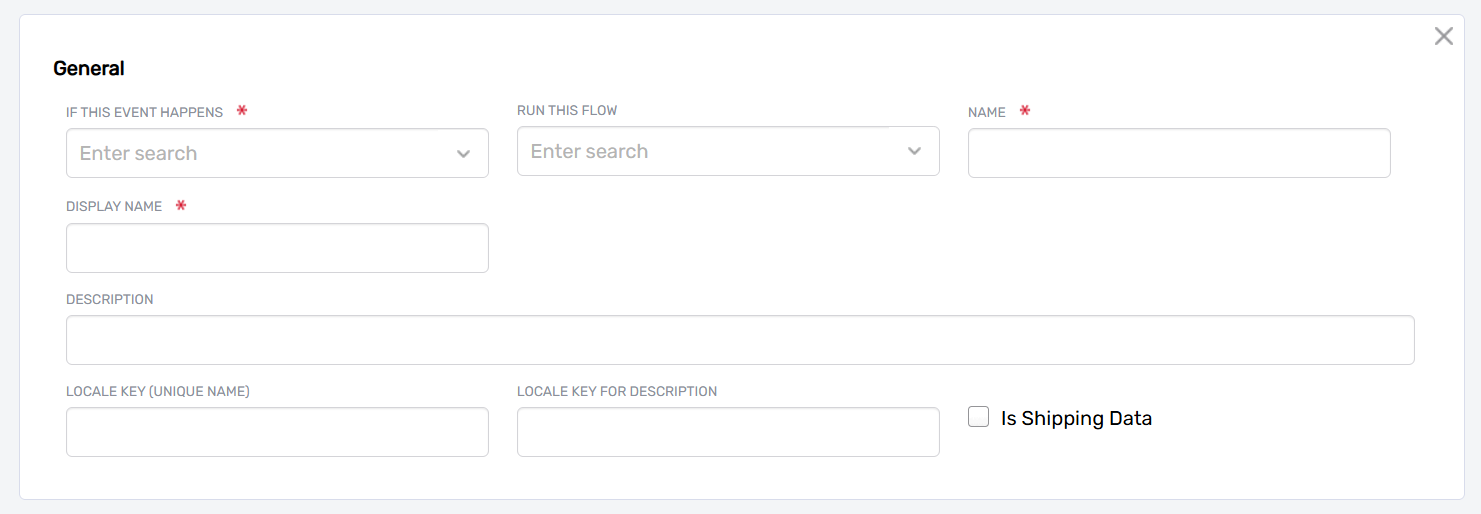
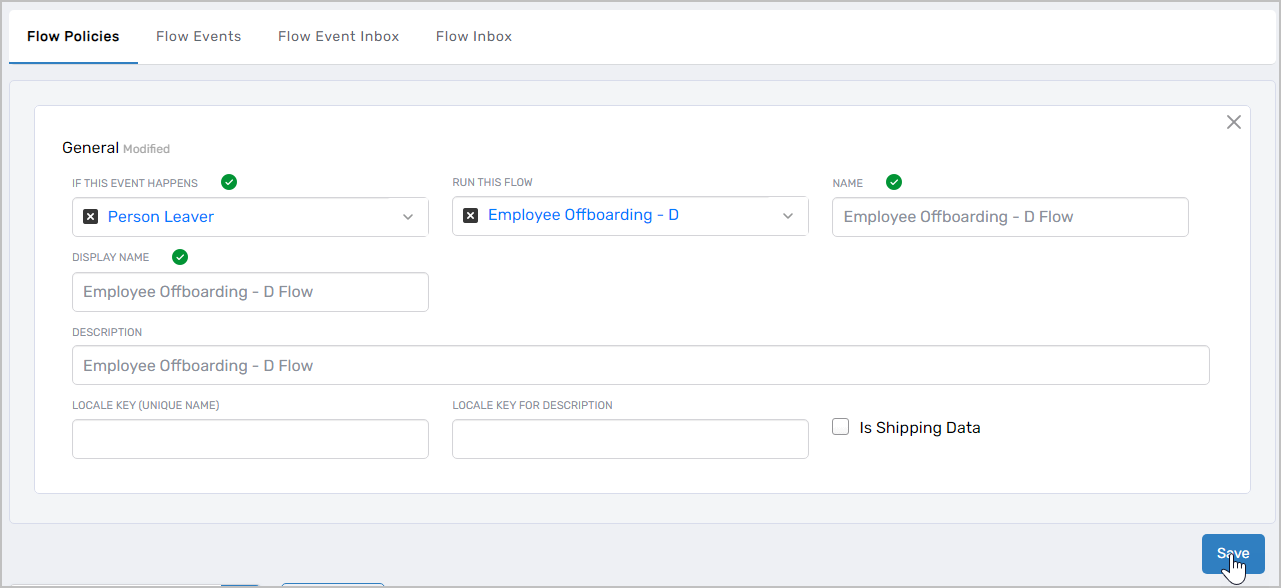
Enter the details for the Flow Policy:
Field Description If This Event Happens Flow Event that triggers this policy (e.g., "Person Leaver" for employee terminations). When this event occurs and scope criteria match, the system generates a Flow Inbox record to execute the associated Flow Definition. Run This Flow Flow Definition to execute when the event is detected and scope criteria are met Name Internal name for the policy (e.g., "Terminate Employees") Display Name Name displayed in the EmpowerID UI Description Description of the policy's purpose and when it applies Locale Key (Unique Name) Optional: Locale key for translating the Flow Policy name into other languages. Leave blank if not using multi-language support. Locale Key for Description Optional: Locale key for translating the description. Leave blank if not using multi-language support. -
Click Save.
Define Policy Scope
After saving the Flow Policy, define which objects the policy applies to by configuring its scope. Without scope configuration, the policy will not match any events and the associated Flow Definition will not execute.
-
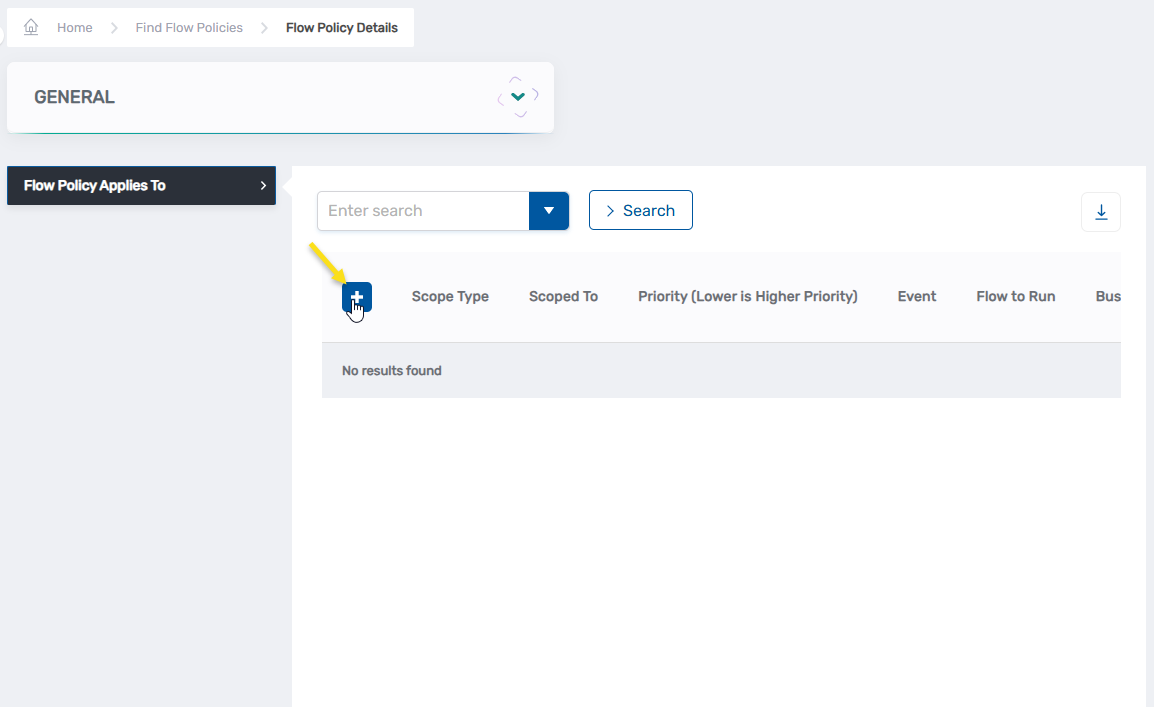
Search for the Flow Policy you created and click its Name link to open the policy's View One page.
-
In the Flow Policy Applies To section, click the Add New button (plus sign).
-
Select the Scope Type that determines how to identify objects for this policy:
Scope Type Description Parent Assignee Apply policy based on the parent object assigned to people. When selected, choose the assignee type (Business Role and Location, Group, Management Role, Management Role Definition, Person, or Set Group) and then select the specific parent object(s). By Location Apply policy to people associated with specific organizational locations. Query-Based Collection Apply policy to members of a Query-Based Collection (SetGroup). Query-Based Collections are dynamic groupings that automatically update based on defined criteria, ensuring the policy applies to people who match the query as organizational data changes. Specific Resource Apply policy to a specific resource type. When selected, choose the resource type (such as API, Application, Account, Group, Person, etc.) and then search for the specific resource. -
Configure the scope based on your selection:
- Parent Assignee: Select the assignee type, then choose the specific business role, location, group, management role, person, or set group.
- By Location: Select the specific organizational location(s).
- Query-Based Collection: Search for and select the collection.
- Specific Resource: Select the resource type from the dropdown, then search for and select the specific resource.
-
Enter a Priority value from 0 to 100. Lower numbers indicate higher priority. This determines which policy takes precedence when an object matches multiple Flow Policies for the same event.
-
Click Save.
The Flow Policy scope is now configured. When the specified Flow Event occurs for objects matching the scope criteria, the system will generate a Flow Inbox record for the associated Flow Definition.
For a complete list of available default Flow Events, see No Code Flows Reference.
Test the Flow Policy
To test your Flow Policy without waiting for a real event to occur, you can manually create a test Flow Event Inbox entry:
- Navigate to Low Code/No Code Workflow > No Code Flow Event Policies.
- From the Flow Event Inbox tab, click the Add New button (plus sign).
 This opens the New Flow Event Inbox form.
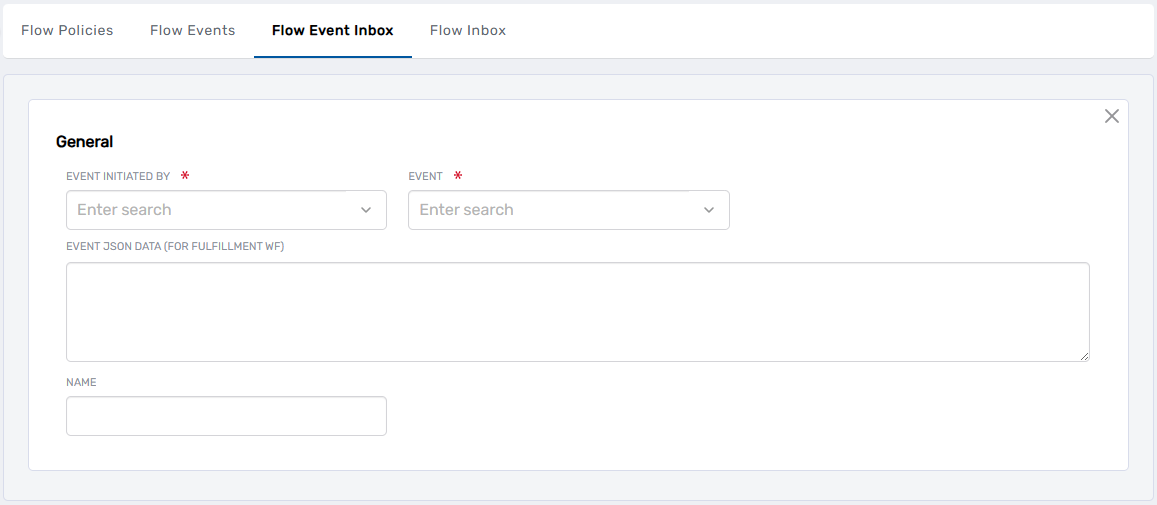
- Configure the test event:
- Initiated By: Select your user account (required for manual test entries)
- Event: Select the Flow Event referenced by your policy (e.g., "Person Leaver")
- For: Select the person object to test with (must match your policy's scope criteria)
- Click Save.
The event appears in the Flow Event Inbox with Process State "Not Processed." The system will process this event through the Policy Matching engine, and if your policy's scope matches, the associated Flow Definition will be queued in the Flow Inbox. You can monitor execution progress through the Flow Inbox and verify that the correct Business Request was created.
Next Steps
With Flow Policies created and scoped, your No Code Flows are complete and will execute automatically when matching events are triggered. Monitor execution through the Flow Event Inbox and Flow Inbox pages.
Related Articles
- Overview of No Code Flows — Understand the complete No Code Flows architecture
- Create Flow Definitions — Create workflow blueprints
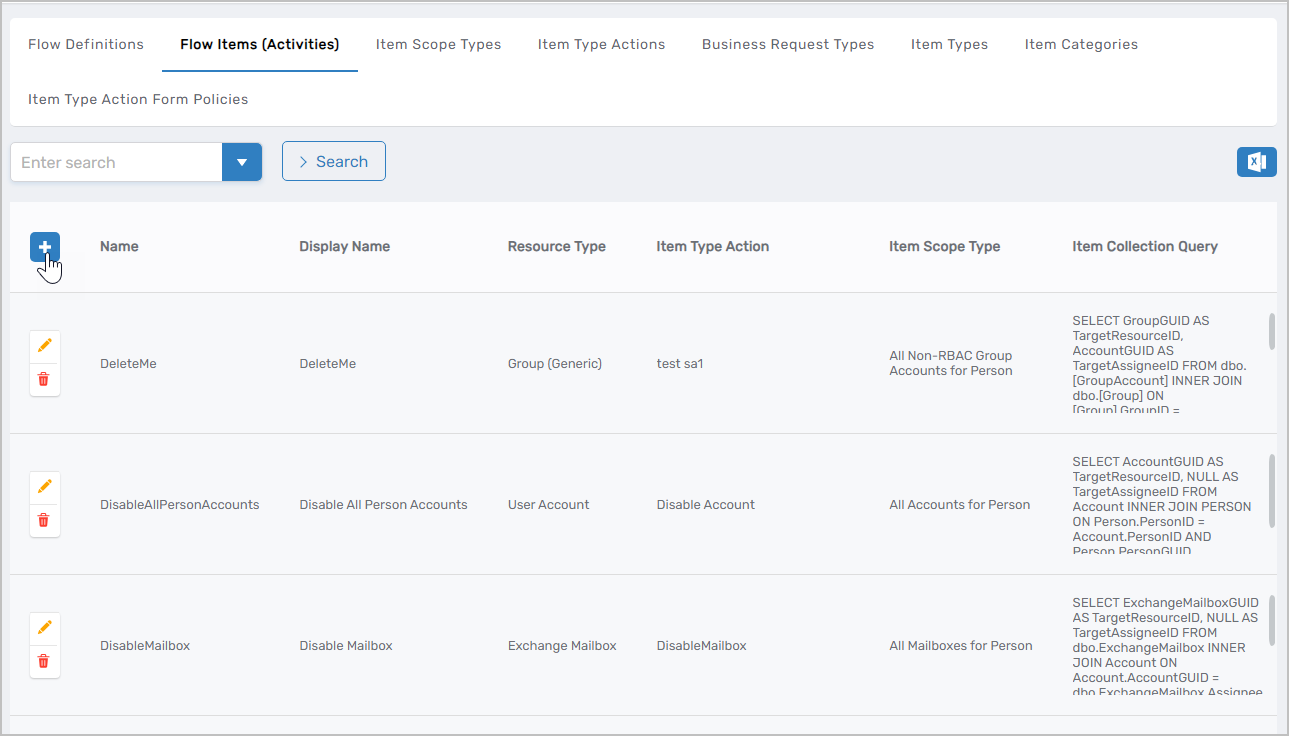
- Create Flow Items — Define individual actions for workflows
- Email Flow Items — Configure email notifications
- No Code Flows Reference — Complete list of default Flow Items, Flow Events, and workflows