Onboarding People
The Onboard Person wizard streamlines the creation of new Person objects in EmpowerID through three flexible modes designed for different onboarding scenarios and complexity levels.
Onboarding Modes
The wizard offers three creation modes:
| Mode | Best For | Key Features |
|---|---|---|
| Simple Mode | Quick onboarding with minimal data | Requires only essential information: name, role, location |
| Advanced Mode | Comprehensive person creation | Includes role assignments, group memberships, detailed attributes |
| From Another Person | Standardized onboarding | Uses an existing Person as a template for consistent setup |
Prerequisites
- Access to Identity Administration in EmpowerID
- Permissions to create Person objects
- For advanced mode: appropriate permissions for role and group assignments
- Business role and location information for the new person
Configure Workflow Parameters
The Onboard Person workflow includes customizable parameters that control the user experience and approval requirements. Configure these parameters before running the workflow to align with organizational needs.
View Workflow Parameters
| Parameter | Description |
|---|---|
| CreationModeListDataItemTypeName | List containing available modes for onboarding people |
| EmailMessageIdForMgtRoles | Integer specifying email message sent to Management Role members |
| EmailMessageIdForNewPerson | Integer specifying email message sent to newly onboarded person |
| EmailMessageIdForPersonManager | Integer specifying email message sent to person's manager |
| IsAssignGroupMembership_IsVisible | Controls visibility of Assign Group Membership section |
| IsAssignMgmtRoleBundleMembership_IsVisible | Controls visibility of Assign Management Role Bundle Membership section |
| IsAssignObjectVisibilityAccessRoles_IsVisible | Controls visibility of Assign Visibility Access Role section |
| IsAssignPreApprovedMgmtRole_IsVisible | Controls visibility of Assign Pre-Approved Management Roles section |
| IsAssignRbacOperationAccessRoles_IsVisible | Controls visibility of Assign RBAC Operation Access Roles section |
| IsAssignSecondaryRoleAndLocation_IsVisible | Controls visibility of Assign Secondary Role and Location section |
| IsAssignUIAccessRoles_IsVisible | Controls visibility of Assign UI Access Roles section |
| IsAutoGeneratePassword_IsVisible | Controls visibility of Auto Generate Password option |
| OnboardPersonCreationMode_ItemSetName | Specifies List Item Set Name containing creation modes |
| OnboardPersonPropertiesToClone | Properties cloned in "From Another Person" mode: • LastName • FirstName • Address.City • Address.State |
| PersonPropertiesToClone | Properties cloned in "From Another Person" mode: • Name • Address • ManagerInfo • PrimaryLocationAndRole • OrganizationBasicInfo • OrganizationContactInfo |
| SendForApproval | Determines whether onboarding requires approval before provisioning |
Update Workflow Parameters
- On the navbar, expand Low Code/No Code Workflow and select Low Code Workflows.
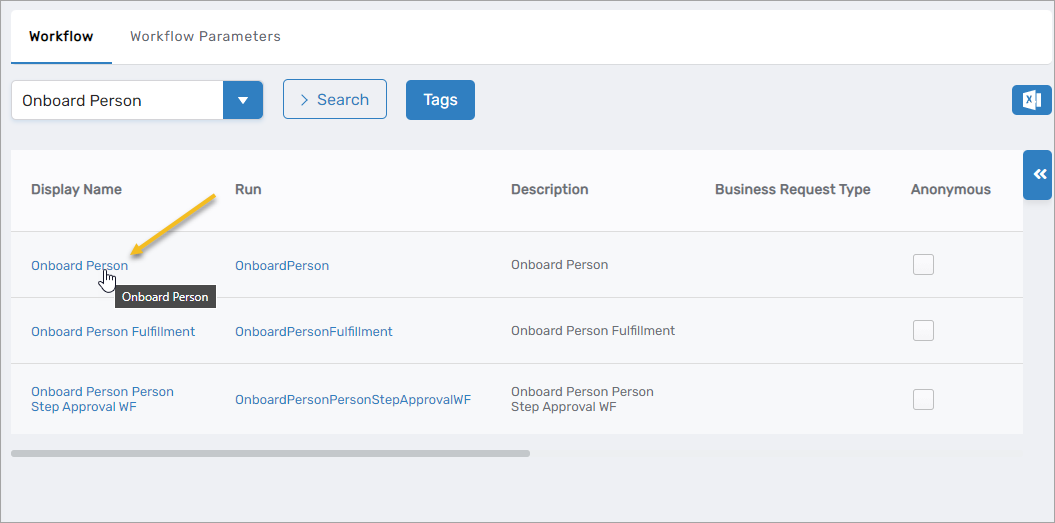
- Select the Workflow tab and search for Onboard Person.
- Click the Display Name for the workflow.
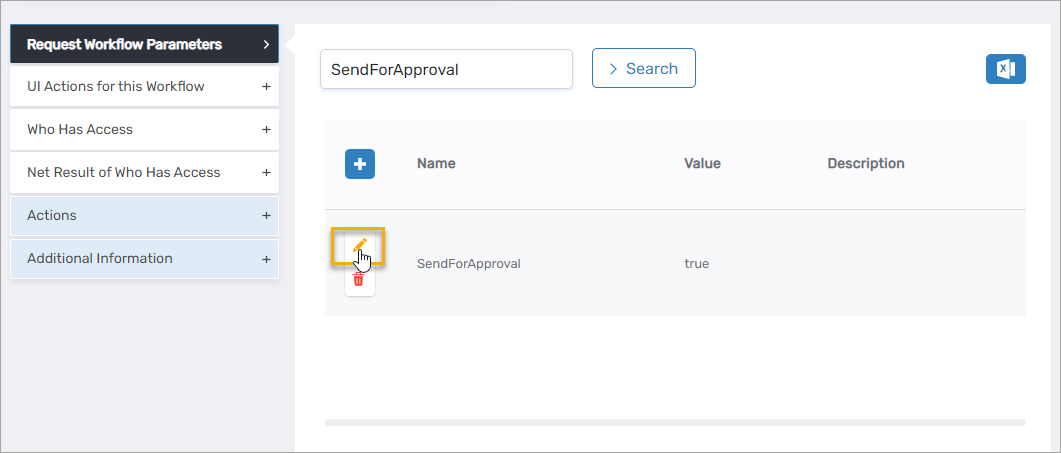
- Expand the Request Workflow Parameters accordion and locate the parameter to modify.
- Click the Edit button for the parameter.
- Update the Value field and click Save.
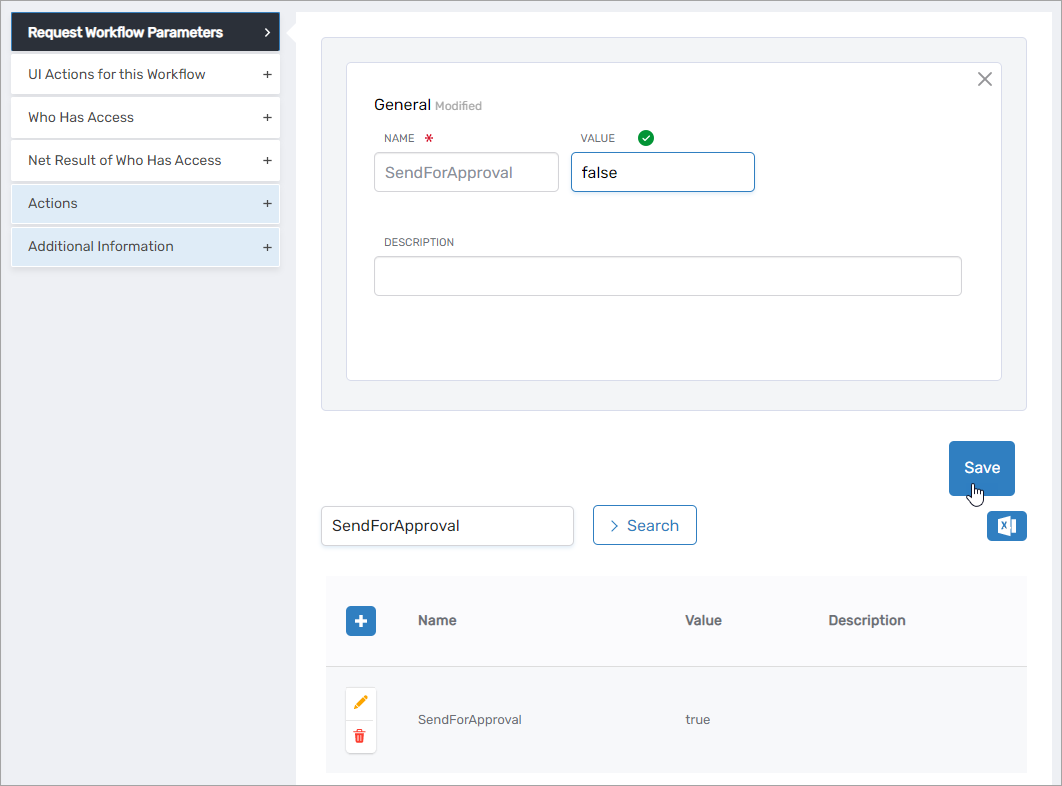
- Repeat for additional parameter changes as needed.
Onboard a Person
- Navigate to the Resource Admin portal.
- Select People and click the Workflows tab.
- Click Onboard a New Person.
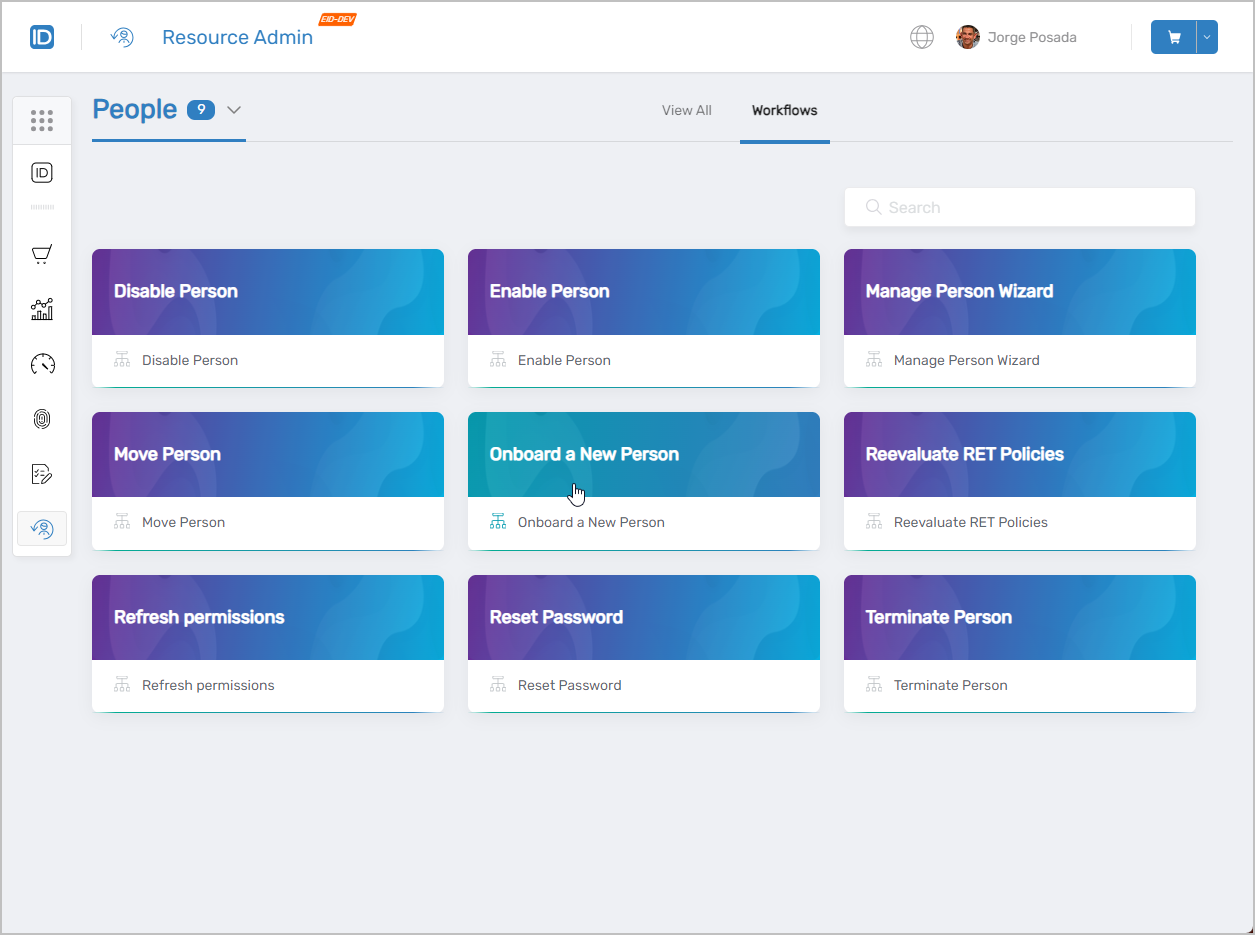
This initiates the Onboard Person workflow.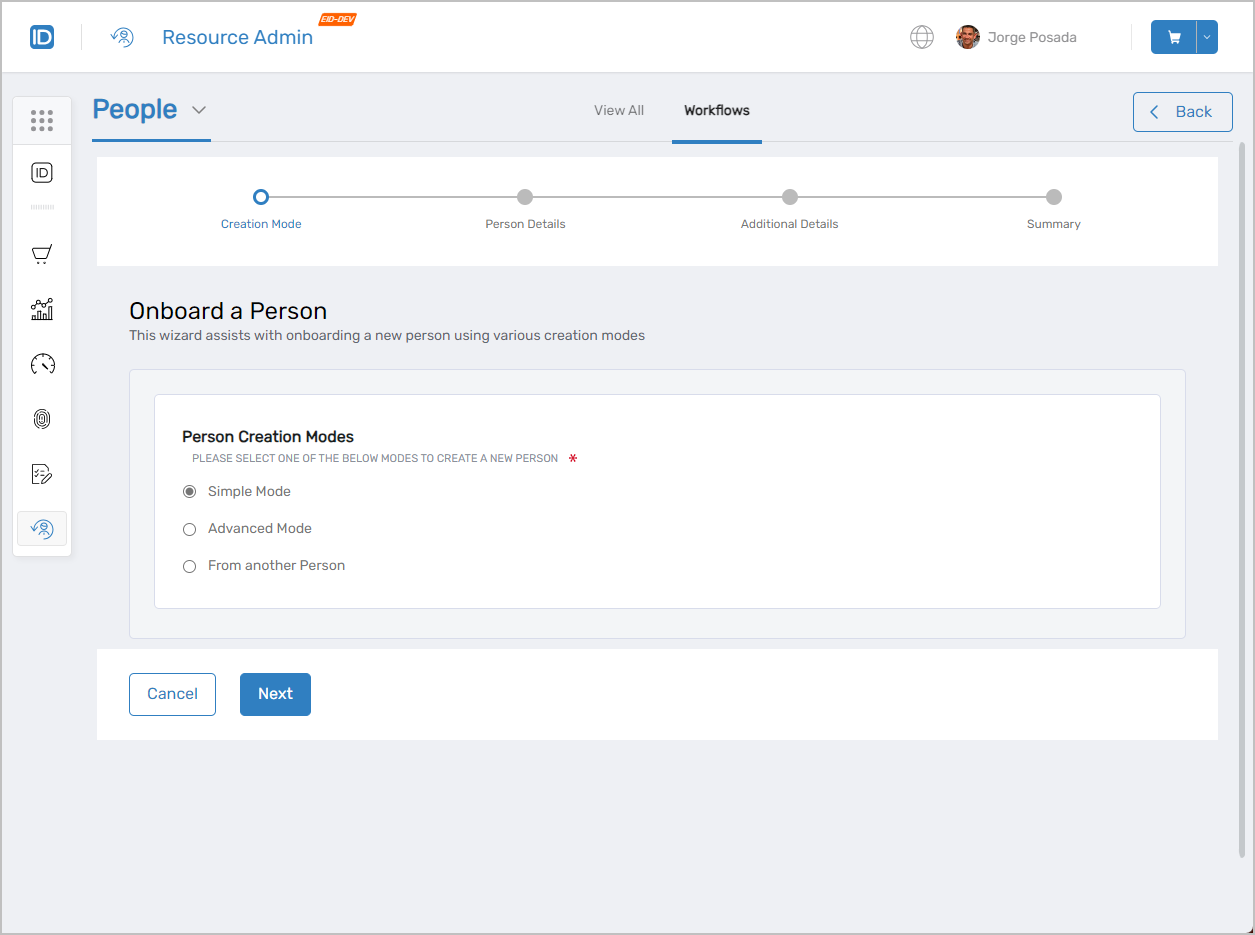
- Select the desired creation mode and complete the workflow:
- Simple Mode
- Advanced Mode
- From Another Person
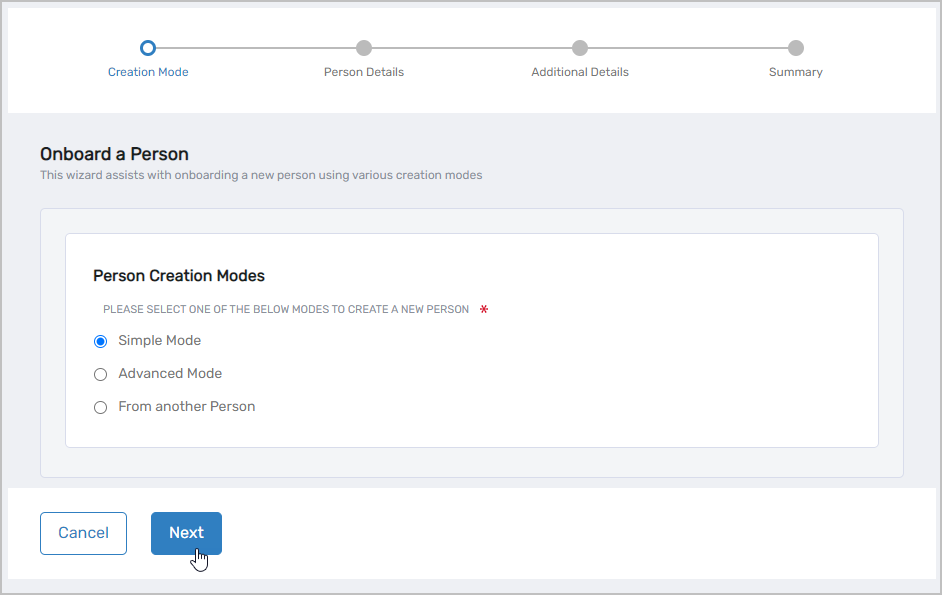
Simple Mode Steps
- Select Simple Mode and click Next.
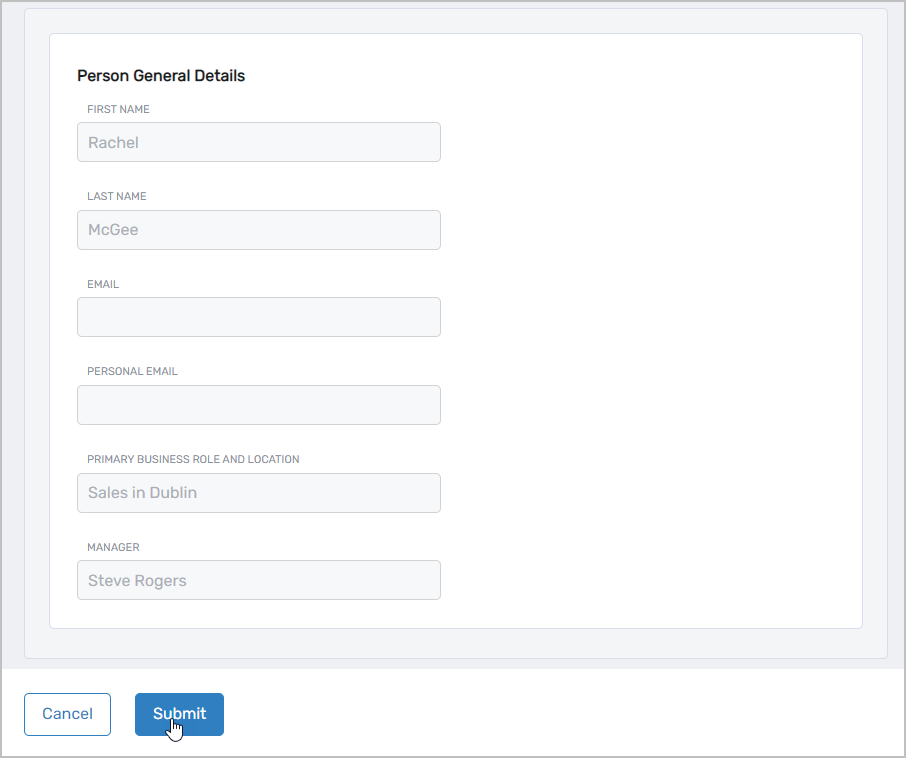
- Enter the following information:
- First Name – Person's first name
- Last Name – Person's last name
- Email – Email address (optional)
- Personal Email – Personal email for welcome message (optional)
- Primary Role and Location – Click Select a Role and Location, then:
- Search for and select a Business Role
- Click the Location link and select a location
- Click Select to confirm
- Manager – Person's manager (optional)
- Click Next.
- Review the person details summary and click Submit to complete onboarding.
Advanced Mode Steps
-
Select Advanced Mode and configure Advanced Options:
- Auto-Generate a Password? (Yes/No)
- Assign Management Role Bundle Memberships? (Yes/No)
- Assign Pre-Approved Management Roles? (Yes/No)
- Assign Group Memberships? (Yes/No)
- Assign Secondary Role and Locations? (Yes/No)
noteYou must have appropriate permissions to assign roles and groups.
-
Click Next.
-
On the Person tab, complete the general identity information:
Person General Details:
- First Name, Initials, Last Name
- Display Name, Login
- Email, Personal Email
- Primary Business Role and Location (required)
- Manager (optional)
Person Password: (Appears if auto-generate password is disabled)
- Password
- Confirm Password
About Person:
- Preferred Language
- Notes, About me
-
Optionally, select the Organization tab:
Organization Information:
- Title, Office, Location
- Department, Division, District, Company
Address and Phone Numbers:
- Street Address, City, State, Province, Country
- Postal Code
- Telephone, Business Phone, Mobile Phone Provider, Fax
-
Optionally, select the Advanced tab:
- Enabled – Selected by default
- Disable Notifications – Prevents email notifications
- Allow Attribute Sync – Enables attribute synchronization (selected by default)
- Allow Login – Enables system login (selected by default)
- Must Change Password on Next Login – Forces password change
-
Click Next.
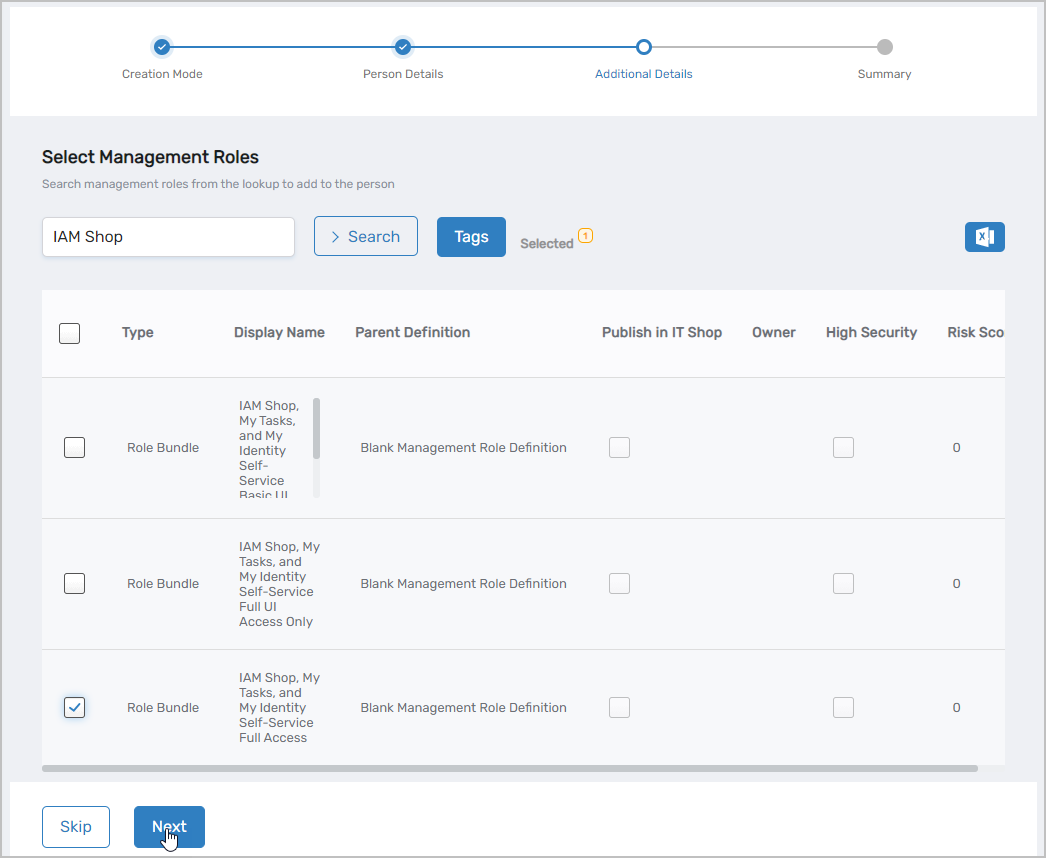
-
If selected, assign Management Role Bundles or click Skip.
-
If selected, assign Pre-Approved Management Roles or click Skip.
-
If selected, assign Group Memberships or click Skip.

-
Review the summary and click Submit to complete onboarding.
Click Cancel at any time to exit the workflow without onboarding the person.
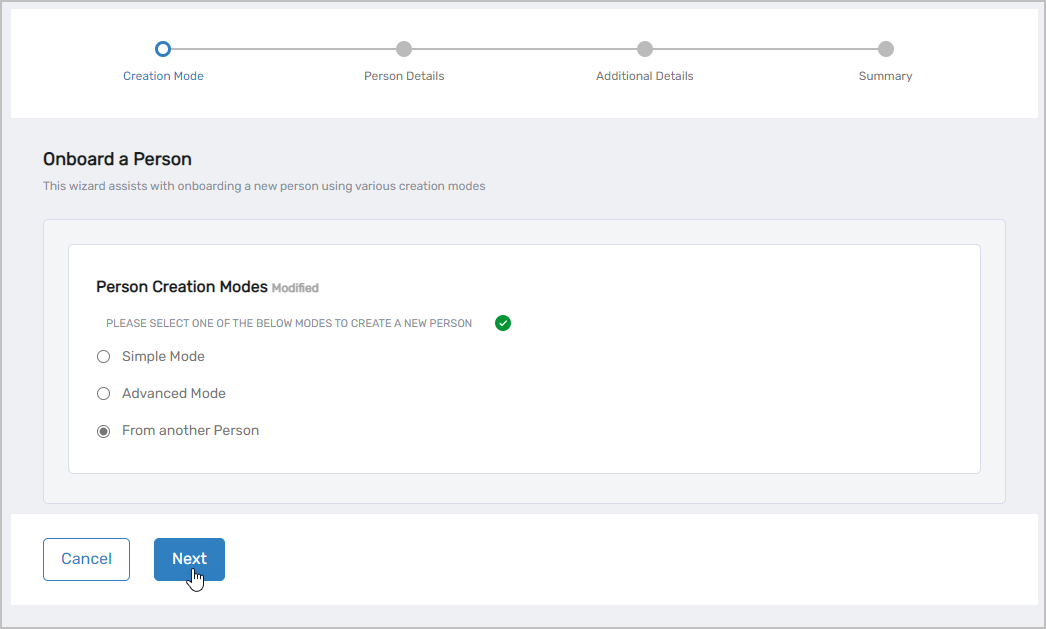
From Another Person Steps
-
Select From Another Person and click Next.
-
Search for and select the template person, then click Next.
-
On the Person tab, review and modify the pre-filled information:
Person General Details:
- First Name, Initials, Last Name
- Display Name, Login
- Email, Personal Email
- Primary Business Role and Location (required)
- Manager (optional)
Person Password: (Appears if auto-generate password is disabled)
- Password
- Confirm Password
About Person:
- Personal Email for welcome message
- Preferred Language
- Notes, About me
-
Optionally, select the Organization tab and review/modify:
Organization Information:
- Title, Office, Location
- Department, Division, District, Company
Address and Phone Numbers:
- Street Address, City, State, Province, Country
- Postal Code
- Telephone, Business Phone, Mobile Phone Provider, Fax
-
Optionally, select the Advanced tab and review/modify settings:
- Enabled, Disable Notifications
- Allow Attribute Sync, Allow Login
- Must Change Password on Next Login
-
Click Next.
-
Optionally, assign Management Roles and click Next.
-
Optionally, assign Group Memberships and click Next.
-
Review the summary and click Submit to complete onboarding.
Click Cancel at any time to exit the workflow without onboarding the person.
Results
- New Person object is created in EmpowerID
- Person receives welcome email at personal email address (if provided)
- Manager receives notification email (if manager has registered email)
- Selected roles and group memberships are assigned
- Person can authenticate to EmpowerID (if enabled)
- Attribute synchronization is configured based on settings