Create Locations
Create Locations to establish logical containers for organizing resources, delegating access, and structuring your organization within EmpowerID. Locations represent organizational and geographical structures such as departments, offices, or regions.
Prerequisites
Before creating Locations, ensure you have:
- Access to manage Locations in EmpowerID
Procedure
-
Navigate to Role Management > Business Roles and Locations.
-
Select the Actions tab.
-
Click Create Location.
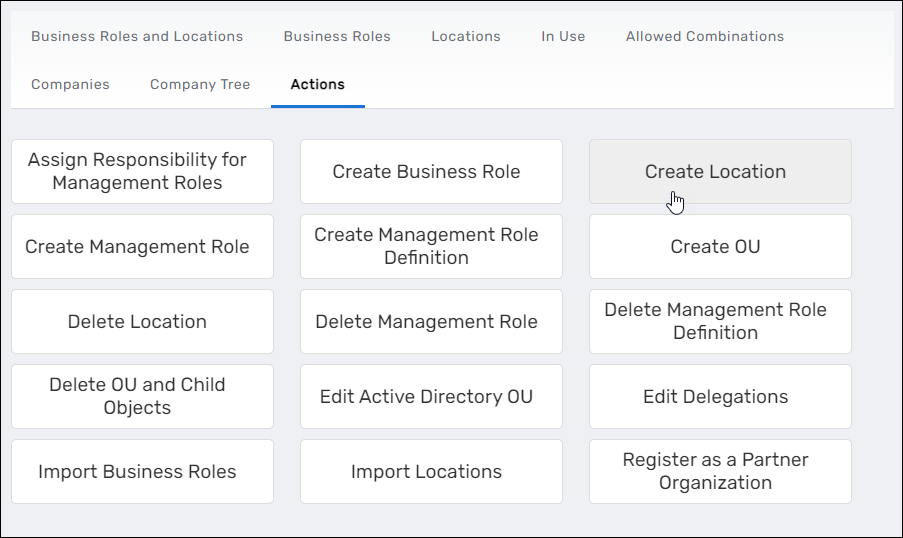
The Location Details form opens, allowing you to configure the new location.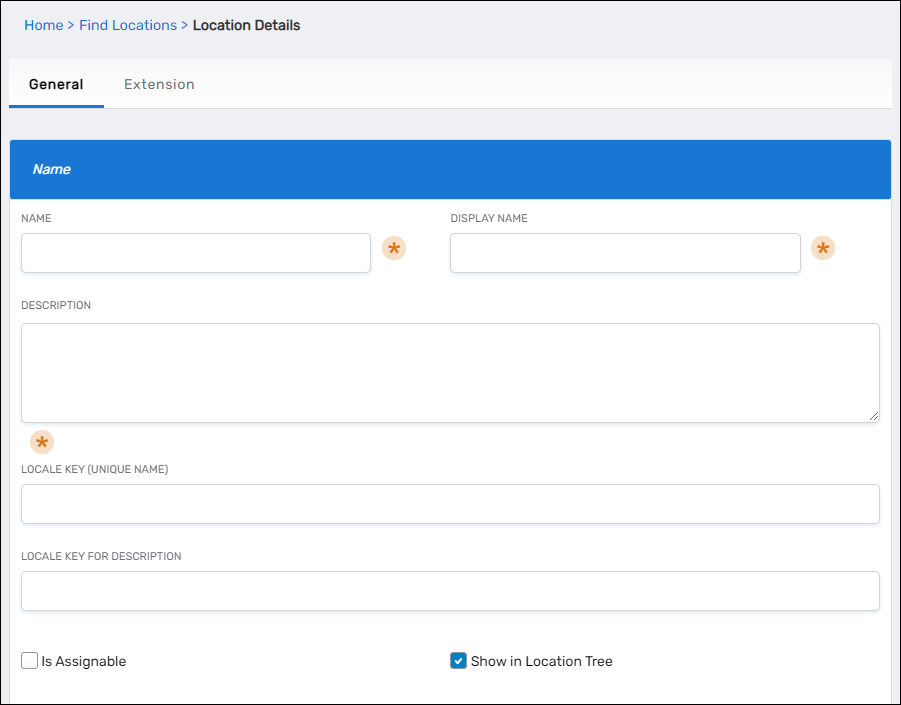
-
In the General tab, configure the location settings:
Basic Information:
- Name: Enter the location name (e.g., "Boston Office")
- Display Name: Enter the display name shown in the user interface
- Description: Enter a description explaining the location's purpose
- Locale Key (Unique Name): (Optional) Specify a locale key for internationalization
- Locale Key for Description: (Optional) Specify a locale key for the description
Location Behavior:
- Is Assignable: Select to allow resources to be assigned to this location
- Show in Location Tree: Select to make the location visible in location selection trees
- Block Inheritance: Select to prevent this location from inheriting permissions from parent locations
- Do Not Allow Delete: Select to prohibit deletion of this location from the user interface
Hierarchy and Classification:
- Parent Location: Select the parent location in the hierarchy (defaults to EmpowerID System). Click the delete button next to the default value to search for a different parent location
- Location Type: Select the appropriate type, such as "Location," "Organization - Security Container," or other defined types
- Usage Type: Select the usage classification for the location
- Address: (Optional) Select an address record to associate with this location
-
(Optional) Select the Extension tab to add custom extension attributes as needed for your organization.
-
Click Save to create the location.
Verify the Results
After creating the location:
- The system confirms the location was created successfully.
- Navigate to Role Management > Business Roles and Locations and select the Locations tab.
- Search for the location you just created to verify it appears in the list.
- Click the location's Display Name to open its View One page and confirm all settings are correct.
- Verify the location appears in the correct position within the location hierarchy under its parent location.
Related Topics
- Create Business Roles — Create Business Roles to combine with Locations
- Create Business Role and Location Combinations — Combine Business Roles with Locations
- Map EmpowerID Locations to External Locations — Connect locations to external directory structures
- About Business Roles and Locations — Understand Location concepts and organizational structure
- What is an Organization? — Learn about Organization-type locations