User Experience - Approval Delegations
EmpowerID allows users to delegate approval responsibilities to other individuals using the Approval Delegations page in MyIdentity. Delegation ensures continuity in approval workflows during absences or when responsibilities shift.
When a task is delegated, the original user (delegator) retains visibility and interaction capability, but the designated delegate becomes the default approver. Delegations can be specific to approval types or apply universally to all types, and can be scheduled to take effect only during time away or indefinitely.
Delegators can edit or revoke their delegations at any time.
🔐 Access Requirements
To use approval delegations, a person must have:
- A
UI-Myidentity-*role or client-specific equivalent- The
VIS-MyIdentity-MS-APIroleThe list of available delegates is filtered by:
- Visibility to the target person
- Operation access (
SetAsDelegate), granted via theACT-Person-Approval-SetAsDelegateaccess level
Create Approval Delegations
-
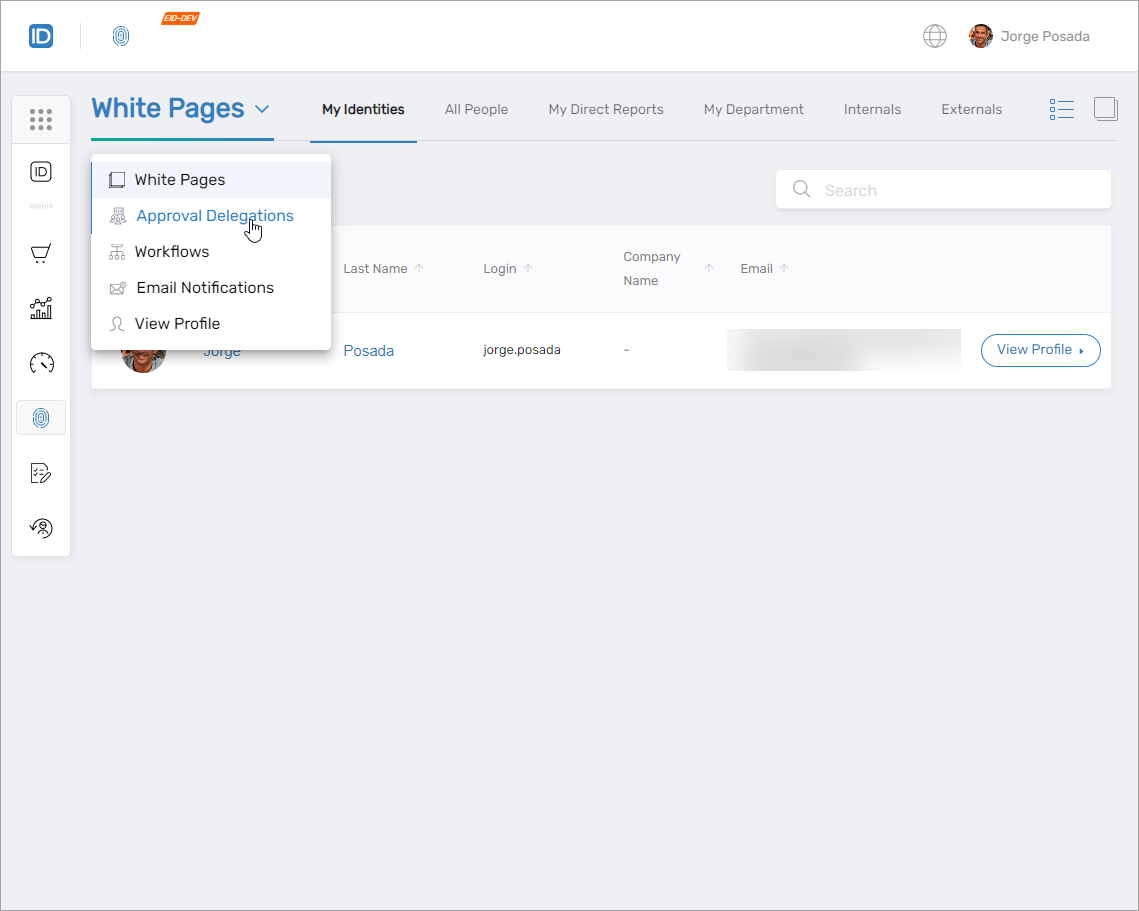
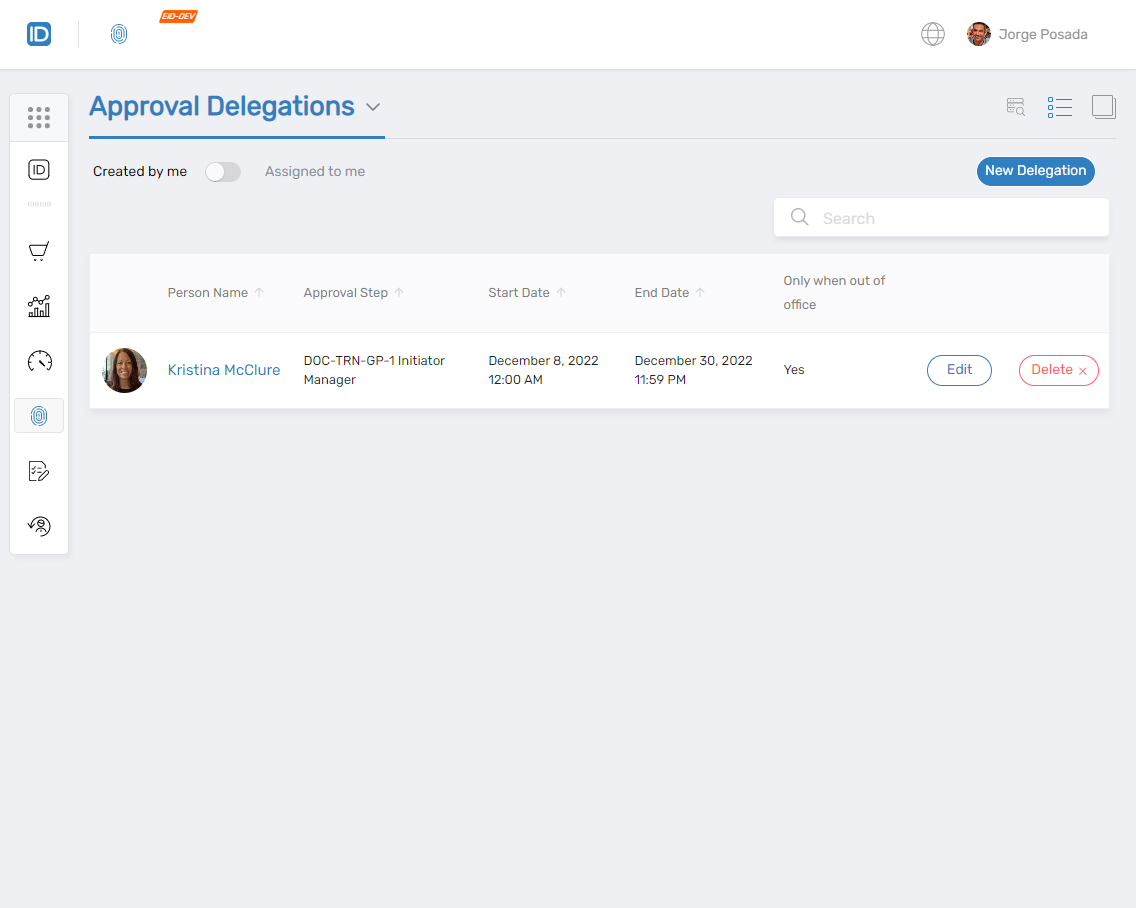
From the EmpowerID Web interface, navigate to MyIdentity > Page > Approval Delegations.
-
Click the New Delegation button.
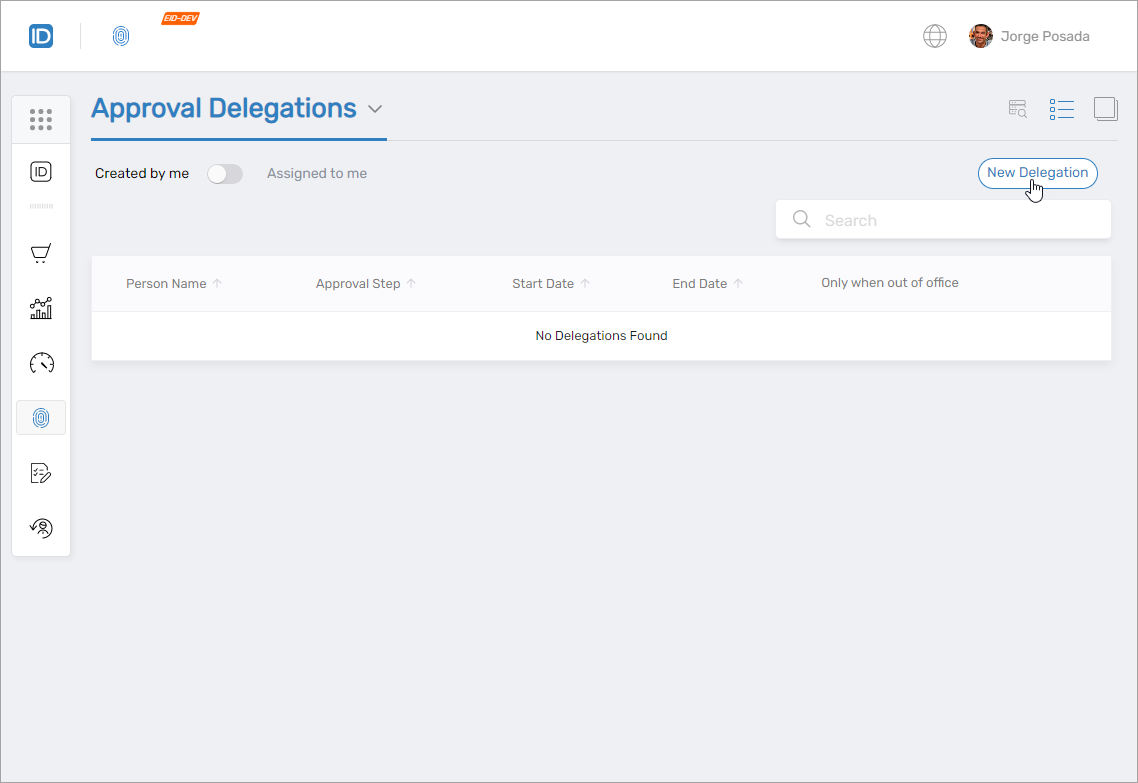
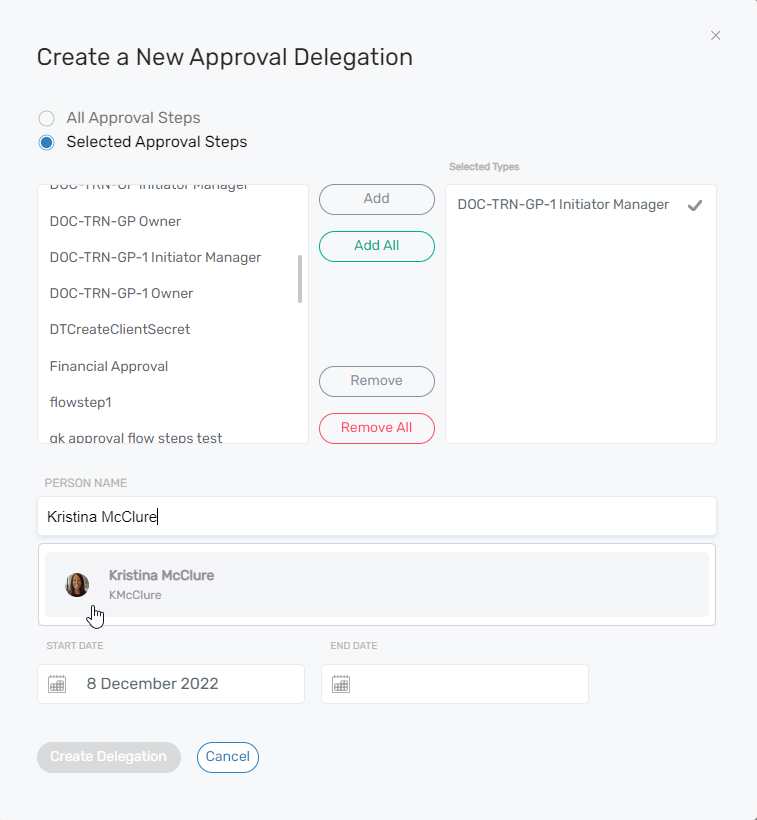
This opens the Create a New Delegation dialog.
-
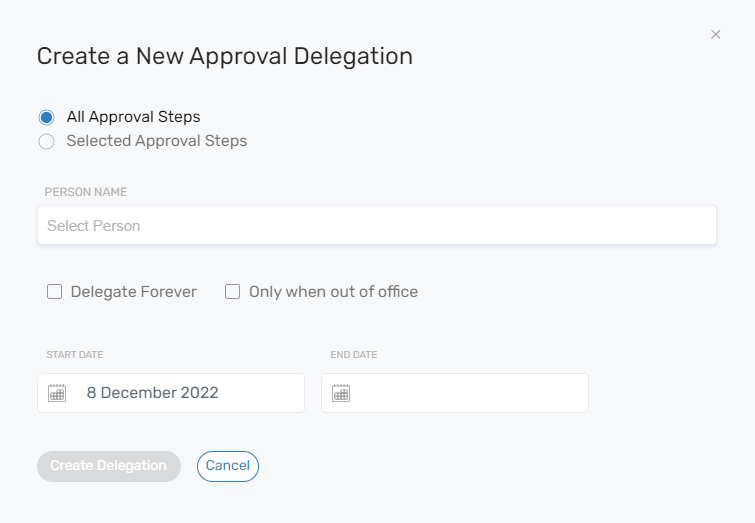
In the dialog, complete the following:
-
Choose the delegation type:
All Types— delegates all approval tasksSelect Types— delegates only specific approval policies
-
If using
Select Types, choose one or more approval policies from the Select Types pane and click Add to move them to Selected Types.
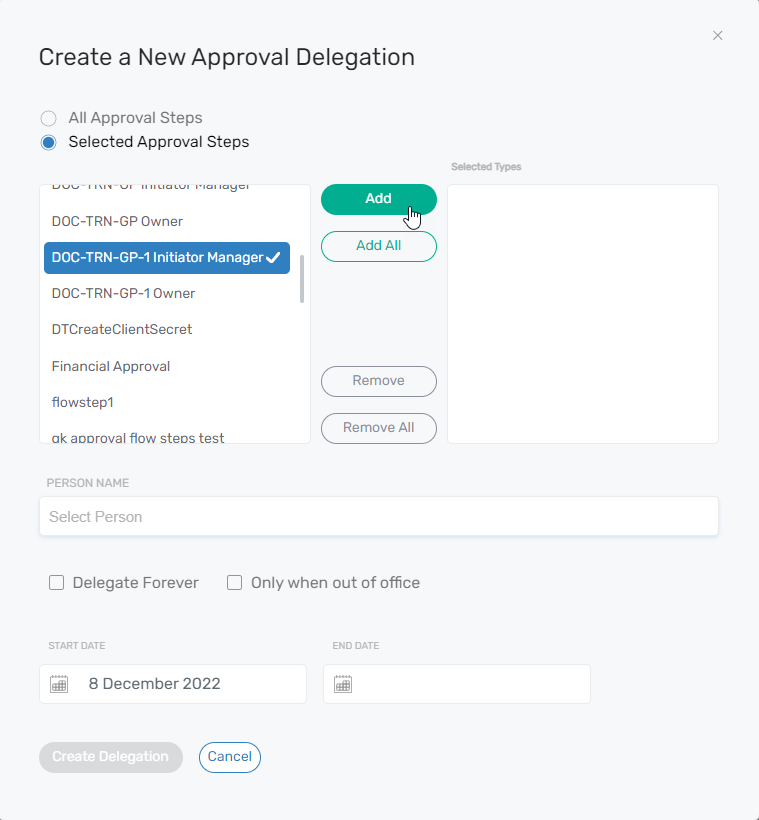
-
To remove a type from the delegation, select it in the Selected Types pane and click Remove.
-
Search for and select delegate(s). Only users with the necessary permissions will appear in search results.
-
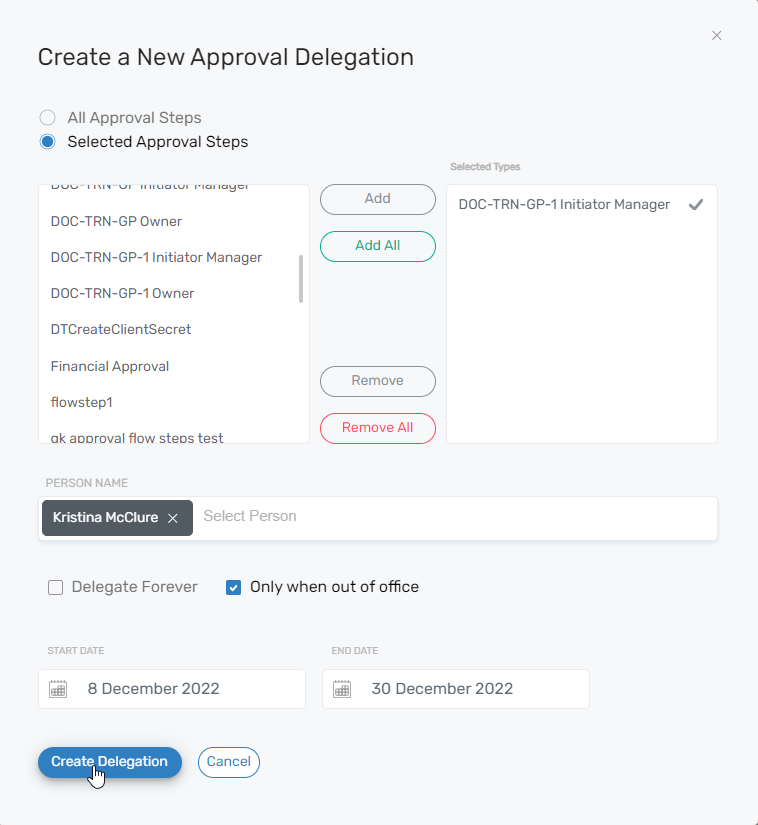
Choose delegation behavior:
- Delegate tasks forever
- Delegate tasks only when out of office
-
Set the Start Date. Optionally set an End Date.
-
Click Create Delegation.
The new delegation will appear in the list of Approval Delegations.
-
✅ Result: The approval task is redirected to the selected delegate. The delegator can still view or intervene in the task.
Edit Approval Delegations
Users can update an existing approval delegation to change its type, scope, or active dates.
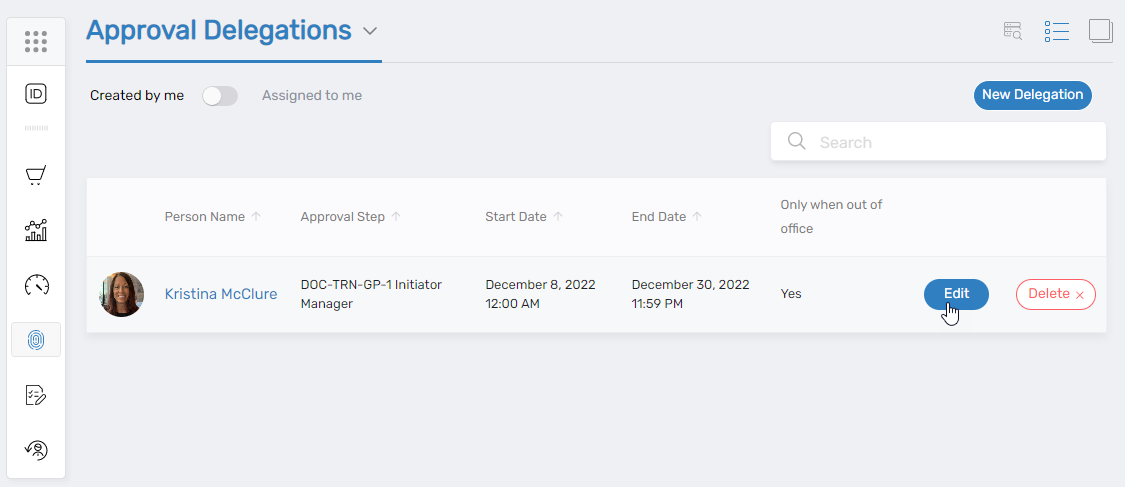
- In MyIdentity, navigate to the Approval Delegations page.
- Locate the delegation to be edited and click the Edit button.
- In the Edit Delegation dialog, modify the delegation type, date range, or selected delegate(s).
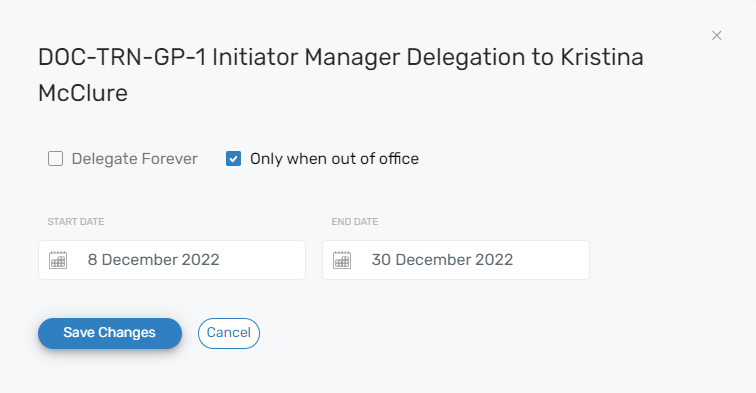
- Click Save Changes.
✅ Result: The updated delegation takes effect immediately based on the modified parameters.
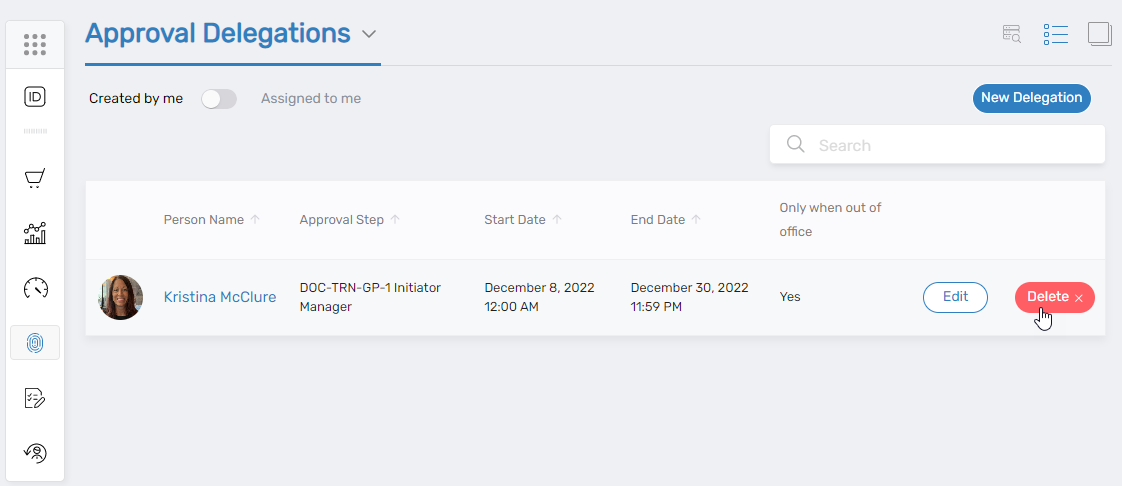
Delete Approval Delegations
Deleting an approval delegation reassigns future approval tasks back to the original delegator.
-
In MyIdentity, open the Approval Delegations page.
-
Find the delegation you want to delete and click the Delete button.
-
Click Yes to confirm.
⚠️ Important: This action cannot be undone. The delegated approval responsibilities will revert immediately to the delegator.