Configure Secrets for the MS Online Microservice
After you have published the MS Online microservice to Azure, you need to create a Key Vault in Azure (if needed), adding secrets to the Key Vault and configuring the App Service Application settings with those secrets.
Procedure
-
In Azure, create a Key Vault if you do not already have one or want to create a new one.
-
Navigate to the Key Vault blade for the appropriate Key Vault.
-
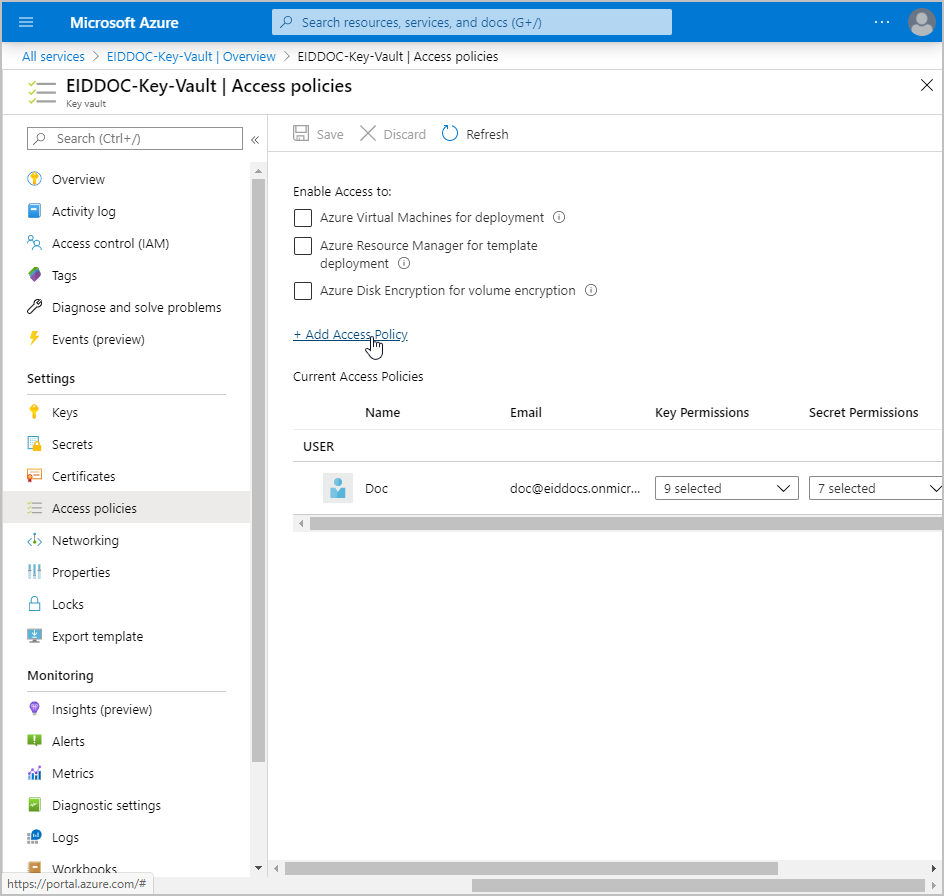
On the navbar for the Key Vault, under Settings, click Access Policies.
-
Click + Add Access Policy.
-
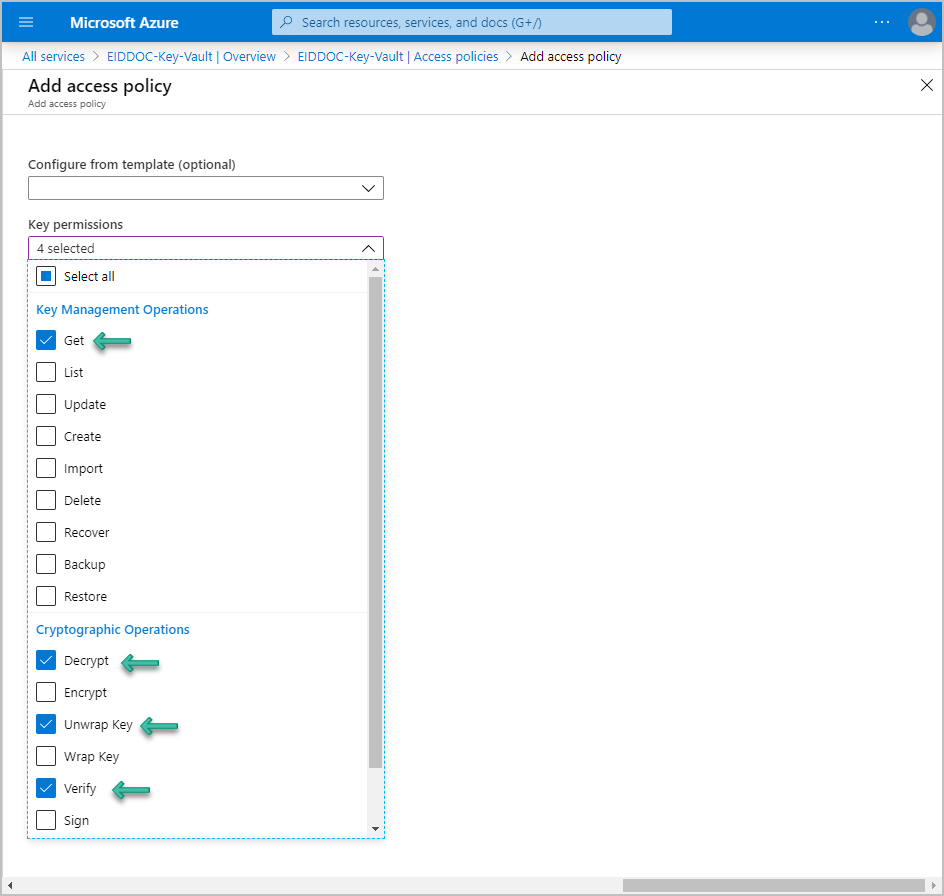
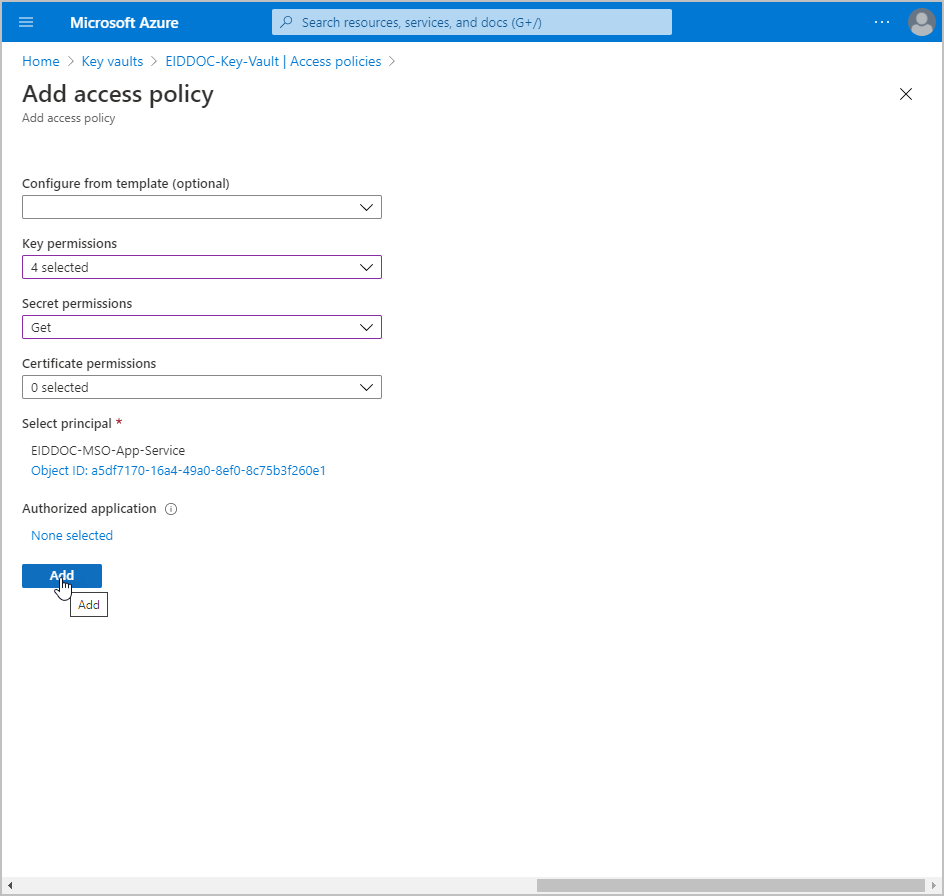
Click the Key Permissions drop-down and select the Get, Decrypt, Unwrap Key, and Verify operations.
-
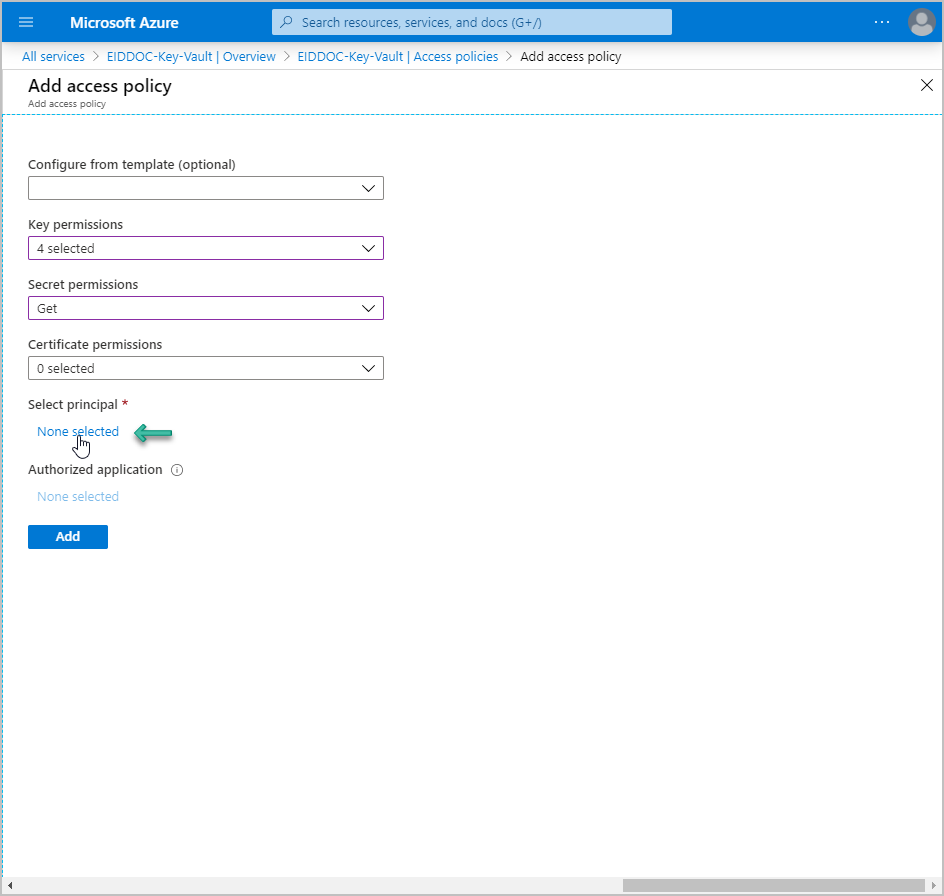
Click the Secret permissions drop-down and select the Get operations.

-
Under Select principal, click None Selected.
-
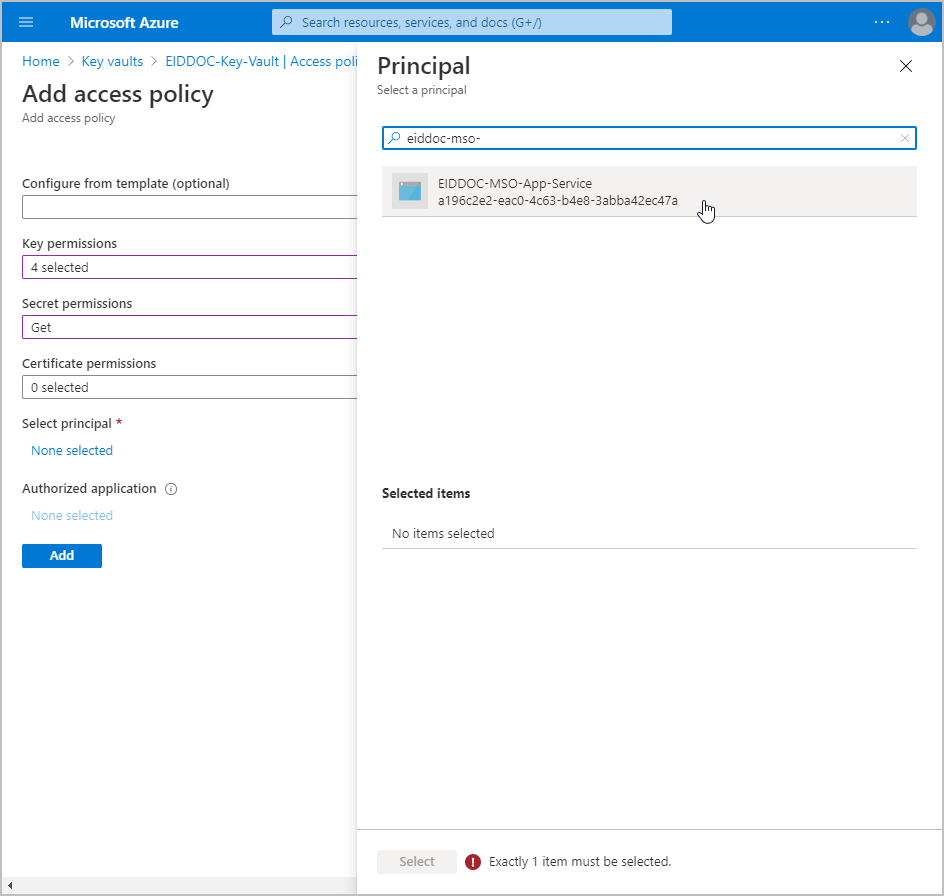
Search for and select the Managed Identity for the MS Online App Service.
-
Click Select to select the principal.
-
On the Add access policy blade, click Add.
-
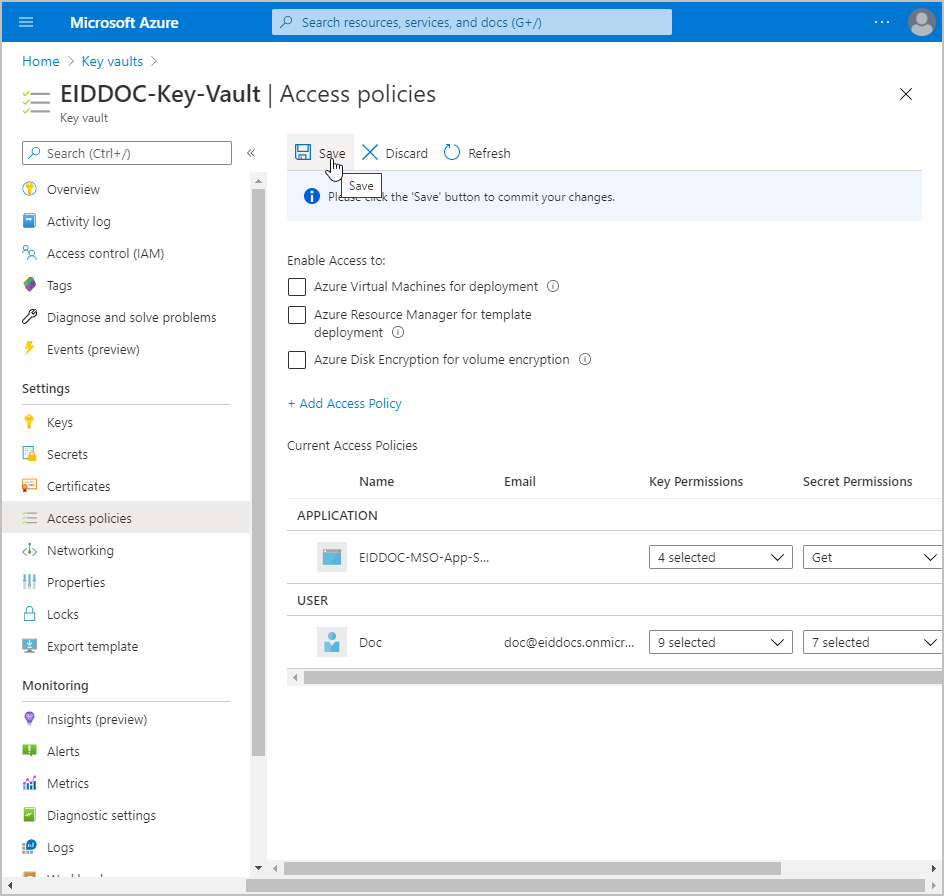
Click Save.
-
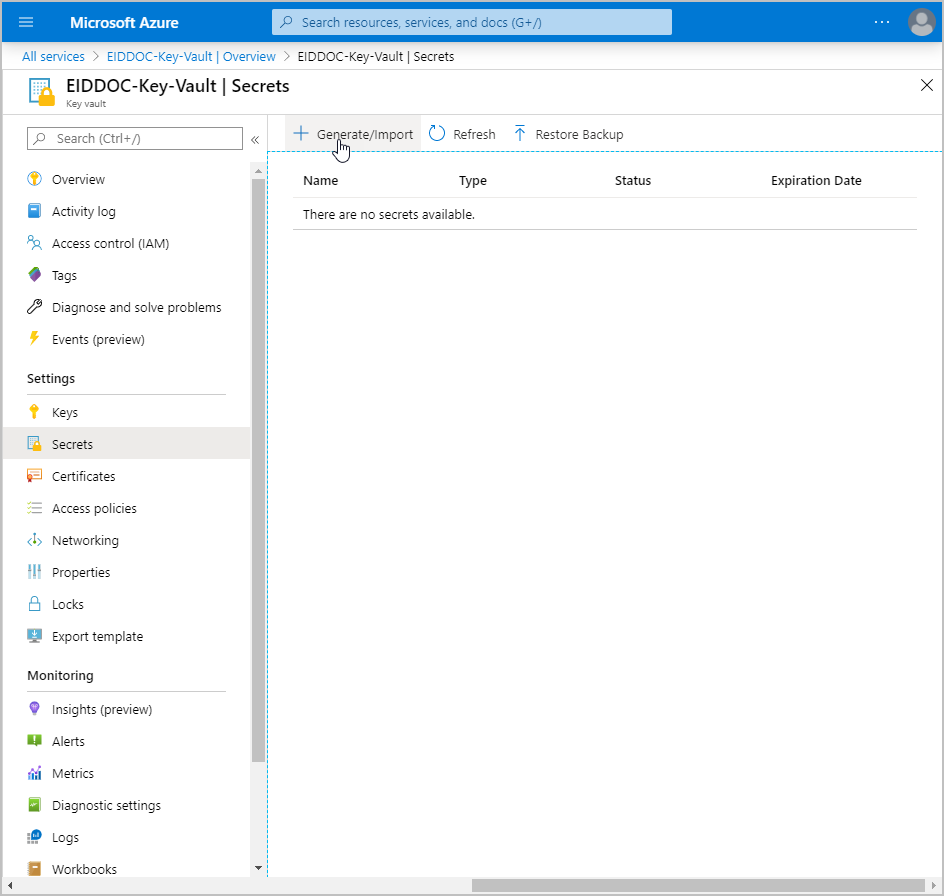
On the navbar for the Key Vault, under Settings, click Secrets.
-
On the Secrets blade, click Generate/Import.
-
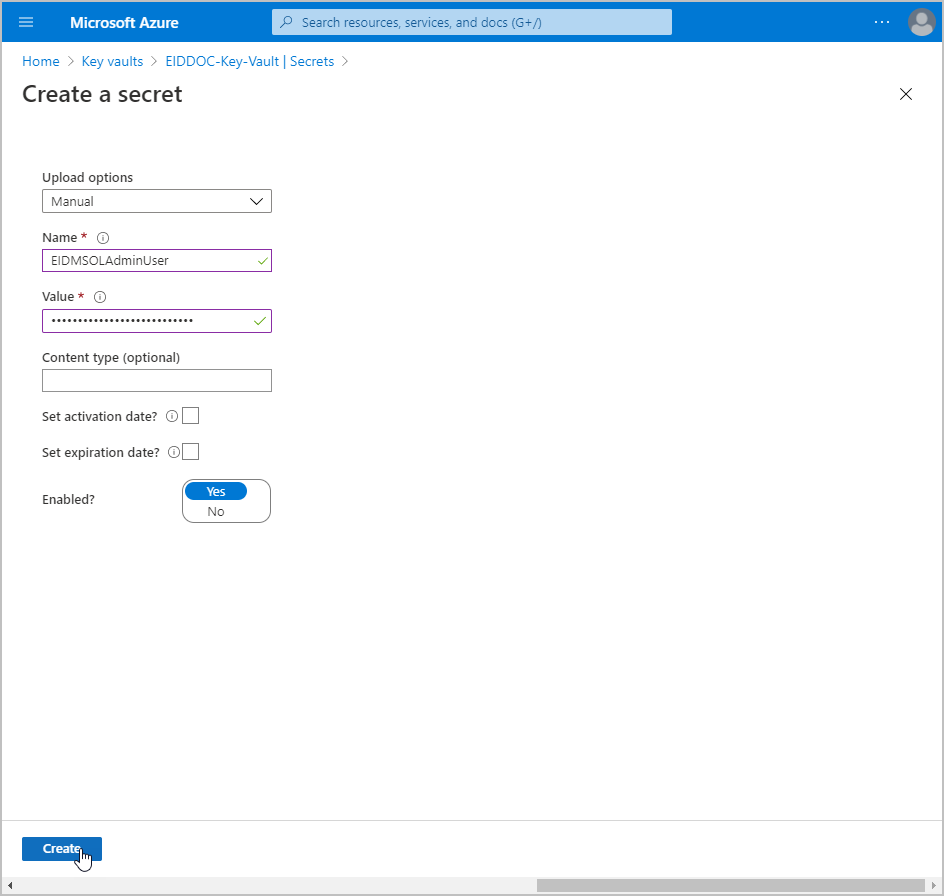
On the Create a secret page, do the following to create the first secret:
-
Name – Enter EIDMSOLAdminUser.
-
Value – Enter a value for the secret, such as admin@eiddco.onmicrosoft.com.
-
Click Create.
-
Back on the Secrets blade, click Generate/Import again.
-
On the Create a secret blade, do the following to create the second secret:
- Name – Enter EIDMSOLUserPassword. -Value – Enter a password for the secret.
- Click Create.
-
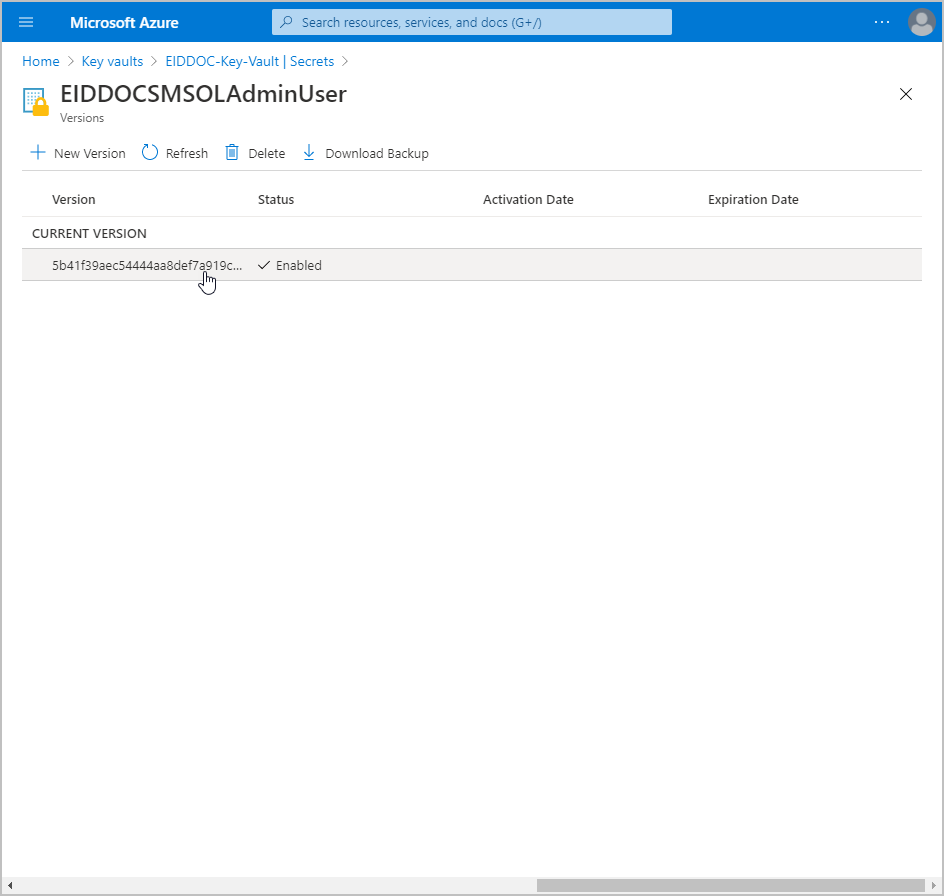
Back on the Secrets blade, click the record for the first secret you created.
-
Click the Current Version to go to the Properties blade for the secret.
-
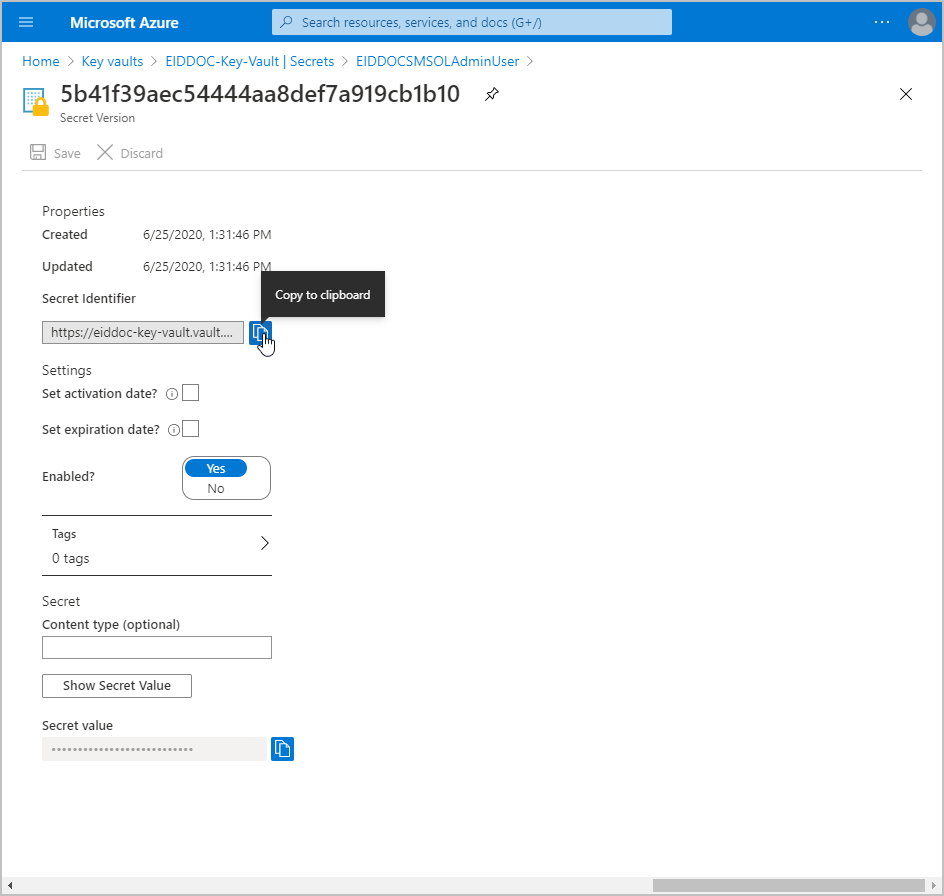
On the Properties blade, copy the Secret Identifier. You will use this value later.
-
Return to the Secrets page and repeat steps 16, 17, 18 and 18 for the second secret.
-
Navigate to the MS Online App Service you created earlier.
-
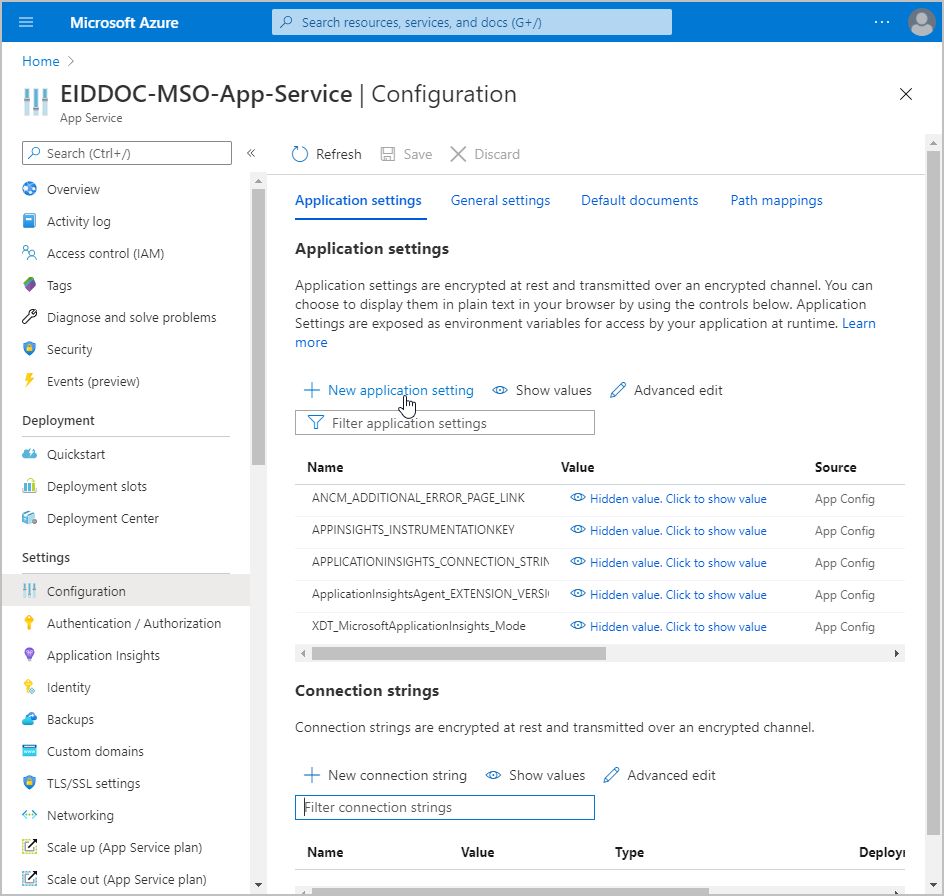
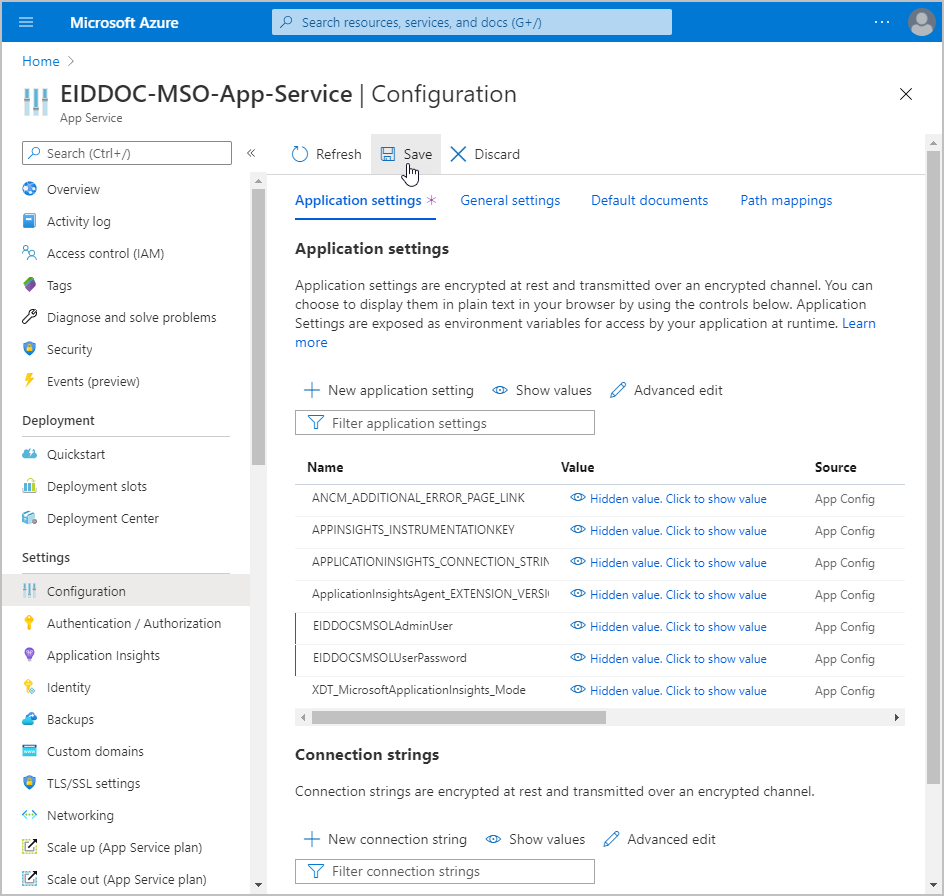
On the navbar for the App Service, under Settings, click Configuration.
-
Under Application settings, click New application setting.
-
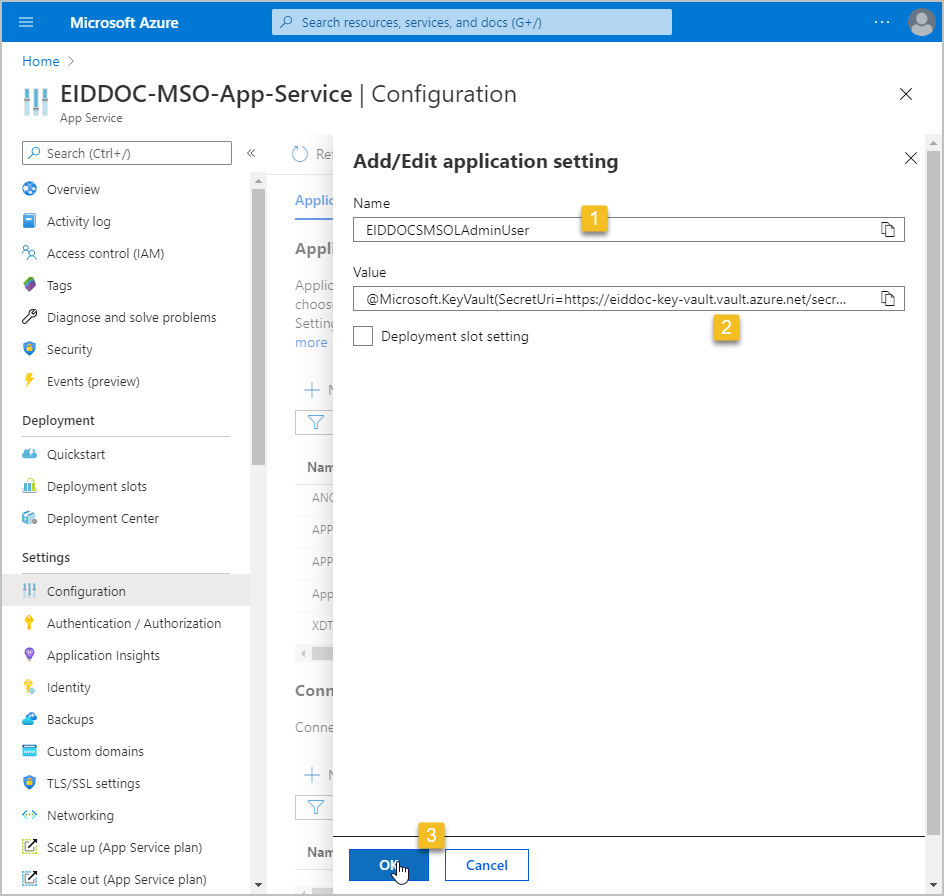
In the Add/Edit application setting pane, do the following:
- Name – Enter the name you gave the to the first secret.
- Value – Enter @Microsoft.KeyVault(SecretUri={The_Secret_Identifier_For_The_First_Secret}), replacing {The_Secret_Identifier_For_The_First_Secret} with the actual Secret Identifier for the secret.
- Click OK.
-
Back in the Application settings tab of the Configuration blade, click New Application setting.
-
In the Add/Edit application setting pane, do the following:
- Name – Enter the name you gave the to the second secret.
- Value – Enter @Microsoft.KeyVault(SecretUri={The_Secret_Identifier_For_The_Second_Secret}), replacing {The_Secret_Identifier_For_The_Second_Secret} with the actual Secret Identifier for the secret.
- Click OK.
-
Click Save on the Configuration blade.
-
Click Continue to confirm that you want to save changes.