Configure Settings & Person for the Cloud Gateway
The first step in deploying the cloud gateway is to configure the EmpowerID system settings & a Person to use the Cloud Gateway. Follow the instructions below to provide the configuration of the Azure tenant for the Cloud Gateway and create a person with the required privileges.
Prerequisites
Before proceeding, ensure that you meet the following requirements:
- An Azure tenant and subscription are available.
- An Azure resource group is created and identified, or you have sufficient privileges to create a new resource group within the subscription.
- You have sufficient privileges to create and configure an Azure Relay in a new or existing resource group. The Azure Relay must be created within the Azure tenant to enable cloud gateway configuration. For details, refer to Creating a namespace in the Azure portal.
- A Hybrid Connection is created within Azure Relay. If it is not yet created, follow the steps in Creating a hybrid connection.
- You have sufficient privileges to create an App Registration and generate a client secret for EmpowerID.
- The App Registration’s Service Principal must be assigned the "Contributor" role for the Hybrid Connection. Ensure that the App Registration is completed and the appropriate role is assigned.
Procedure
Step 1: Configure EmpowerID System Settings
Ensure you have information about the Azure tenant or the rights to do so as mentioned in the Prerequisites. You must have Azure Relay & Hybrid Connections created in the Azure, and the App Registration Service Principal must be assigned the "Contributor" role to the Azure Relay. These are mentioned in the Prerequisites above.
-
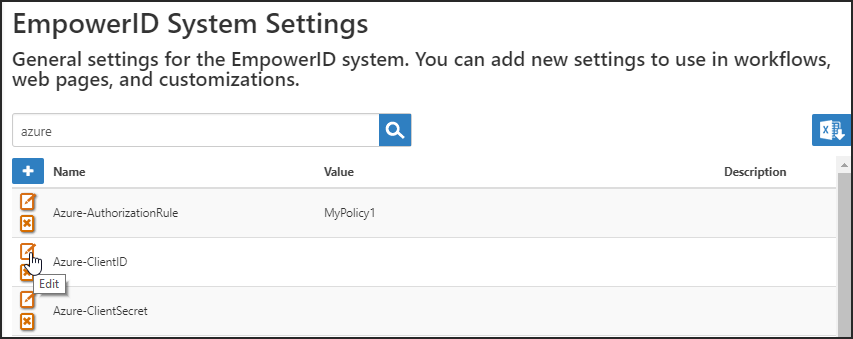
Use the navbar to go to Infrastructure Admin -> EmpowerID Server and Settings -> EmpowerID System Settings.
-
Search for "Azure," locate the Azure-ClientID setting and click the Edit button.
-
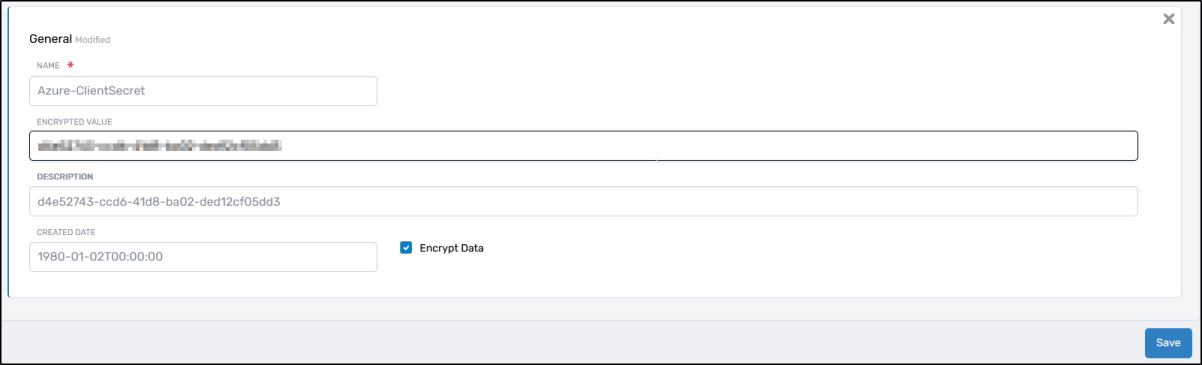
Provide the necessary settings and click the Save Button to store the settings.
-
Name - Name of the setting.
-
Encrypted Value - Azure Client ID
-
Description - Provide details about the setting.
-
Encrypt Data - Select the checkbox if you want to cipher the value.
-
-
Repeat steps 2 & 3 above for all the settings below.
-
Azure-ClientSecret: Client secret of the Azure tenant.
-
Azure-ResourceGroup: Resource group container of the Azure tenant.
-
Azure-SubscriptionID: The GUID for the subscription.
-
Azure-TenantID : GUID for your subscription.
-
Azure-DataCenterLocation : Azure Data Center location where your azure tenant resides.
-
Azure-Relay :
-
Azure-RelayNamespace :
-
Azure-AuthorizationRule:
-
Step 2: Setup the RemoteCloudGateway Person Account
Next, set up the person with the required privileges to register & connect to the EmpowerID Cloud Gateway. You will need the person created here in this step when you install the cloud gateway client.
-
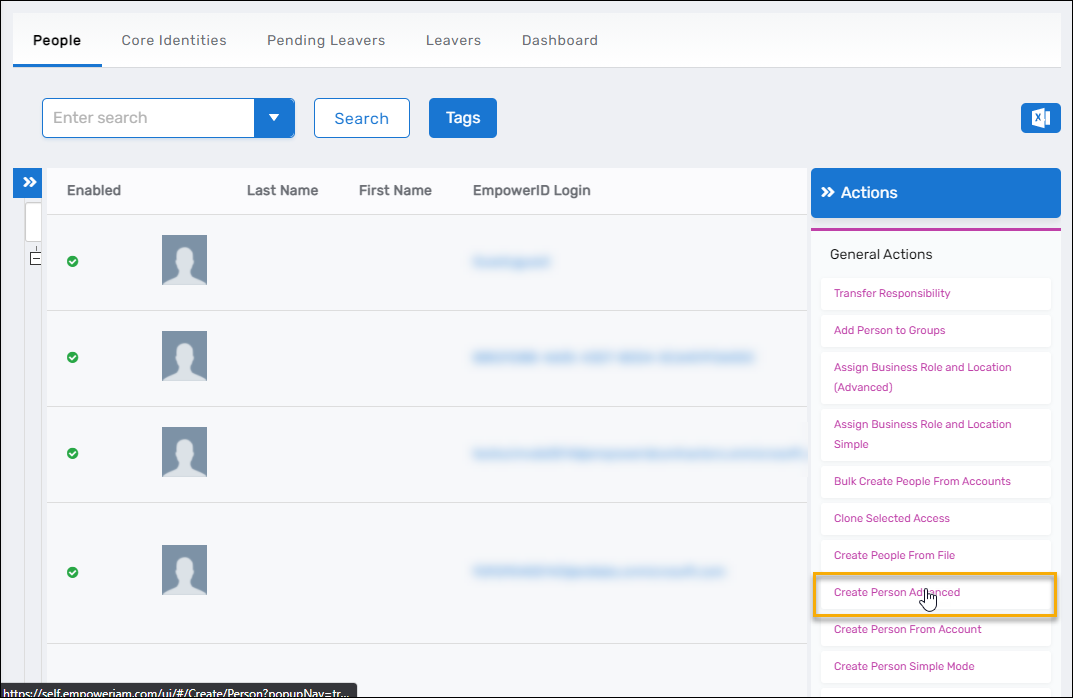
On the navbar, expand Identity Administration and select People.
-
Click the Create Person Advanced Action link.
-
In the General tab of the Create Person form that appears, enter the following information:
-
First Name – First name
-
Last Name – Last name
-
Display Name – Enter the name that will appear for the person in the User Interface
-
Login – Enter the login for the account or click the icon to have EmpowerID suggest one for you
-
Primary Business Role and Location – Click Select a Role and Location and do the following:
-
Search for and select Temporary Role as the Business Role
-
Search for and choose Temporary Location as the Location
-
Click Select.
-
-
Management Roles – Search for and select UI-Admin-Cloud-Gateway.

-
-
Leave all other fields empty and click Save.