Creating an Attribute Set
This guide provides step-by-step instructions for creating a Custom Security Attribute set in EmpowerID. Attribute sets provide logical containers for grouping related Custom Security Attributes.
Prerequisites
Before creating an attribute set, ensure:
- EmpowerID is configured for Custom Security Attributes
- The Microsoft Entra account store connection is active
Create an Attribute Set
-
Navigate to Resource Admin → Applications → Custom Security Attributes and click Add Attribute Set.
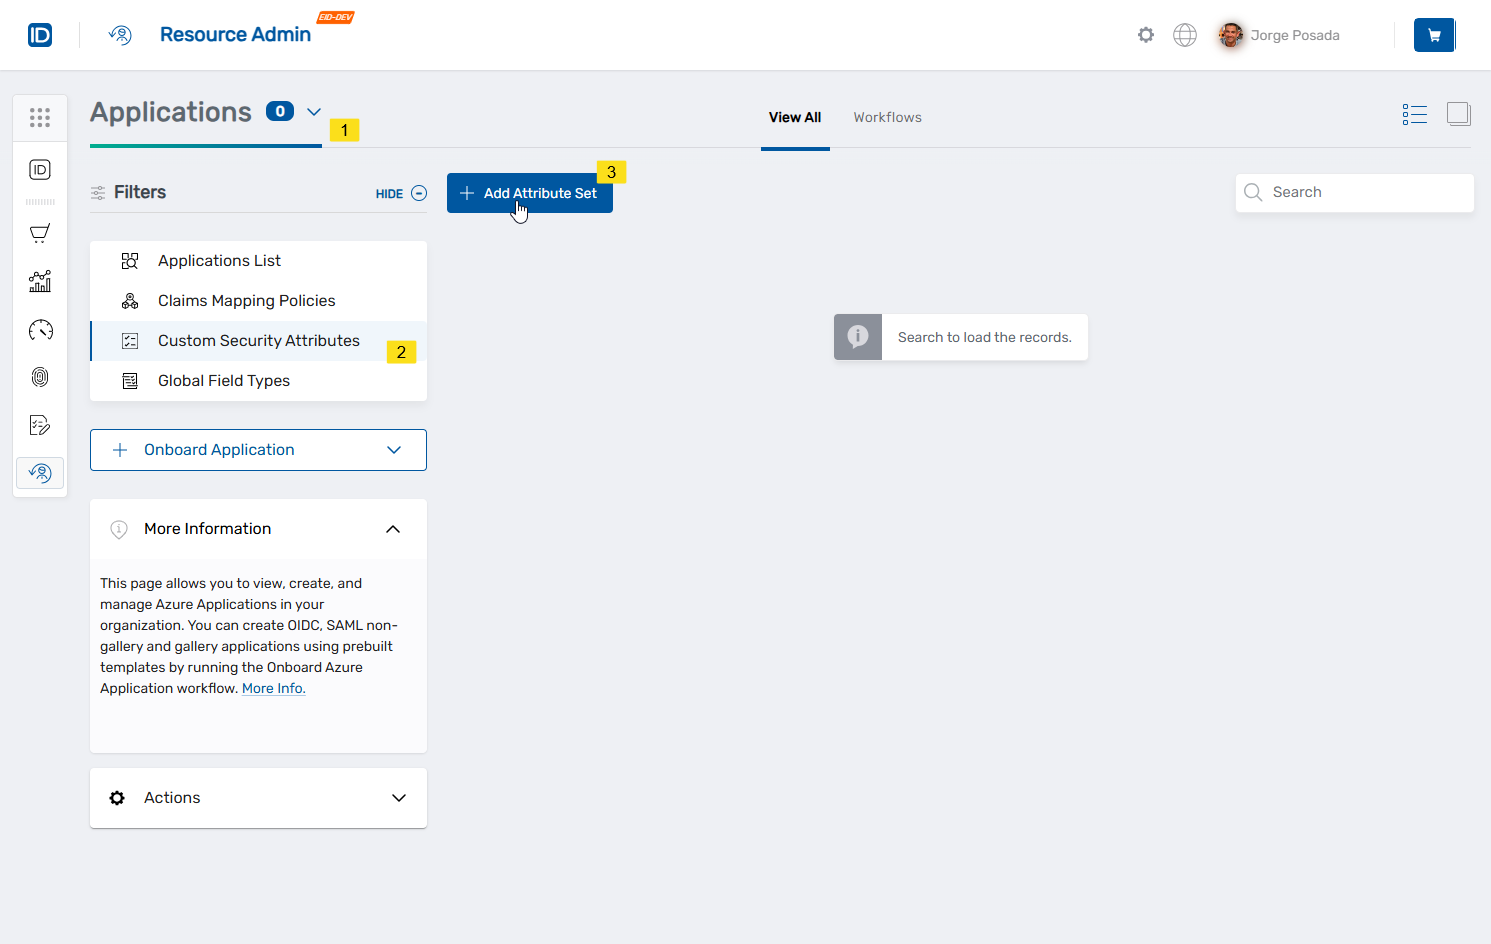
The Add Attribute Set dialog opens.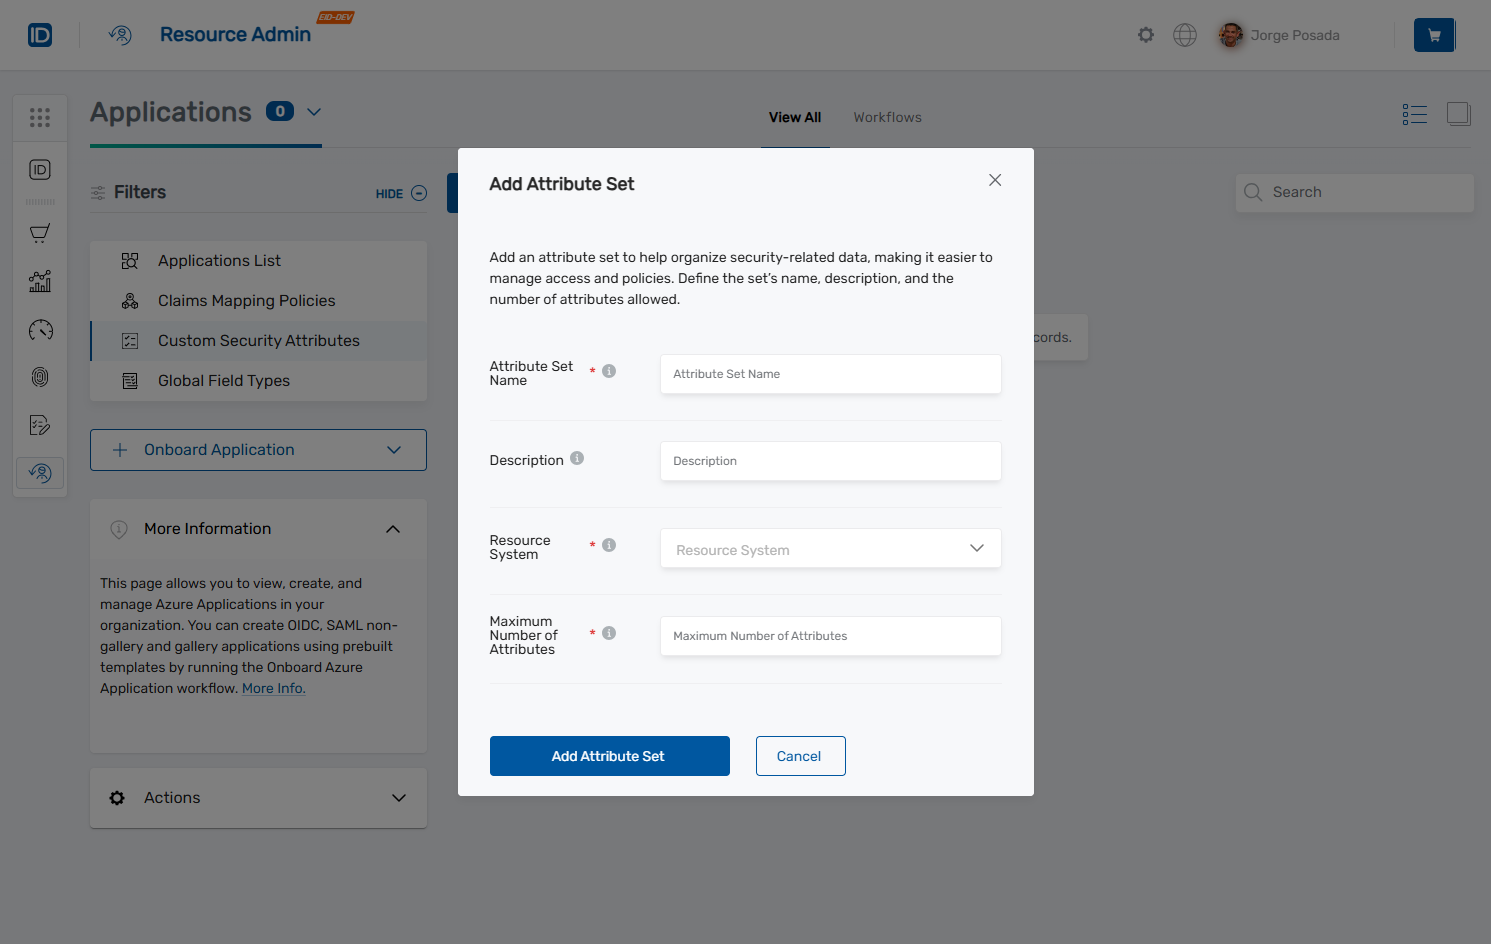
-
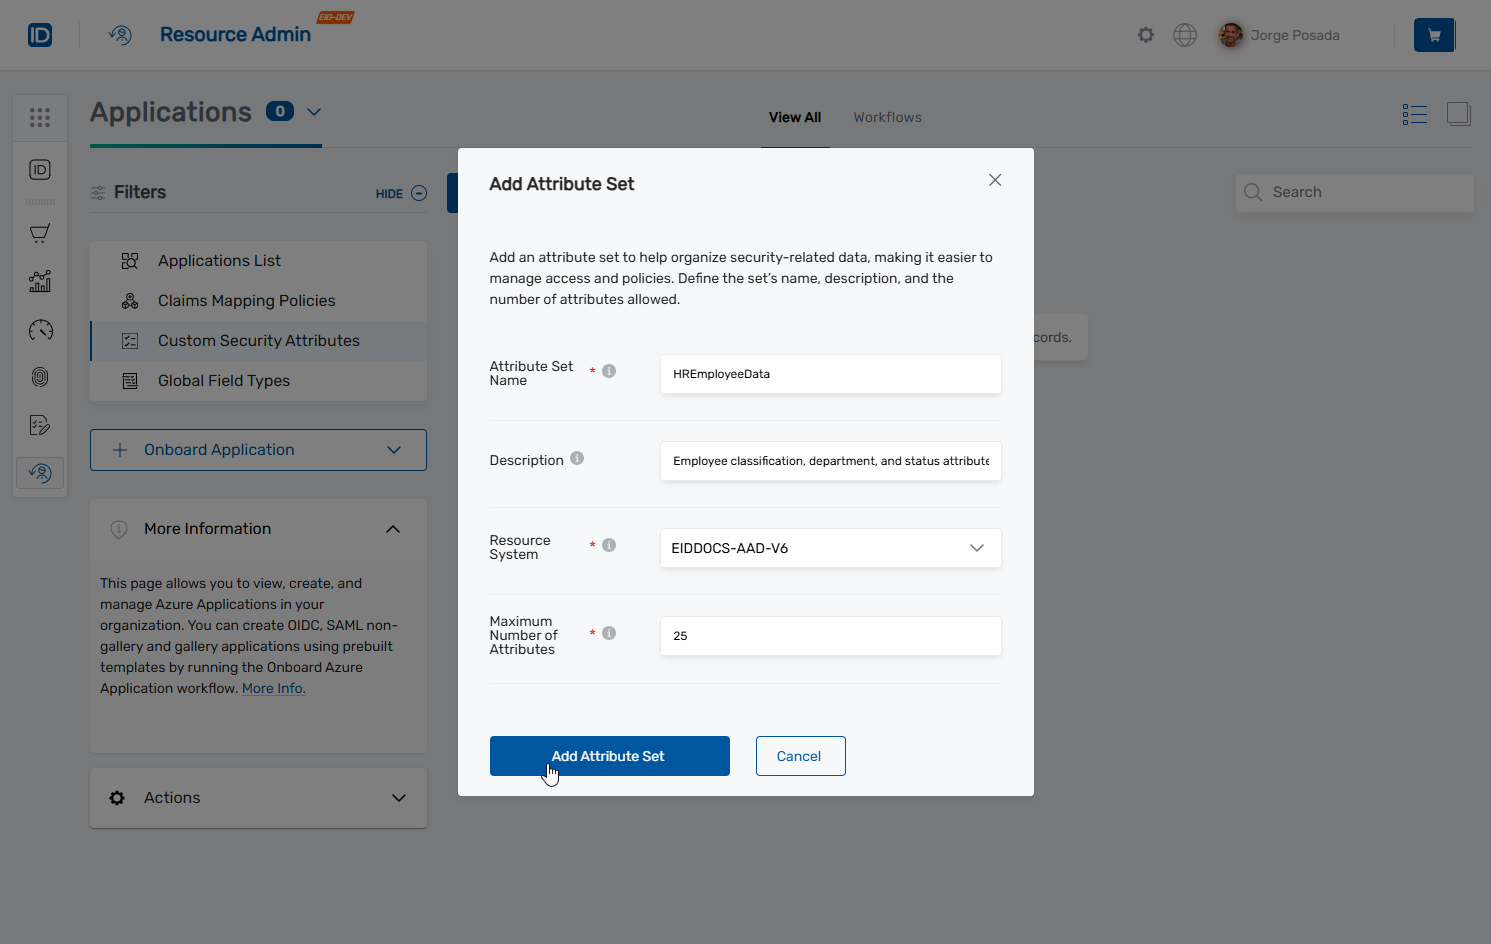
In the Attribute Set Name field, enter a unique identifier for your attribute set.
Name requirements:
- 1-32 characters
- Alphanumeric only (no spaces or special characters)
- Must be unique within your organization
-
(Optional) In the Description field, enter a detailed explanation of the attribute set's purpose and usage (up to 128 characters).
-
In the Resource System dropdown, select the target Microsoft Entra tenant where the Custom Security Attributes will be created.
-
In the Maximum Number of Attributes field, specify the maximum number of attributes that can be created within this set (minimum 1, maximum 500).
-
Click Add Attribute Set to create the attribute set.
The attribute set appears in the Custom Security Attributes listing.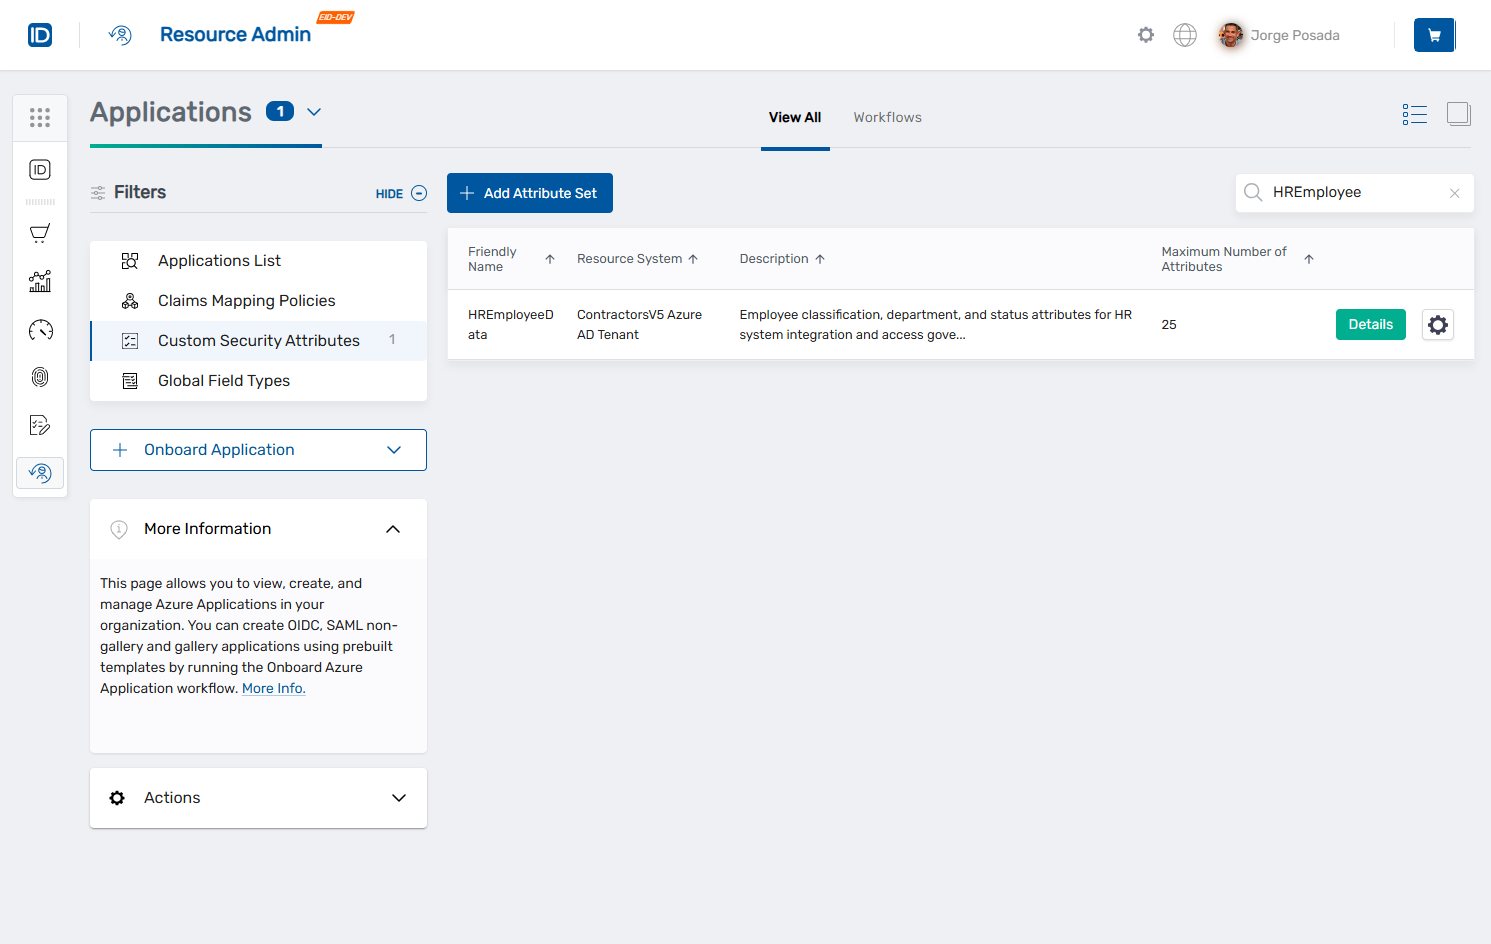
Attribute sets created in EmpowerID are immediately synchronized to Microsoft Entra ID. Allow up to 5 minutes for the attribute set to appear in the Azure Portal due to replication timing.
Once created, certain properties cannot be modified:
- Attribute set name
- Resource system (tenant)
- Maximum number of attributes
Plan these settings carefully based on your organizational requirements.
Next Steps
After creating an attribute set:
- Create attributes to define specific metadata fields
- Review the overview documentation for conceptual information about Custom Security Attributes