Create Escalation Policies
Escalation policies automate handling of approval steps that remain pending beyond defined time limits. This article guides you through creating escalation policies, assigning them to approval steps, and verifying they execute as expected.
Prerequisites
- Administrative privileges for approval configuration
- Approval Steps must be created and published before adding escalation policies
- For Notify escalation actions: Notification Policies and Notification Preferences must be configured (see Configure Notification Settings)
EmpowerID includes a Default Escalation Policy with predefined actions and timeframes. For details, see Overview of Escalation Policies.
Create the Policy
- Navigate to Low Code/No Code Workflow > Approval Policies.
- On the Find Approval Policy page, select the Escalation Policies tab.
- Click the Create New button in the grid header.
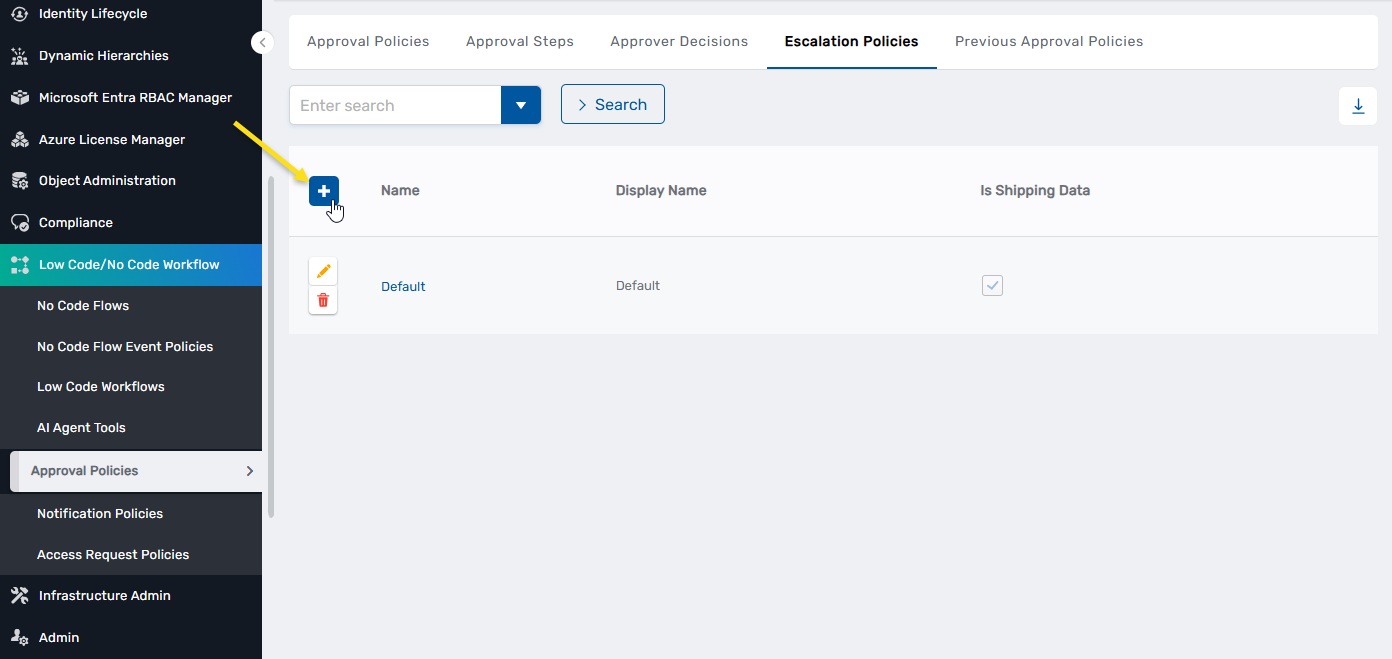
- In the Add New Policy dialog, enter a Name and Display Name for the policy.
- Click Save, then close the dialog.
- Search for the policy you just created and click the Name link.
Configure Escalation Actions
-
On the Policy Details page, expand the Escalation Actions accordion and click Add.
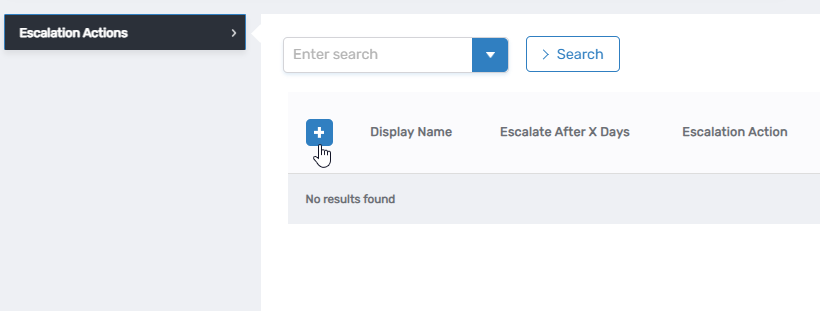
-
Configure the escalation action:
- Escalate after X Days: Enter the number of days after which this escalation action should execute. For the first action, days are counted from when the approval step becomes pending. For subsequent actions, days are counted from when the previous action executed.
- Escalation Action: Select the action type. Additional fields appear based on your selection:
- Notify — Send reminder notification to a specified participant type
- AddAssignee — Add an additional approver to the pending step
- ReplaceAssignees — Replace current assignees with new approvers
- AutoCloseStep — Automatically close the step with a specified approval decision
- AutoCloseItem — Close the entire Business Request Item with a specified status
- AddPotentialApproverManagers — Add managers of potential approvers as additional approvers
- RunWorkflow — Execute a custom workflow as the escalation action
- Name and Display Name: Enter internal and user-friendly names for the escalation action.
-
Click Save.
-
To add additional escalation actions, repeat steps 1-3 as needed. Actions execute sequentially based on their configured time periods set for each action's Escalate After X Days setting.
Actions configured after an Auto-Close Step or Auto-Close Item action will not execute because the step or item is already closed. Place Auto-Close actions last in your escalation sequence.
Publish the Policy
- Click Publish to activate the policy.
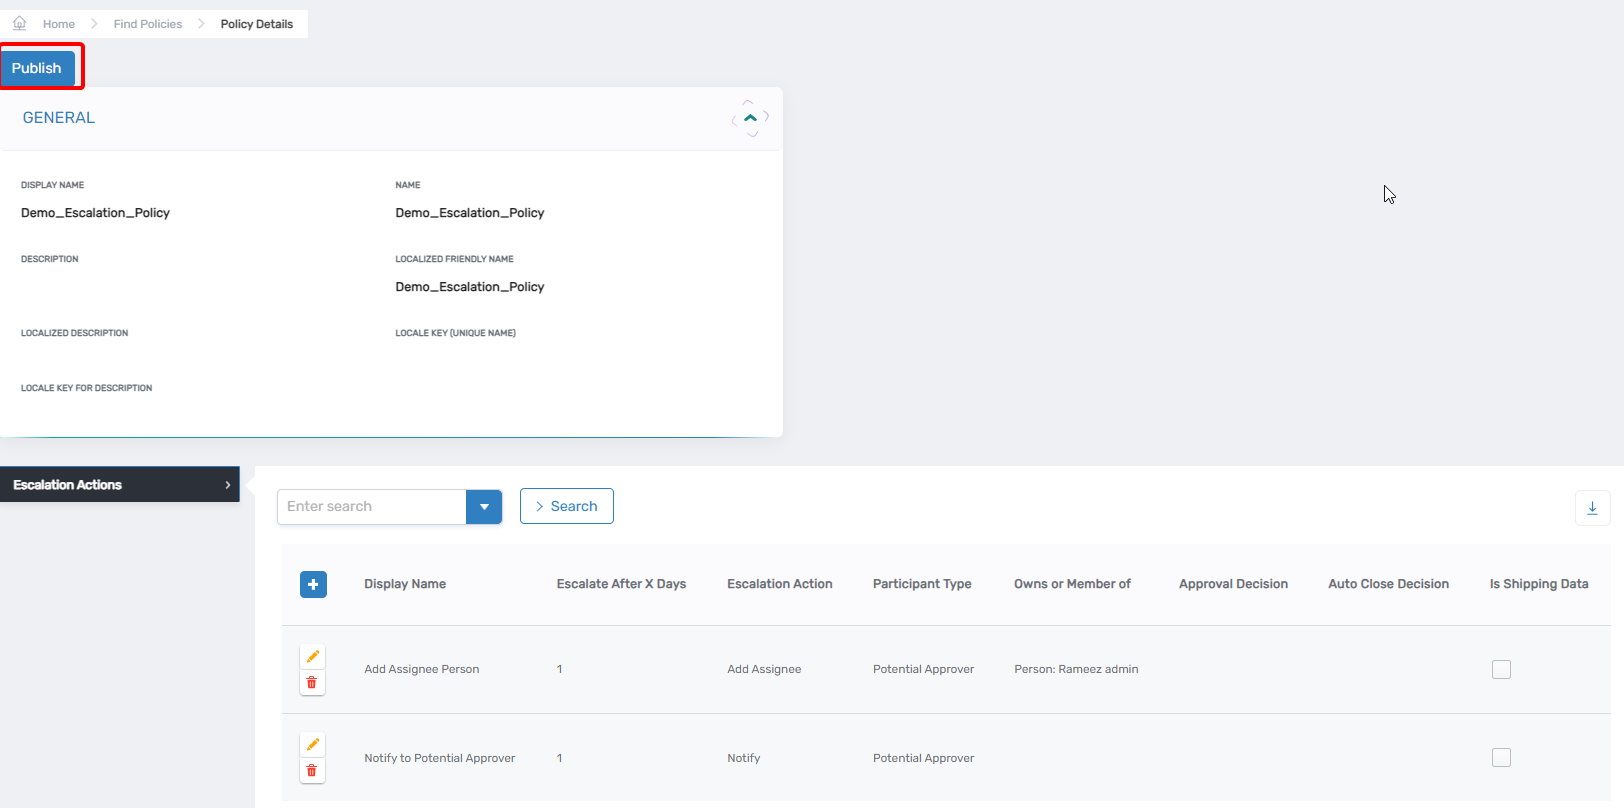
Unpublished policies cannot be assigned to approval steps.
Configure Notification Settings (Notify Actions Only)
If your escalation policy uses the Notify action to send reminder emails, verify that Notification Policies and Notification Preferences are configured correctly. These configurations are typically shipped with EmpowerID but should be verified before relying on email notifications.
Verify Notification Policies
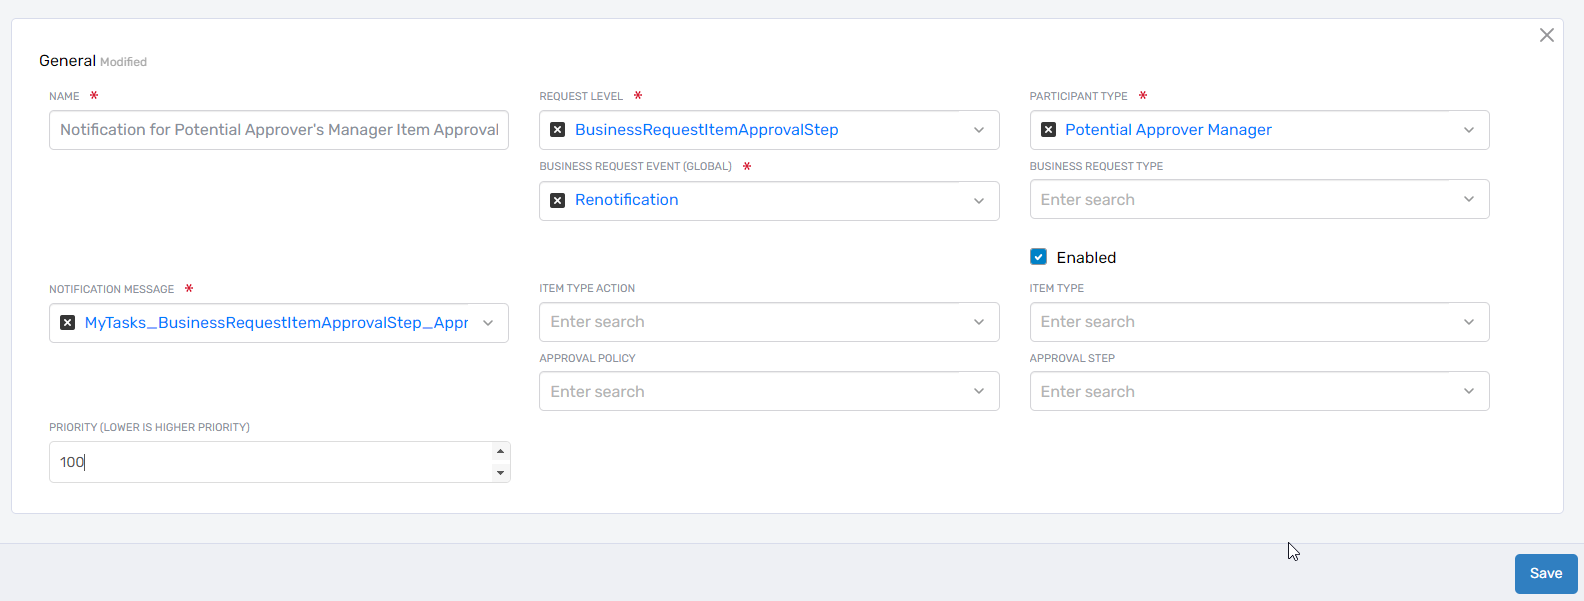
Notification Policies determine which email template is used and who receives notifications during escalation.
Required Configuration:
- Supported Request Levels: Policy must be configured for "Business Request Approval Step" or "Business Request Item Approval Step"
- Global Business Request Event Type: Must be set to "Renotification"
- Email Template: Select the template for escalation notifications (default: "MyTasks_BusinessRequestItem_ApprovalStep_Approval_Renotification")
- Participant Type: Create separate policies for each participant type you configured in escalation actions (potential approver, approver's manager, etc.)
To verify or create Notification Policies, navigate to the Notification Policies configuration interface and confirm the above settings match your escalation requirements.
Verify Notification Preferences
Notification Preferences control whether users receive email notifications for specific event types.
Required Configuration:
- Global Business Request Event Type: Must be set to "Renotification"
- Participant Types: Preferences must exist for each participant type configured in your escalation steps
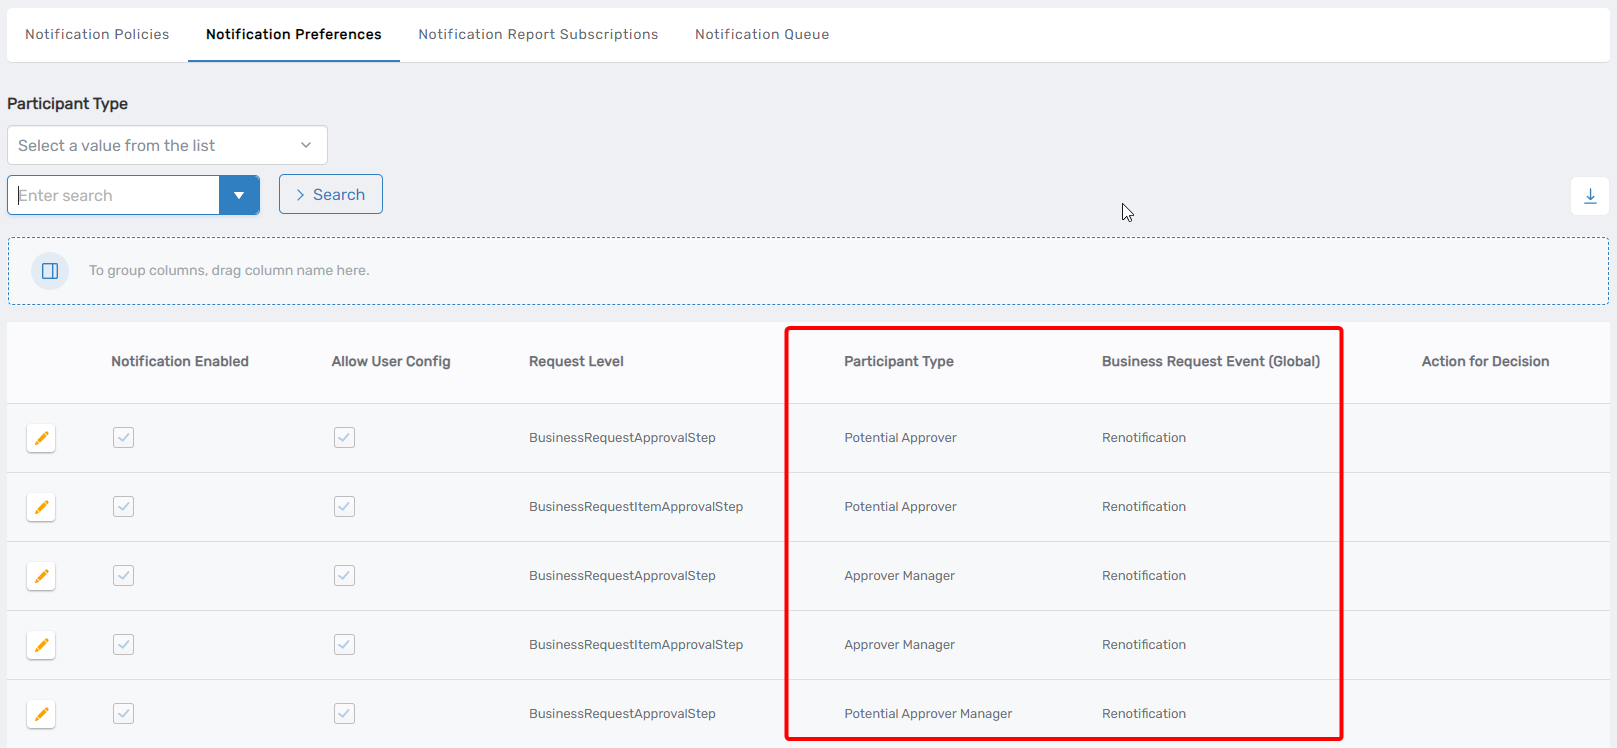
Notification Preferences are currently created from the database, not through a user interface. Verify these exist in your environment before relying on Notify escalations.
Verify Escalation Execution
After configuring escalation policies and adding them to approval steps, verify that escalations execute as expected.
The verification process depends on the escalation action type:
- Notify: Verify the configured participant receives the notification email after the specified timeframe
- AddAssignee: Verify the assignee is added to the Business Request Item after the configured escalation days
- ReplaceAssignees: Verify current assignees are replaced with the configured new approvers
- AutoCloseStep: Verify the approval step closes with the configured decision
- AutoCloseItem: Verify the Business Request Item closes with the specified status and remaining steps are skipped
- AddPotentialApproverManagers: Verify the managers of potential approvers are added as additional approvers
- RunWorkflow: Verify the configured workflow executes after the specified timeframe
Next Steps
To use this escalation policy, select it in the Escalation Policy field when creating or editing approval steps. For complete approval step configuration guidance, see Create Approval Steps.
Related Topics
- Overview of Escalation Policies — Understanding escalation concepts and components
- Create Approval Steps — Creating and publishing approval steps
- Test Approval Flow — Comprehensive approval testing procedures