Assign and Manage Responsible Parties
You can assign responsible parties to IT objects individually or in bulk to ensure clear accountability. EmpowerID provides reports to identify objects without responsible parties and workflows to assign them efficiently.
By default, the responsible party type is set to Person, but you can change it to any actor type through EmpowerID System Settings. See Change the Responsible Party Type for details.
Find Objects Without Responsible Parties
EmpowerID provides reports to identify objects that need responsible party assignment.
- On the navbar, expand System Logs and select Reports.
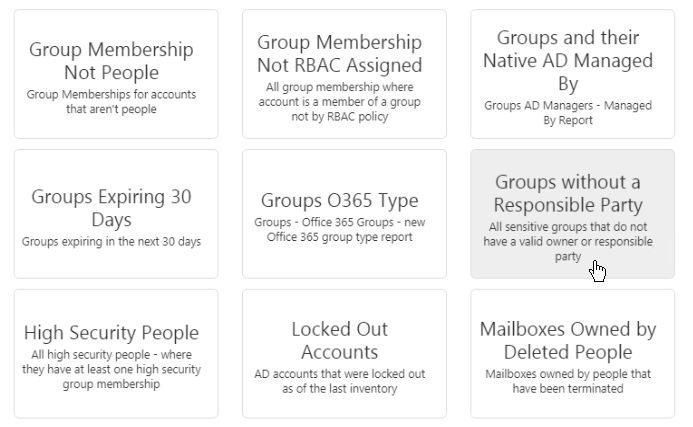
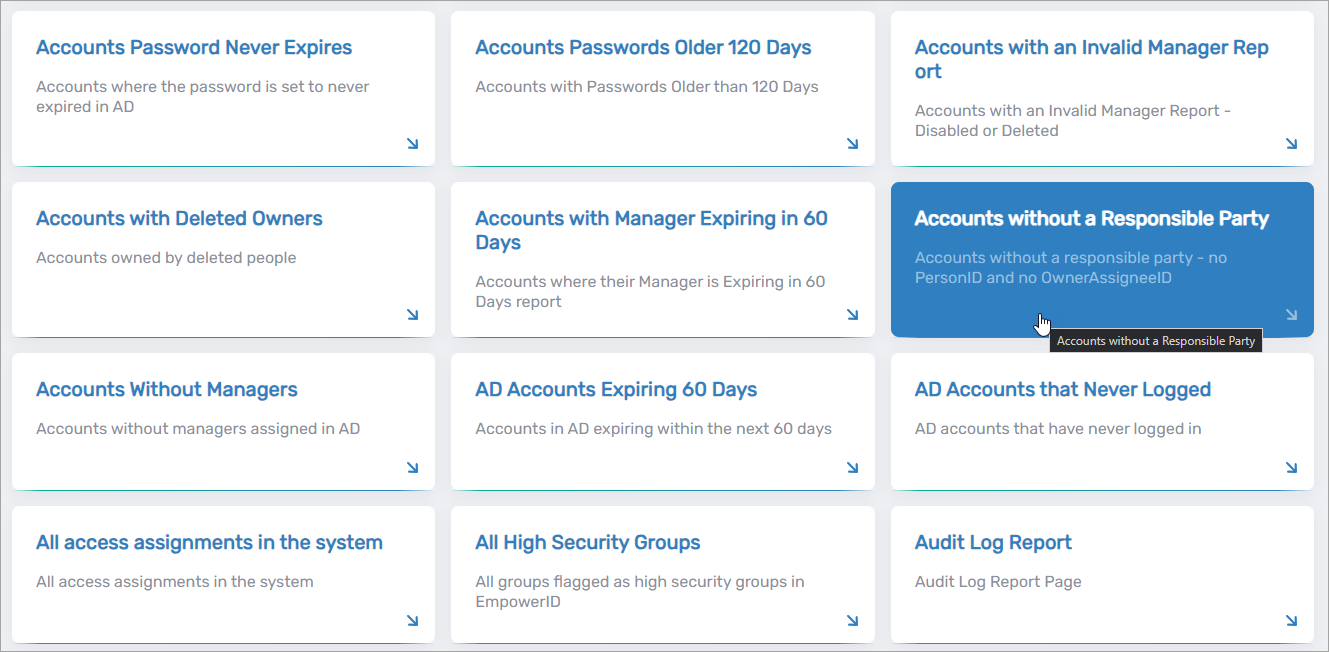
- Click the appropriate report tile:
- Accounts without a Responsible Party
- Computers without a Responsible Party
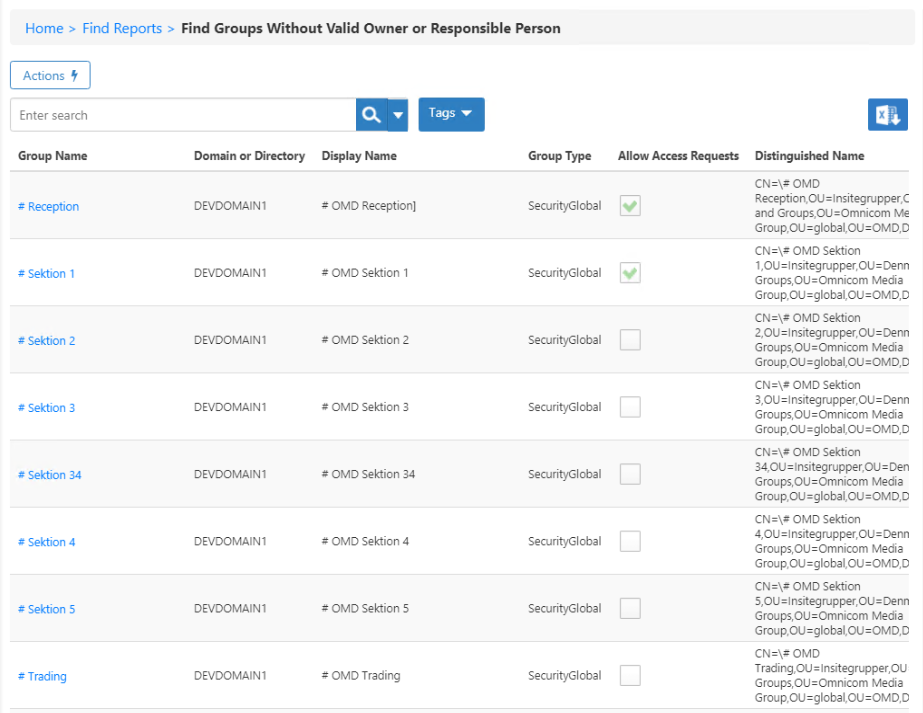
- Groups without a Responsible Party
- Management Roles without a Responsible Party
- Review the grid showing all objects without assigned responsible parties.
Assign Responsible Parties to Individual Objects
You can assign a responsible party directly on an object's Details page.
For User Accounts, Groups, Computers, or Management Roles
-
Navigate to the appropriate page:
- Accounts: Identity Administration > User Accounts
- Groups: Identity Administration > Groups
- Computers: Resources > Computers
- Management Roles: Role Management > Management Roles
-
Click the Display Name or Logon Name link for the object.
-
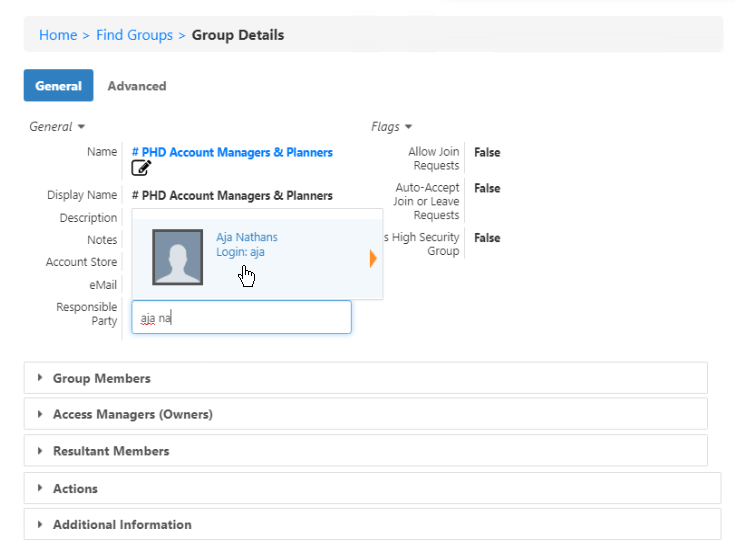
On the object's Details page, locate the Responsible Party field:
- For Groups: under the General section
- For Management Roles: on the Advanced tab
- For Accounts and Computers: in the main details area
-
Click in the Responsible Party field and start typing a name to search.
-
Click the tile for the person to select them. The object updates automatically when you select the person.

Bulk Assign Responsible Parties
When assigning the same person as responsible party for multiple objects, use the bulk assignment workflow.
Bulk Assign from Reports
- On the navbar, expand System Logs and select Reports.
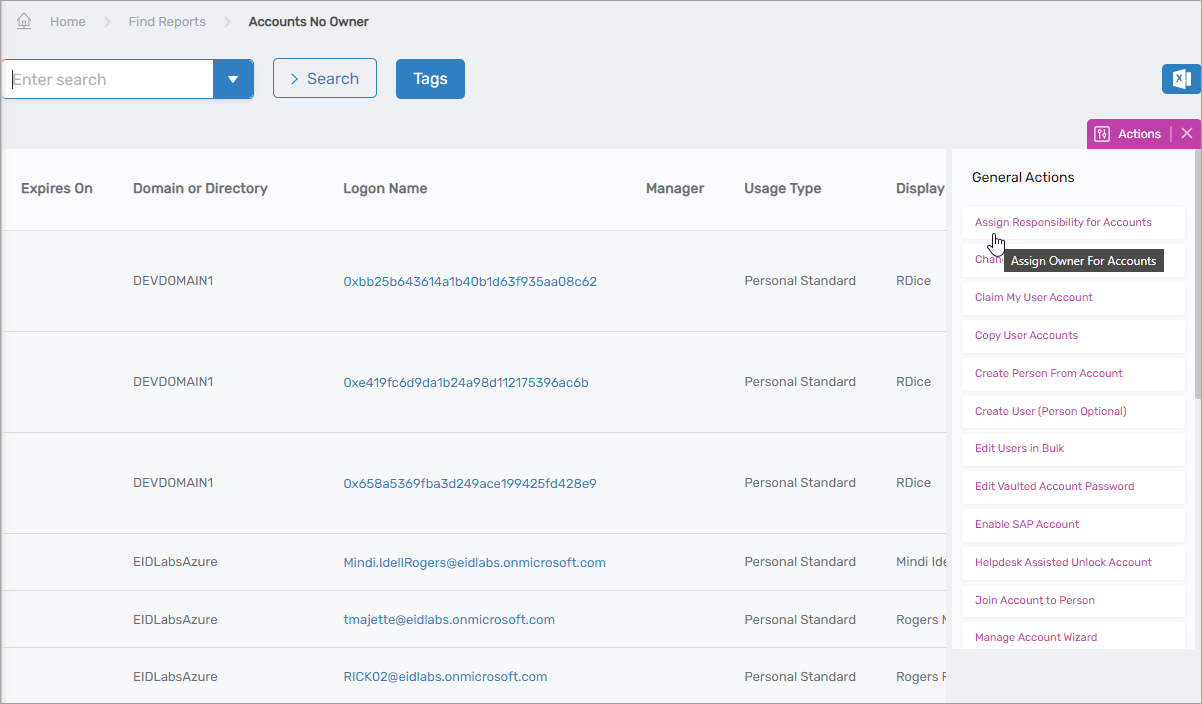
- Click the appropriate report (e.g., Accounts without a Responsible Party).
- Click the Assign Responsibility action link for the object type.
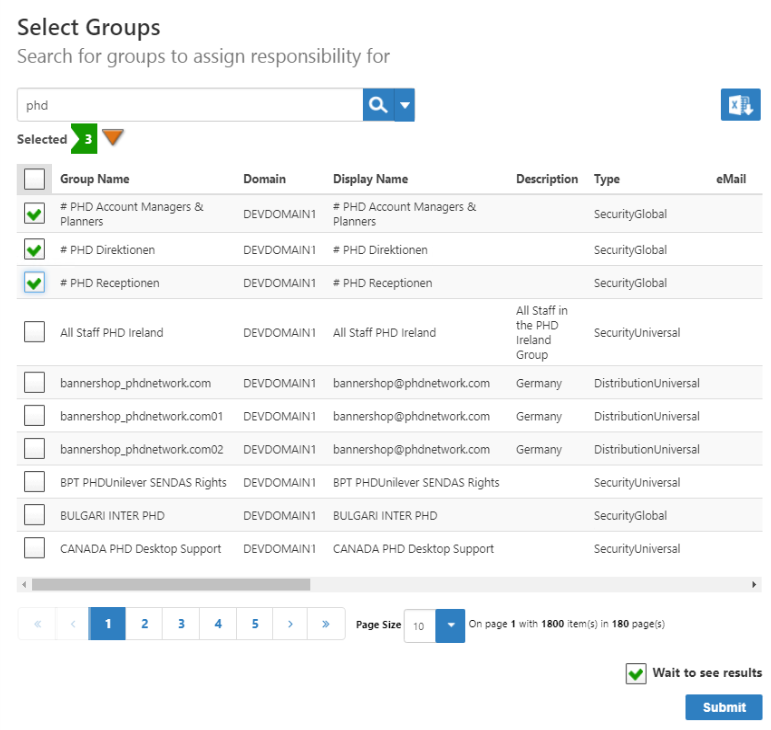
- Search for objects to assign a responsible party.
- Select the checkbox for each object.
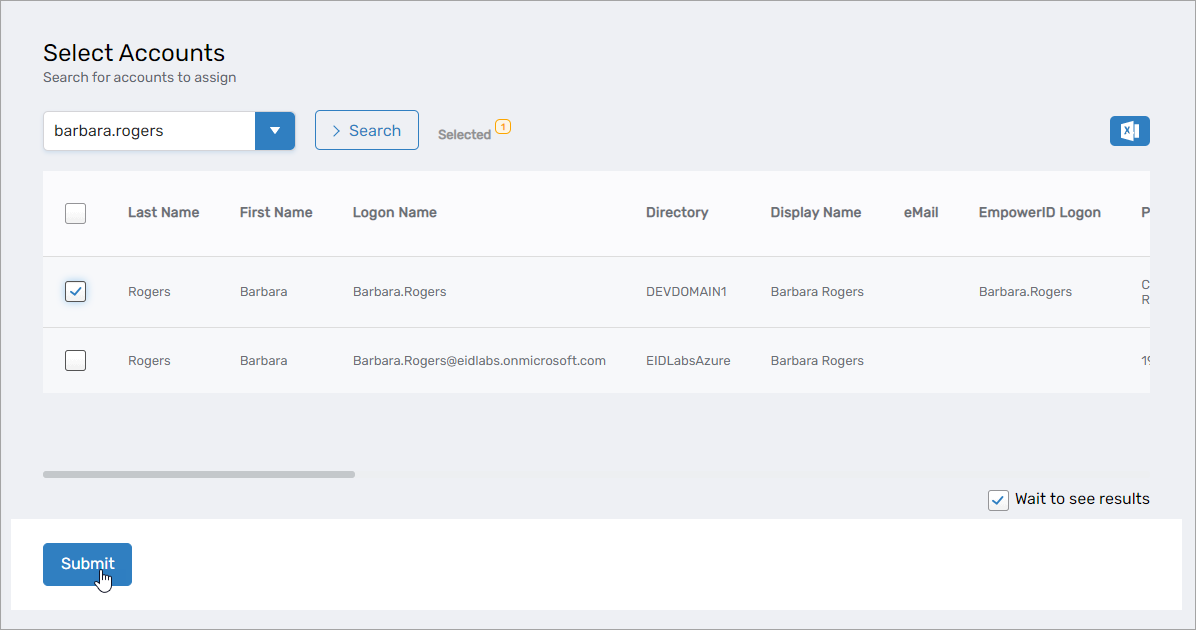
- Click Submit.
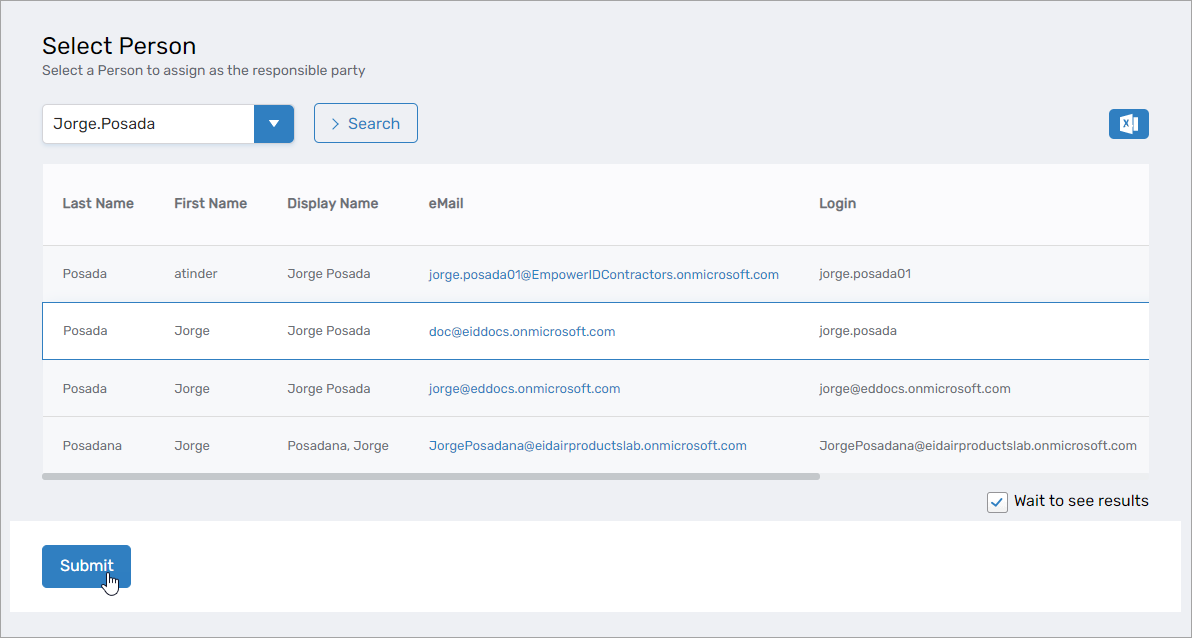
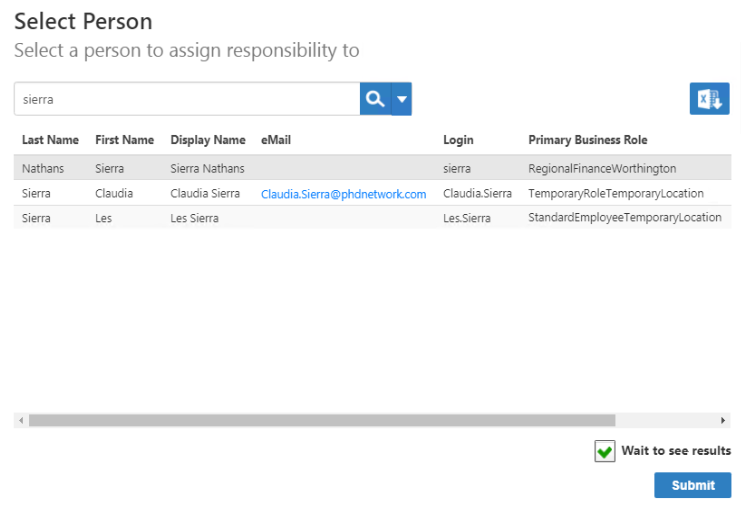
- Search for the person to assign as responsible party.
- Click the record for that person to select them.
- Click Submit.
Bulk Assign from Object ViewMany Pages
- Navigate to the appropriate page:
- Accounts: Identity Administration > User Accounts
- Groups: Identity Administration > Groups
- Computers: Resources > Computers
- Management Roles: Role Management > Management Roles
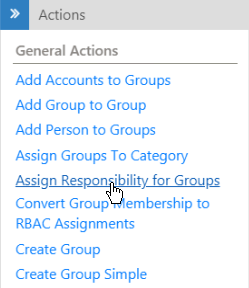
- Select the Actions tab.
- Click the appropriate action:
- Assign Responsibility for Accounts
- Assign Responsibility for Groups
- Assign Responsibility for Computers
- Assign Responsibility for Management Roles
- On the Select page, search for and select the objects to assign.
- Click Submit.
- On the Select Person page, search for and select the person to assign as responsible party.
- Click Submit.
A Starting workflow message appears, followed by a Request Complete message when finished.

Results
After assigning responsible parties:
- Objects have a designated person accountable for them from a security and audit perspective
- The responsible party appears in the object's Responsible Party field
- The assignment is visible in reports and on the person's Responsibilities report
- The objects no longer appear in "without a Responsible Party" reports
Related Topics
- About Responsible Parties – Understanding responsible party concepts
- Transfer Responsibilities – Transfer responsibilities between people
- View a Person's Responsibilities – Review all objects a person is responsible for
- Automate Responsibility Transfer – Configure automatic transfer on departure