Delete Groups
When groups are no longer needed and you don't have a policy configured for automatic deletion, you can manually delete groups through the Manage Group Wizard workflow.
Prerequisites
To delete groups, you need appropriate permissions to manage group objects in EmpowerID.
Delete a Group
- Log in to the Resource Admin app in your environment.
- Select Groups from the Resource Type menu.
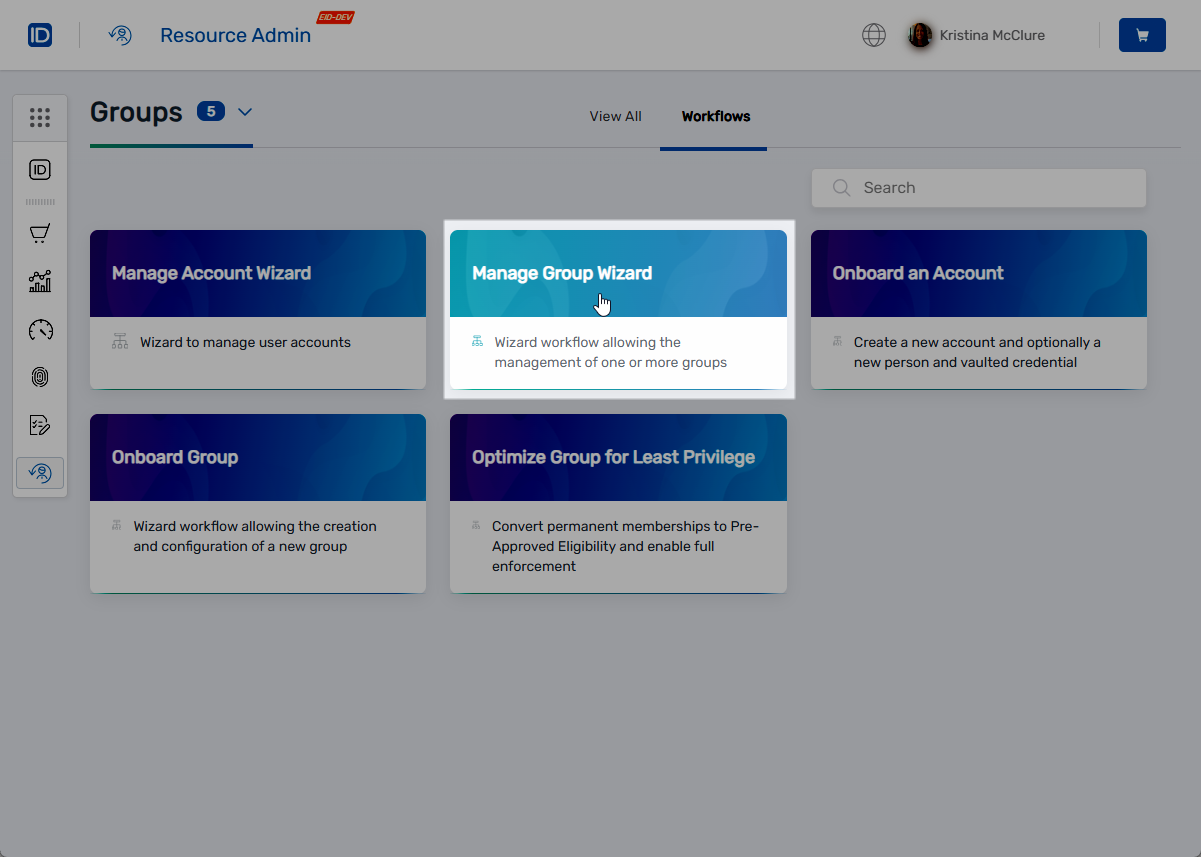
- Select the Workflows tab.
- Click Manage Group Wizard to start the workflow.
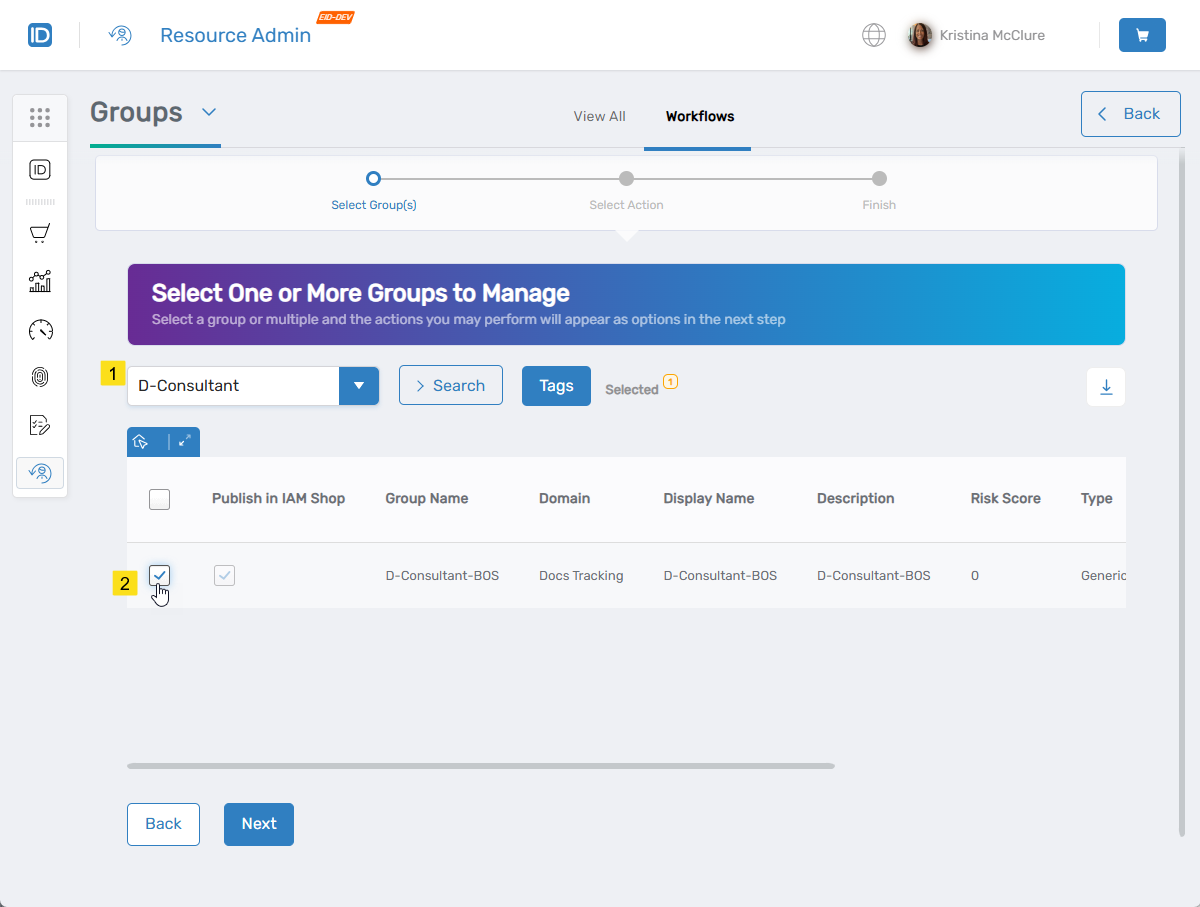
- Search for the group you want to delete.
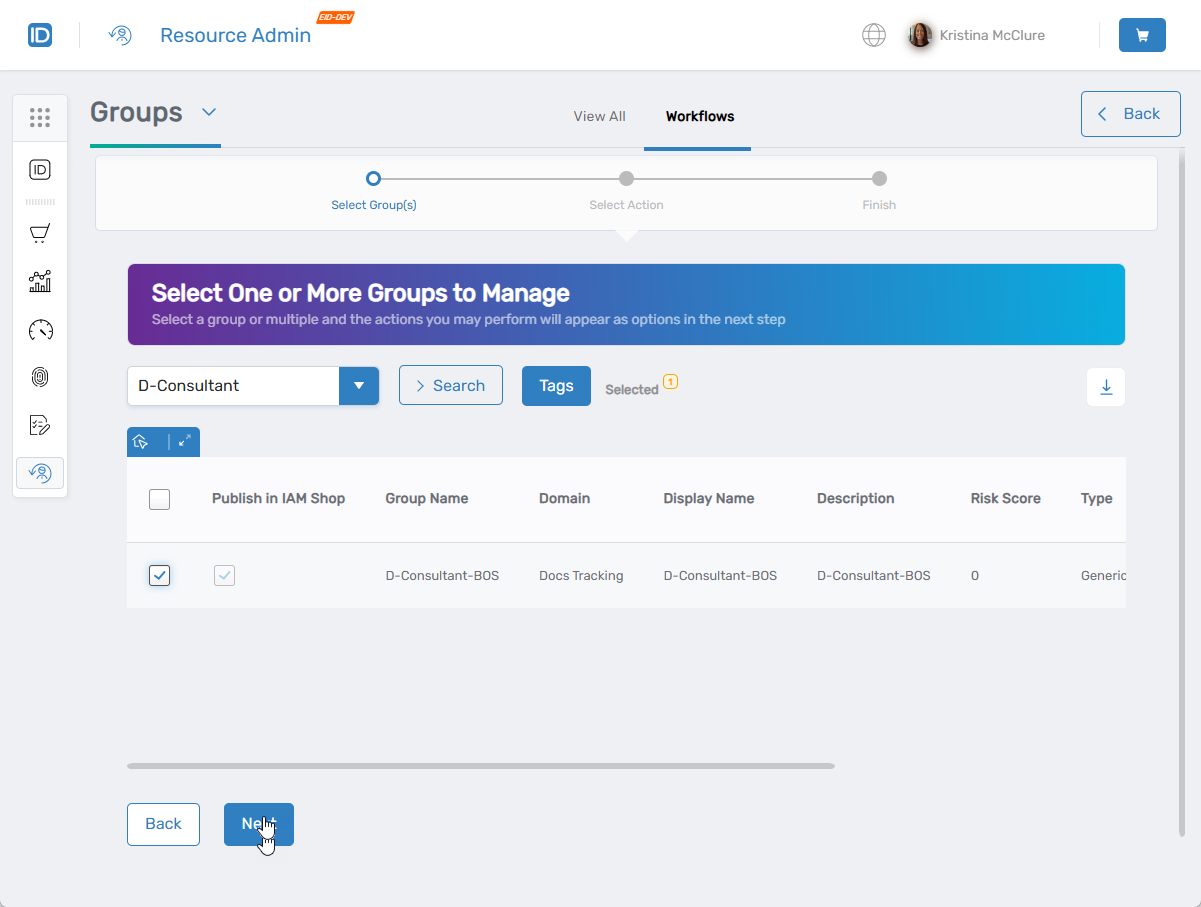
- Select the checkbox for the group.
- Click Next to proceed.
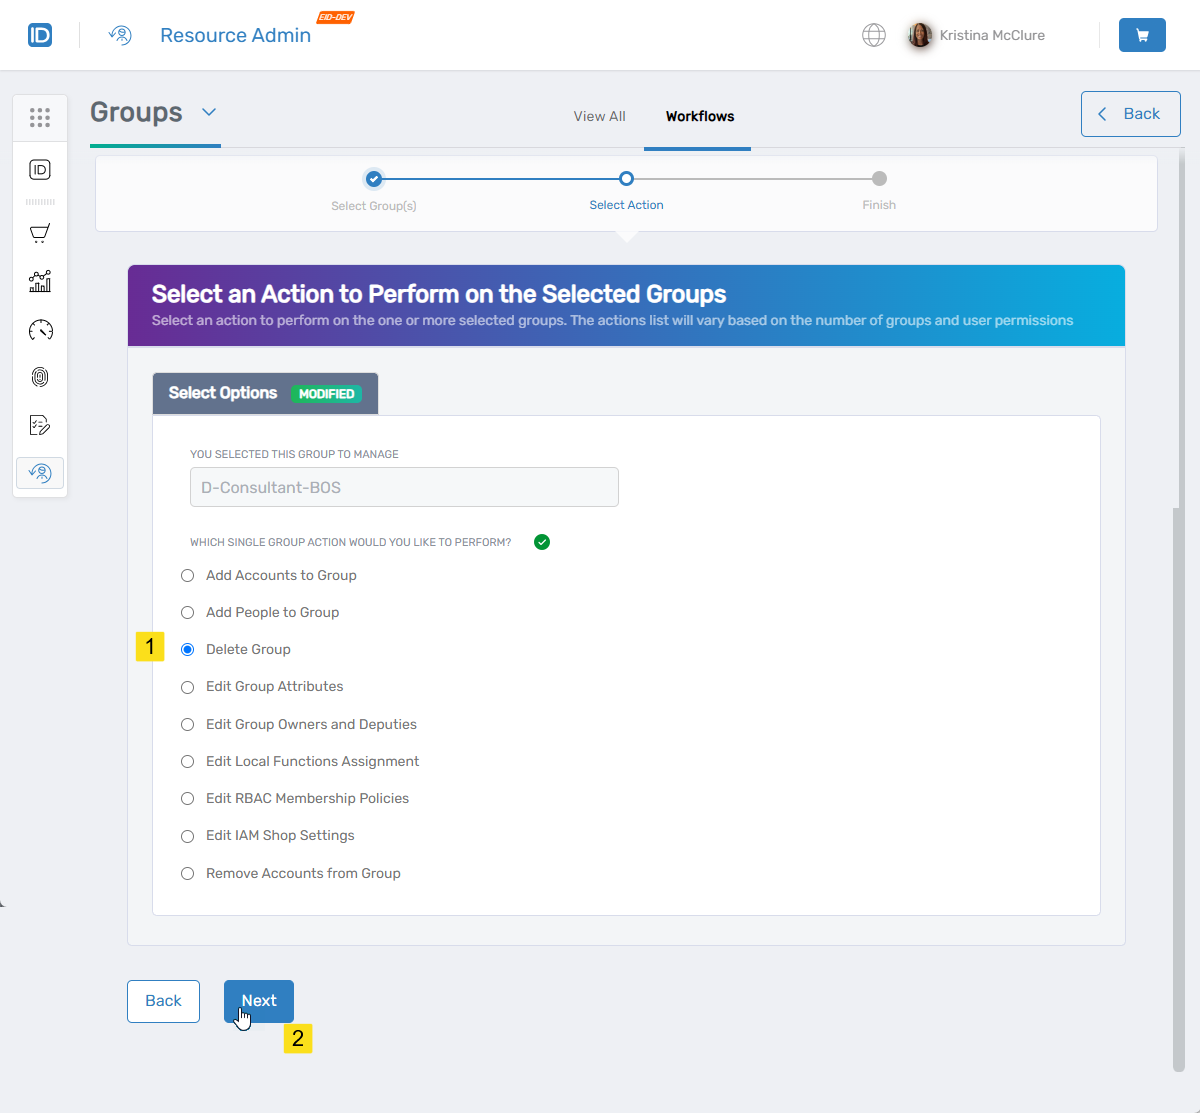
- Under Select Options, click Delete Group.
- Click Next.
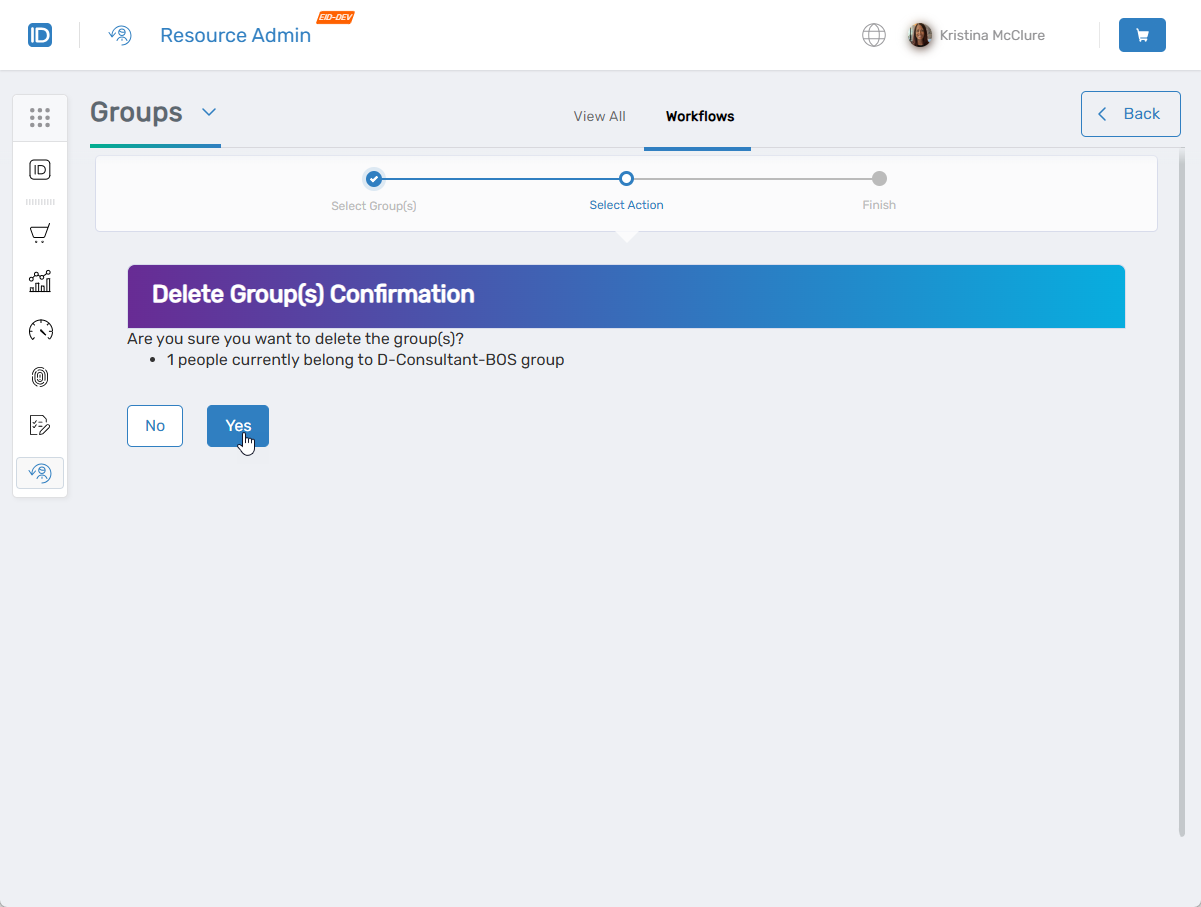
- Click Yes to confirm the deletion, or click No to cancel.
- Click Submit to close the Operation Execution Summary.
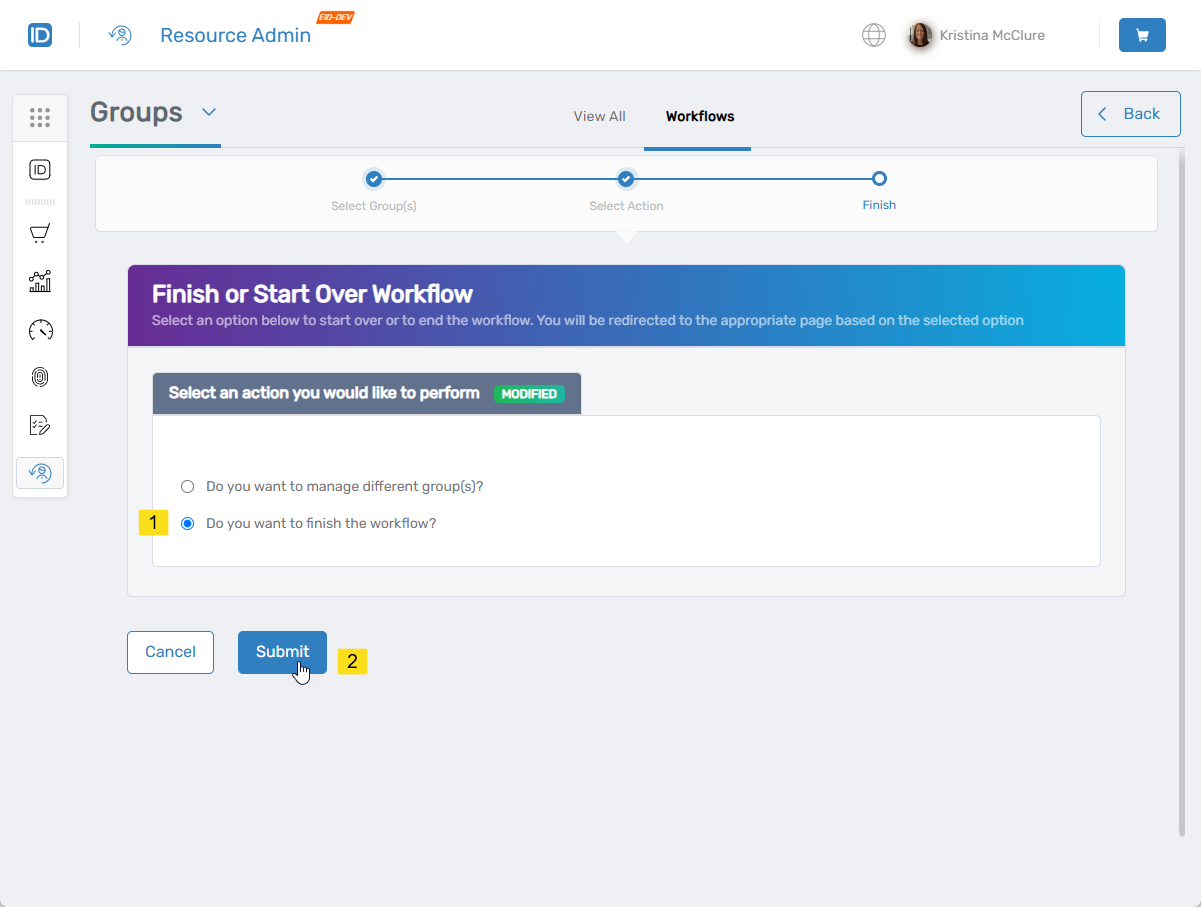
- Select Do you want to finish the workflow and click Submit.
Results
After completing the workflow:
- The group is deleted from the directory and EmpowerID
- The group is moved to the deleted groups container (if supported by the directory)
- Former group members lose access granted through group membership
- The deletion is logged in the EmpowerID audit log
- Deleted groups can be restored using the Restore Deleted Groups workflow (during the tombstone lifetime period)
Related Topics
- Restore Deleted Groups – Recover deleted groups
- Onboard Groups – Create new groups
- About the View One Group Page – View and manage groups