Create Shared Folders
This procedure creates new shared folders in EmpowerID, establishing centralized storage locations with controlled access for multiple users.
Create a Shared Folder
- Navigate to Resource Admin.
- Select Shared Folders from the resource type menu.
- Click the Workflows tab.
- Click Create a Shared Folder.
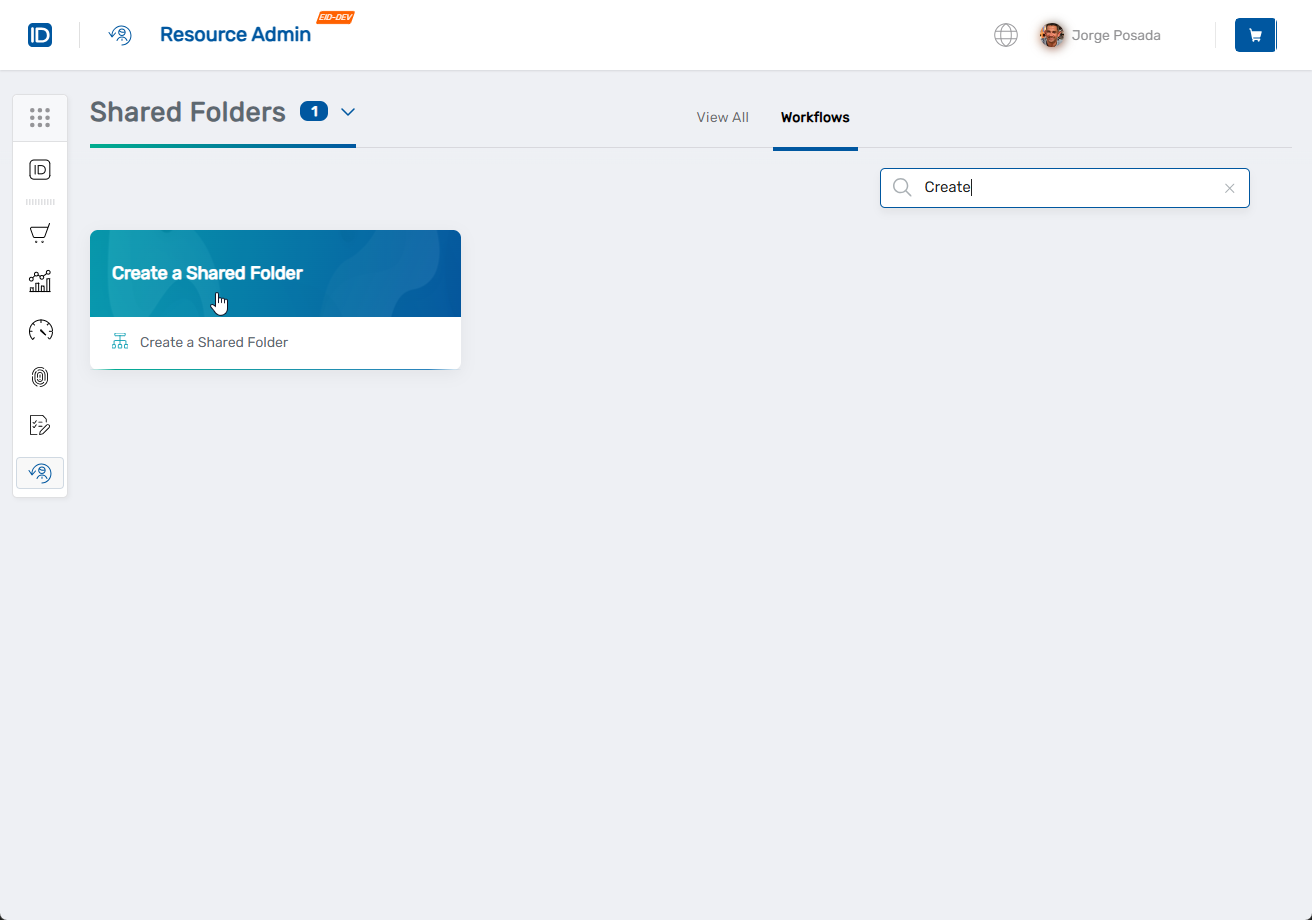
- Enter search criteria and click Search.
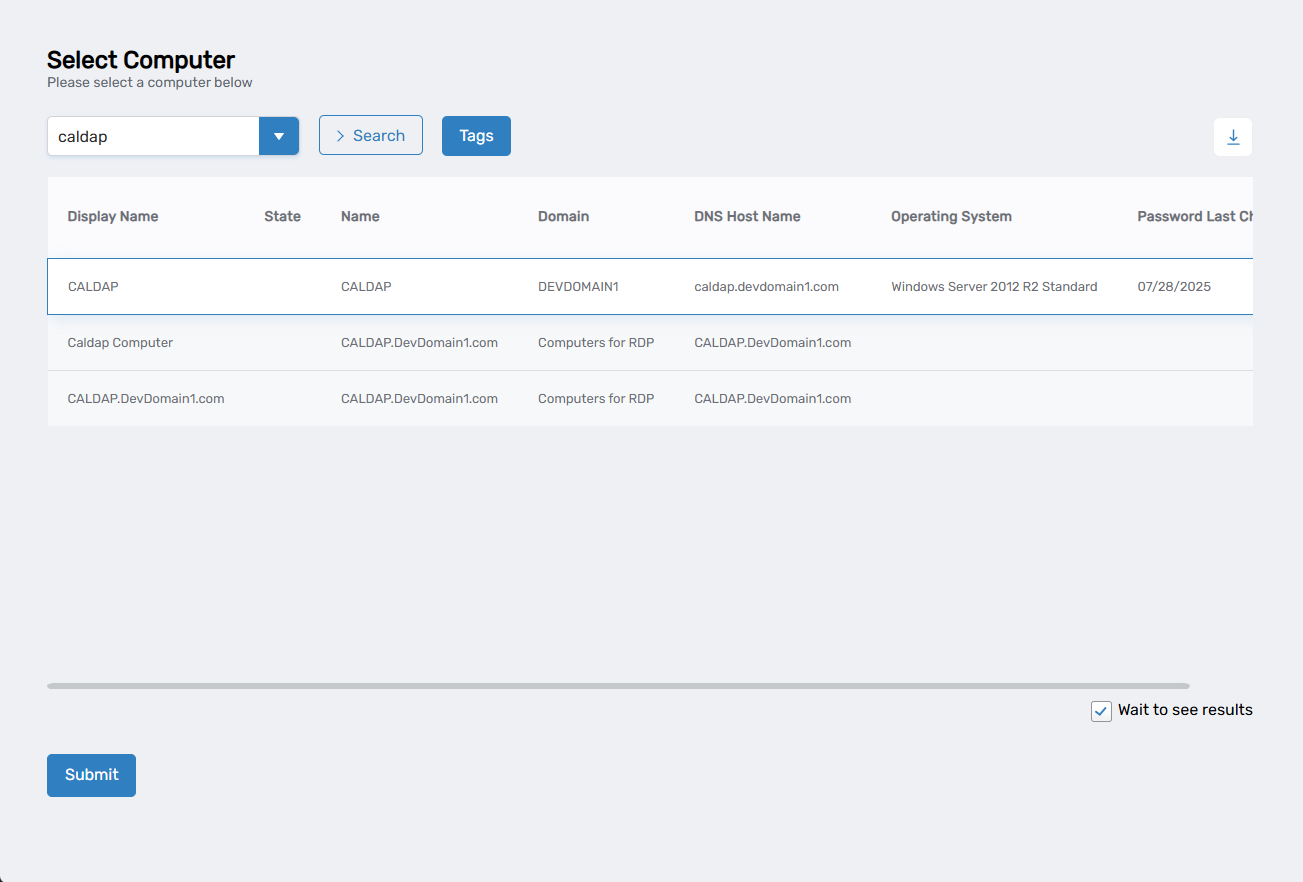
- Select the target computer by checking the box next to it.
- Optionally, uncheck Wait to see results to create a collaboration task in My Tasks for later completion.
- Click Submit.
- Complete the file share details:
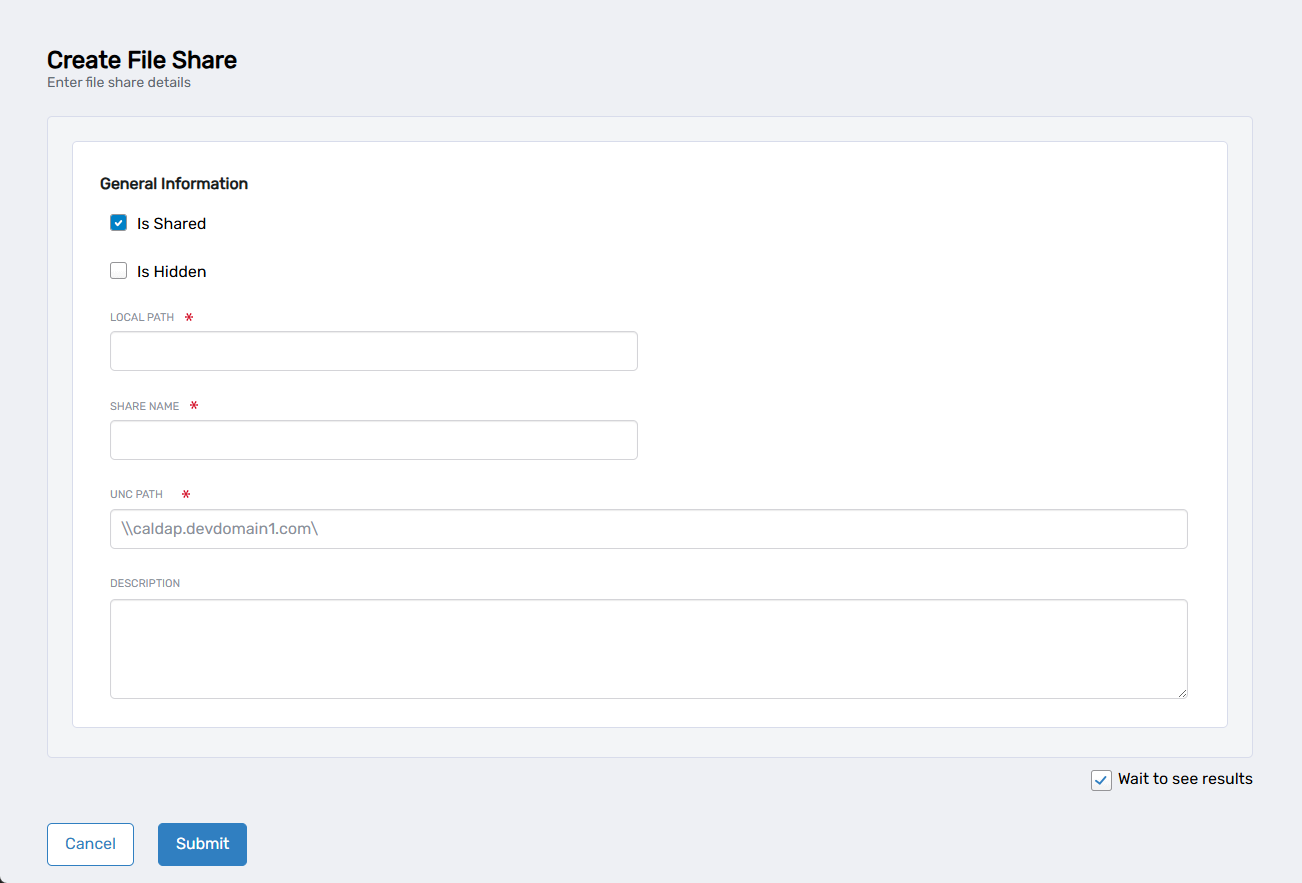
- Is Shared: Check to make the folder available as a network share (checked by default)
- Is Hidden: Check to hide the share from network browsing
- Local Path: Enter the complete local path where the folder should be created
- Share Name: Enter the network share name users will see
- UNC Path: Automatically generated from the selected computer
- Description: Add details about the folder's purpose
- Optionally, uncheck Wait to see results to create a collaboration task in My Tasks for later completion.
- Click Submit.
Results
- Shared folder is created at the specified local path
- Folder becomes available as a network share using the configured share name
- Users can access the folder through the UNC path or by browsing network shares
- Folder appears in Resource Admin for ongoing management and access control configuration