Add Application Scopes
As an application owner, you can add custom OAuth 2.0 scopes to Microsoft Entra applications. These scopes define how users and services can interact with your application, enabling fine-grained control over consent and authorization.
Steps to Add Application Scopes
-
Log in to Resource Admin.
-
In the Resource Type menu, select Applications.
-
Search for and select the Microsoft Entra application you want to manage.
-
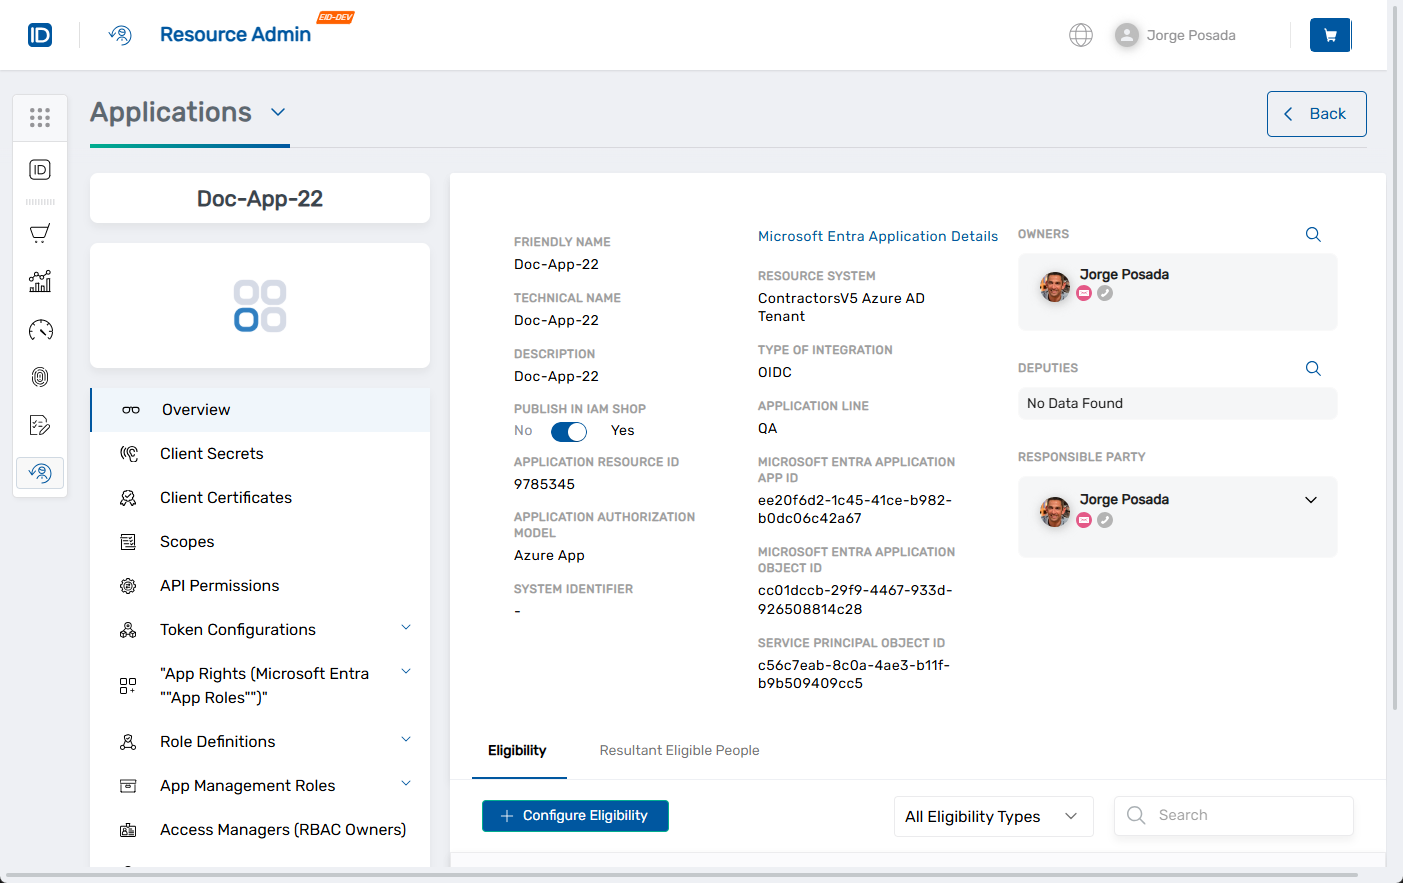
Click the Details button for the application.
 This opens the application's Overview page.
-
In the left application menu, click Scopes.
-
Click the Add Scope button at the top of the scopes grid.
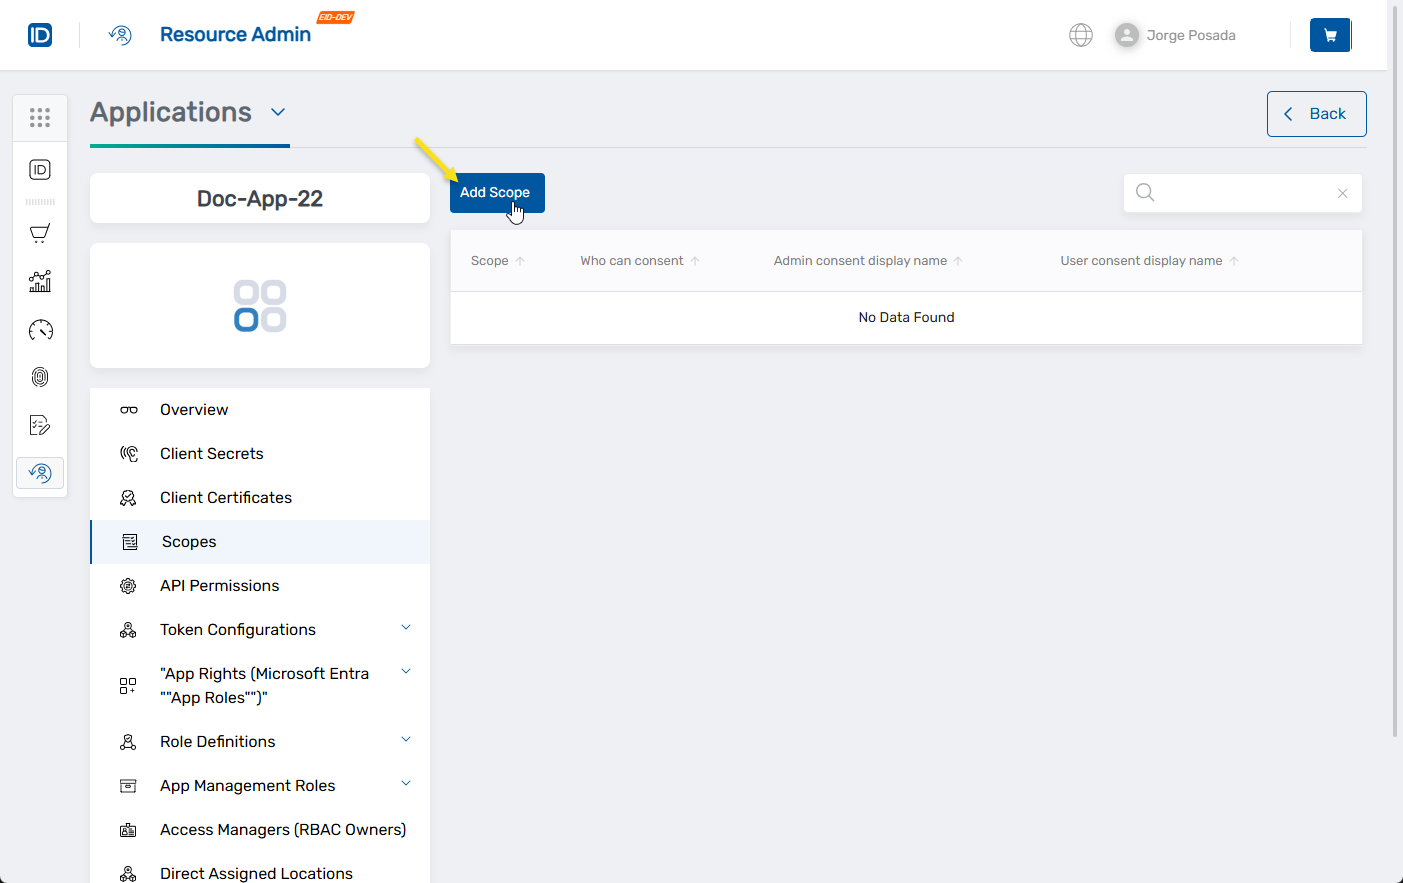 This launches the workflow, opening it to the Create Microsoft Entra Application Scope form.
-
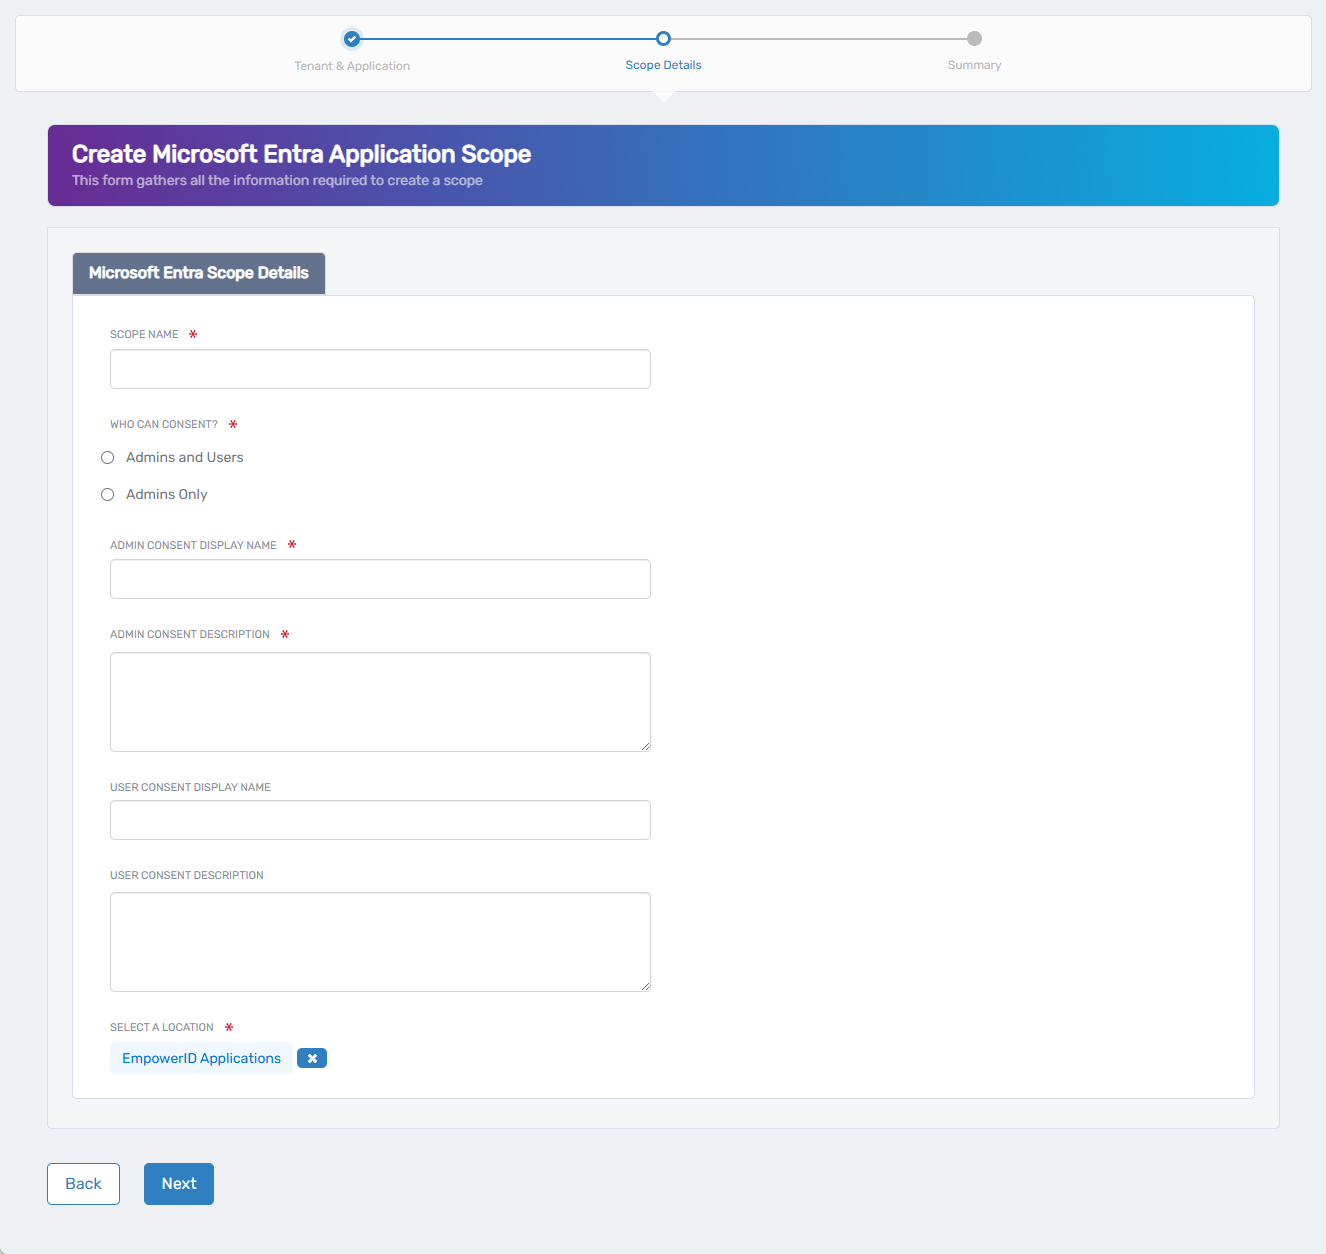
In Scope Name, enter a unique identifier for the scope (e.g.,
read.Calendar). -
In Who Can Consent, choose one of the following:
- Admins and Users – Both users and administrators can consent.
- Admins Only – Only administrators can grant consent.
-
In Admin Consent Display Name, enter the name shown to administrators (e.g.,
Read Email Calendar). -
In Admin Consent Description, describe what the scope allows (e.g.,
Application can read your email calendar). -
(Optional) In User Consent Display Name, enter a display name for end users.
-
(Optional) In User Consent Description, provide a user-facing explanation of the permission.
-
Under Select a Location, choose the EmpowerID location for RBAC delegation. If a location is preselected and you want to change it:
- Click the × icon to clear the default
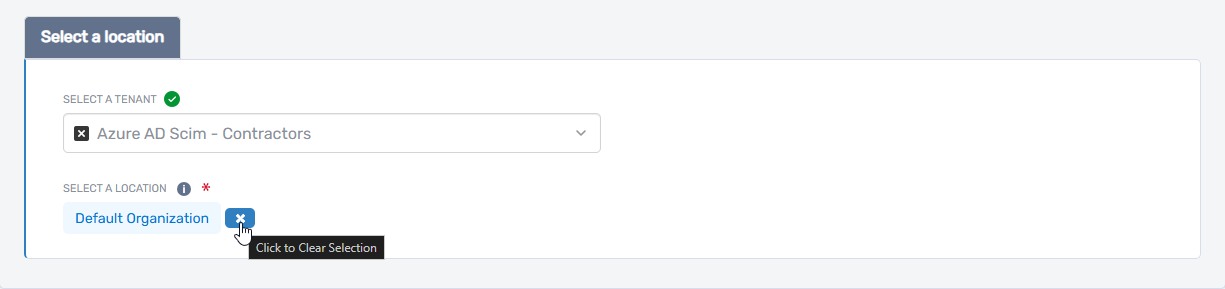
- Click Select a Location
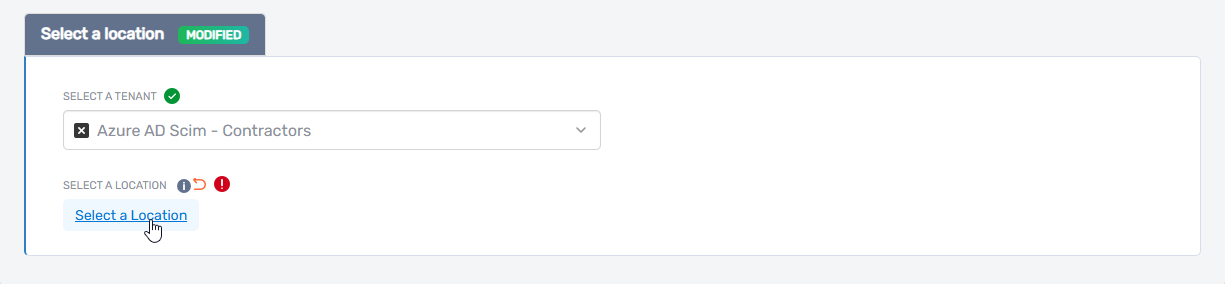
- Browse or search for a location
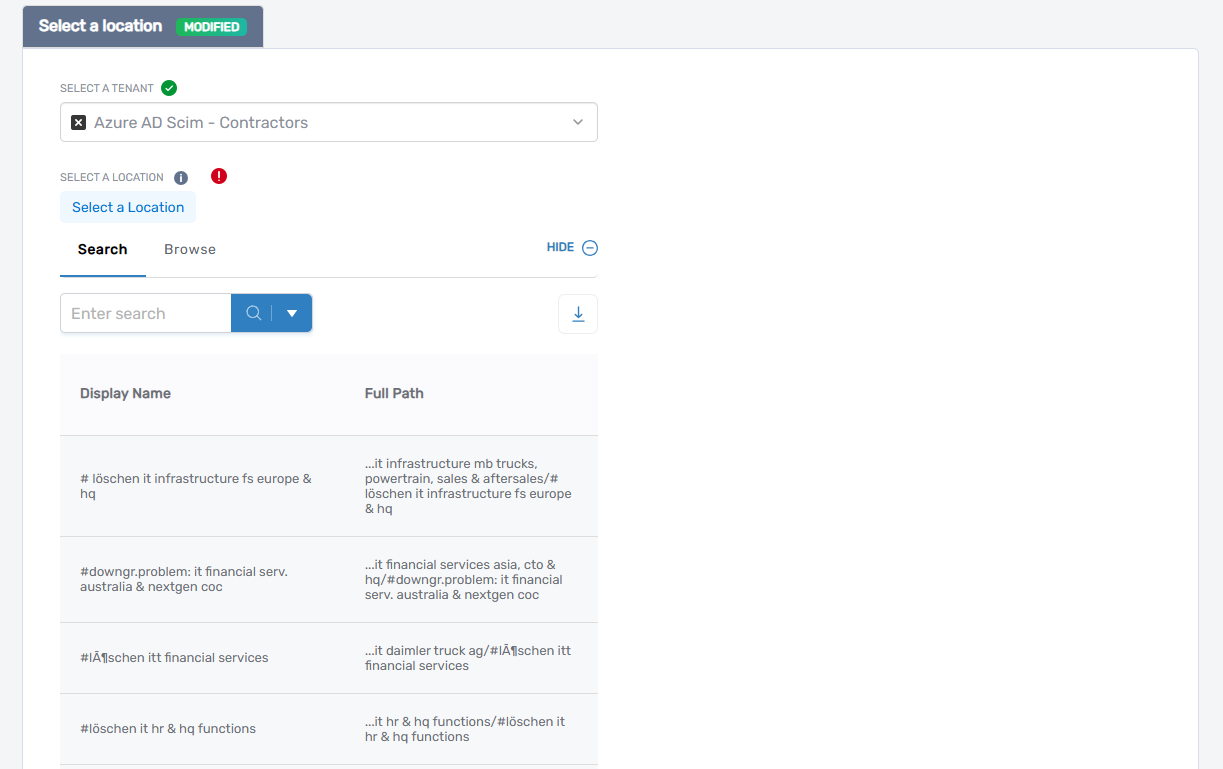
- Click the desired location to select it
- Click the × icon to clear the default
This location is for RBAC visibility and delegation only. It does not affect Microsoft Entra scope behavior.
- Click Next to proceed to the Summary screen.
- Review all entered values.
- If needed, click Back to make changes.
- When ready, click Submit to complete the workflow.
What Happens Next
- The new scope is registered in Microsoft Entra ID and appears under the application's Scopes tab.
- Display names and descriptions are shown to users and administrators during consent flows.
- The scope can now be included when configuring OAuth2 or API permissions.