Configuring the IAM Shop Help Text
The help text feature in EmpowerID's IAM Shop is useful for guiding users through the application. This article will help you configure this feature, allowing you to customize the help messages that appear when a user clicks the Help icon.
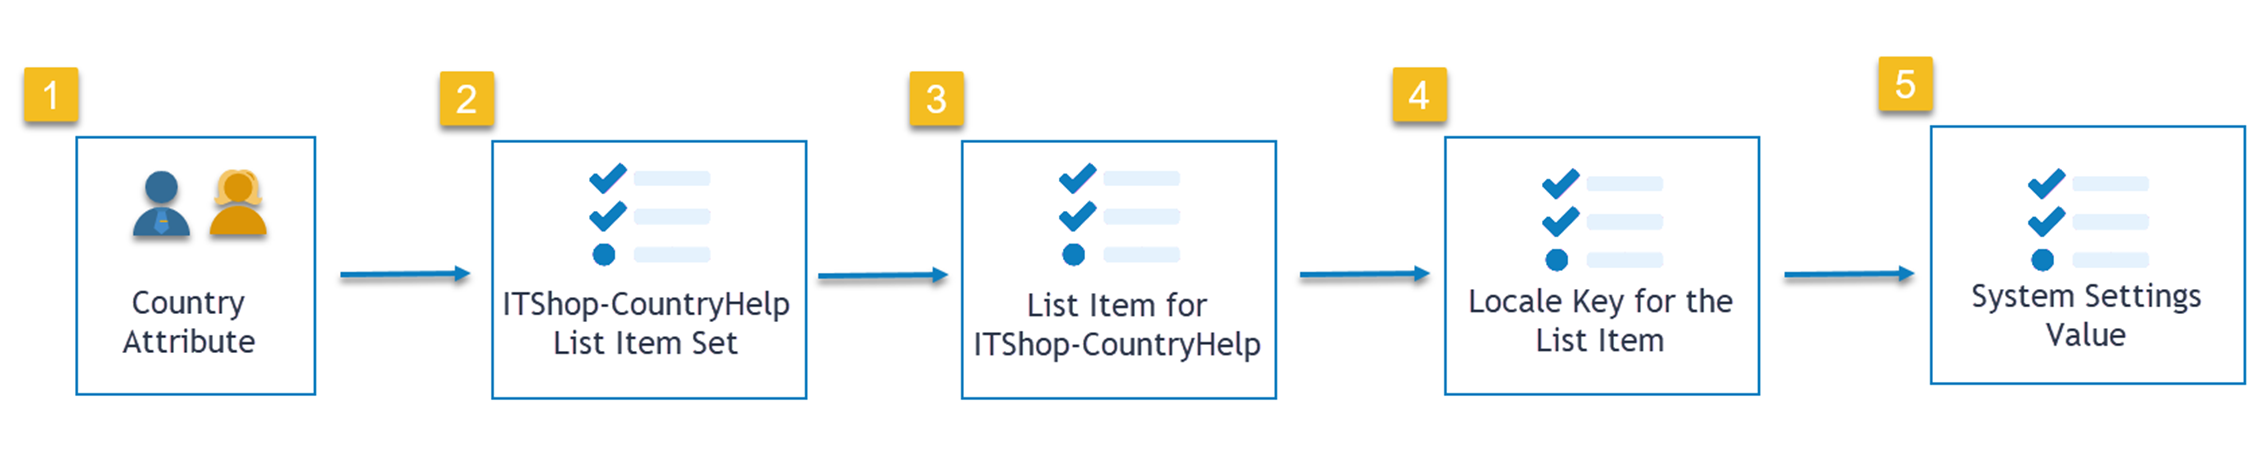
Several key factors facilitate control over the help text:
- The Country attribute set on the currently logged-in user
- The ITShop-CountryHelp List Item Set
- The List Items for the ITShop-CountryHelp List Item Set
- The Locale Key for the List Item
- The MicroServices_CountryHelpTextDefaultCounty Resource System Setting
These aspects are visually outlined in Figure 1 below.
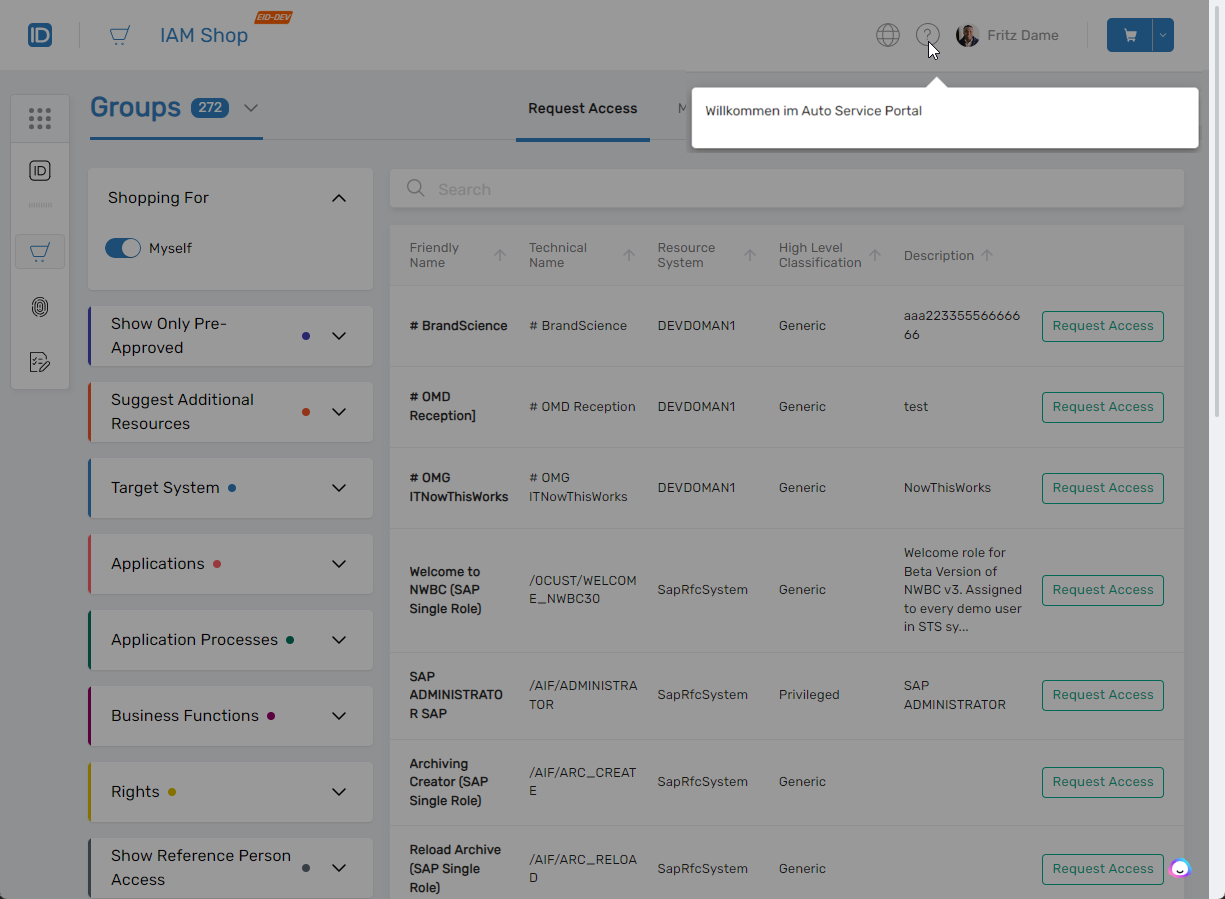
The message that appears to users clicking the Help icon can contain as much text as needed. Please note that only plain text is currently supported; hyperlinks are not.
Configuration Process
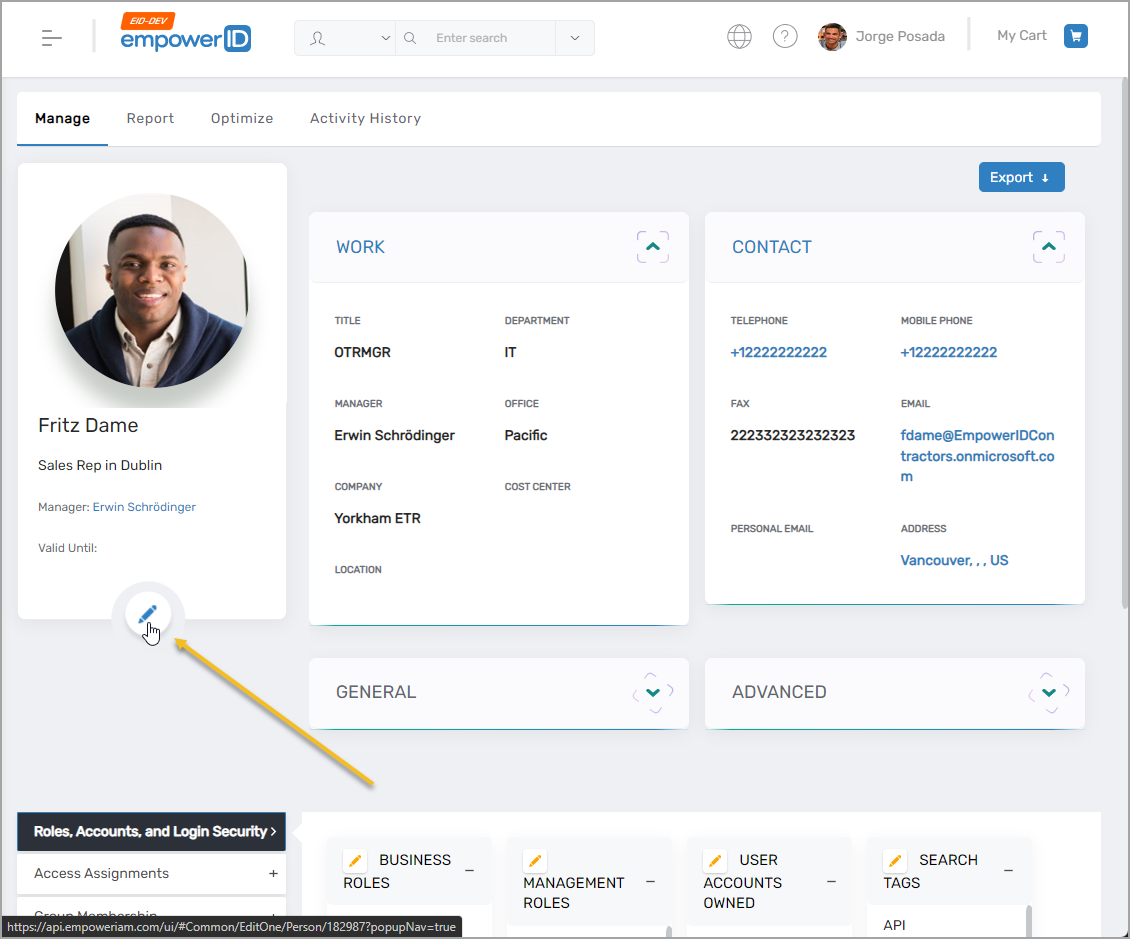
Step 1 – Set the Country attribute on an EmpowerID Person
To set the Country attribute on an EmpowerID Person, do the following:
-
From any page of EmpowerID, use the Global Search to search for the Person to whom you want to set the Country attribute and click the tile for that person.
This directs you to the View page for the Person.
-
On the View page for the Person, click the Edit link to put the Person in Edit mode.
-
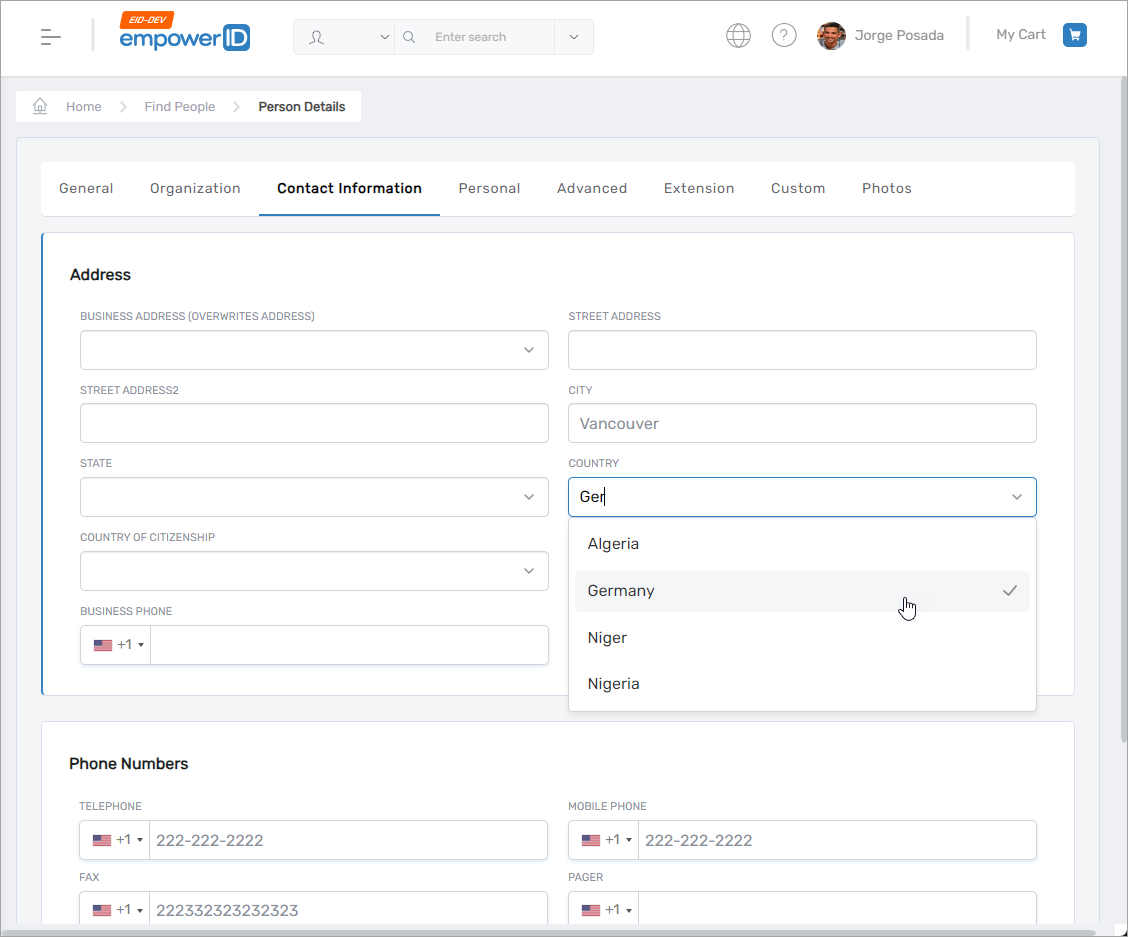
Select the Contact Information tab.
-
Clear the default value, if any, from the Country field.
-
Select the appropriate country from the Country field.
-
Save your changes.
Step 2 – Add a List Item to the ITShop-CountryHelp List Set��
To add a list item to the ITShop-CountryHelp List set, do the following:
-
On the navbar of the EmpowerID Web interface, expand Admin > Miscellaneous and click Lists.
-
From the Lists tab, search for ITShop-CountryHelp.
-
Click the Display Name link for the List.
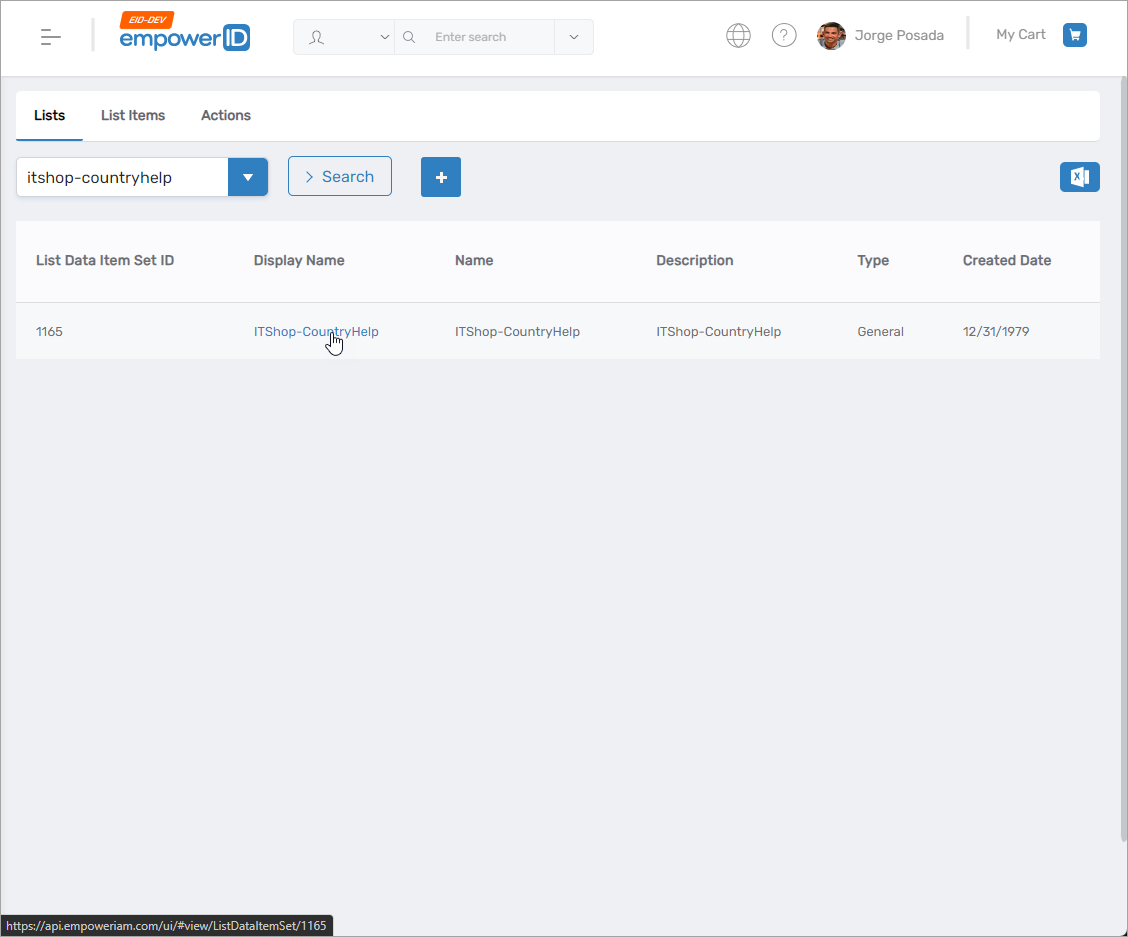
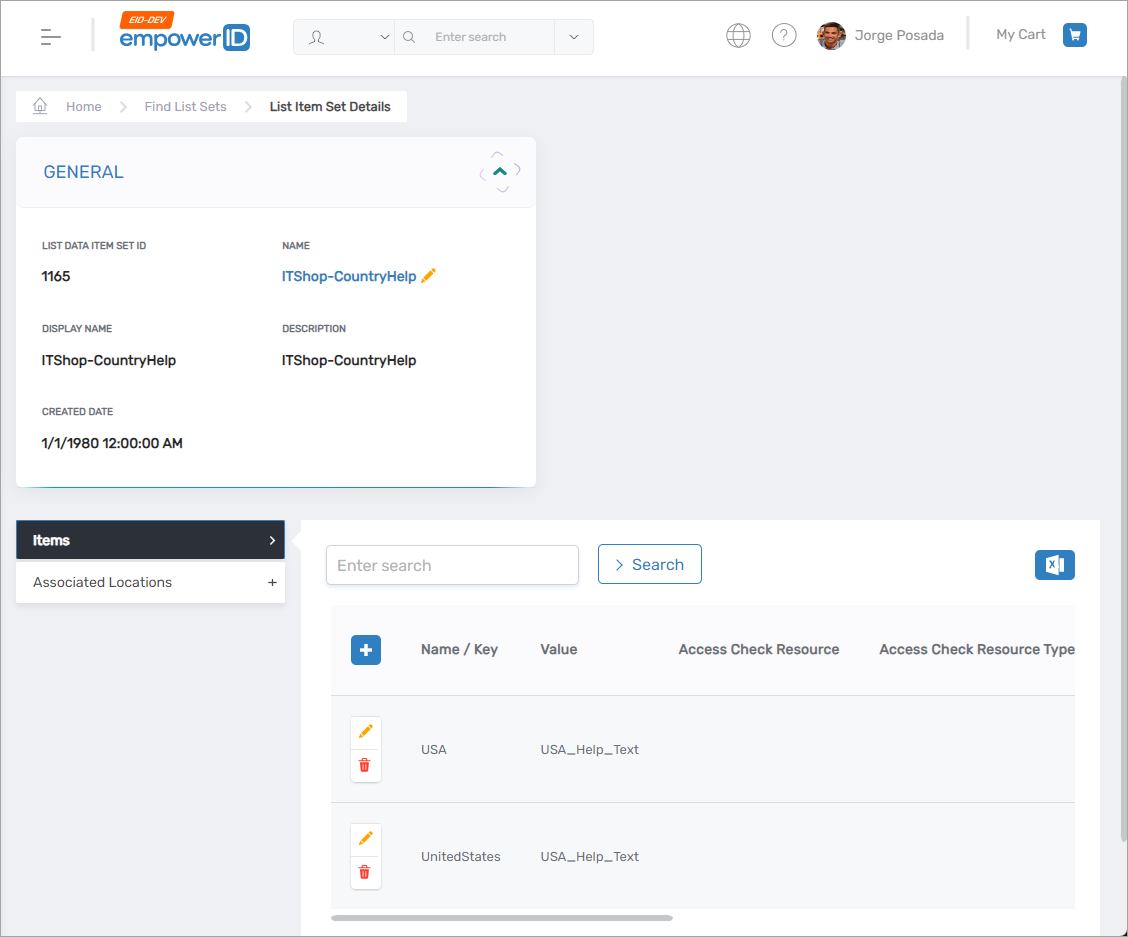
This directs you to the details page for the List Item Set.
-
Click the Add New button in the Items accordion.
-
Enter the desired information in the List Items pane that pops up and click Save.

Step 3 – Add a Locale Key for the List Item
The text that appears to users clicking the Help icon in the IAM Shop is specified by the locale key for the list item you added to the ITShop-CountryHelp List set. To add a locale key for the list item, do the following:
-
On the navbar of the EmpowerID Web interface, expand Admin > Miscellaneous and click Localized Text.
-
From the Localized Strings tab, click the Add button.
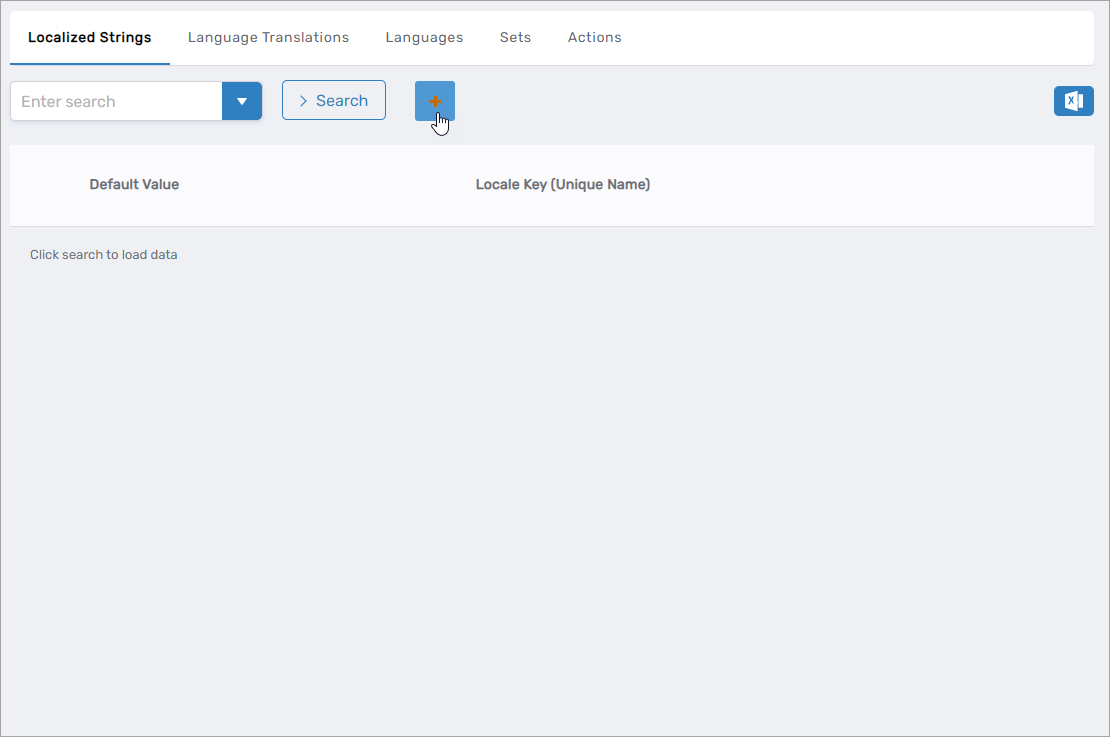
This opens the Locale Key Details form for the new localized string you are creating.
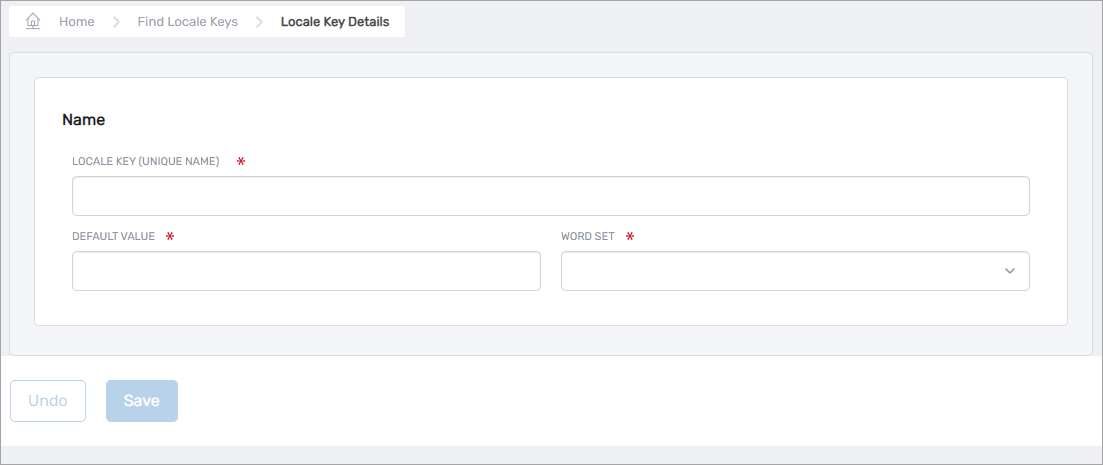
-
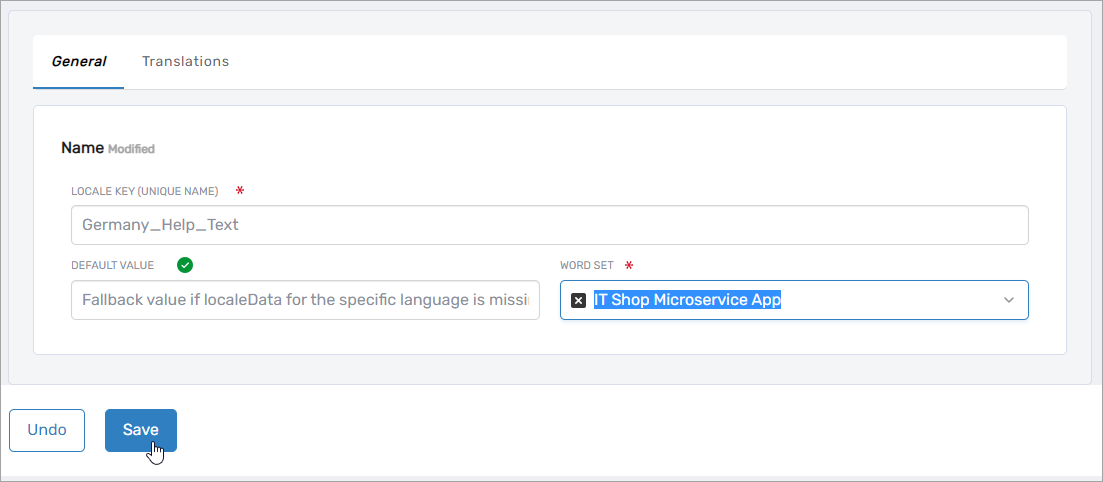
In the Locale Key (Unique Name) field, enter the Value for the list item you created above. For example, if you created a list item with the Value set to Germany_Help_Text , you would enter Germany_Help_Text here.
-
Enter the desired help text in the Default Value field for the key. The text entered here is what appears to users whose Country attribute is either not set or if a translation (LocaleData record in the database) does not exist for the current user's Country attribute. The corresponding SQL field is of type nvarchar(MAX), so the amount of text entered can be used for as long as needed.
-
Select IT Shop Microservice App as the Word Set.
-
Click Save.
Verifying the changes
To verify the configuration changes you made to the IAM Shop Help Text, do the following:
- Navigate to the IAM Shop as a user with the locale appropriate for the configuration change.
- Click the Help icon.
You should see the Help text matches what you set for it.