Onboard Credentials
Managing credentials—such as usernames, passwords, and certificates—can be complex and critical for organizations. EmpowerID simplifies this process through a user-friendly Onboard Credentials wizard workflow, enhancing security and ease of access.
This article guides you through onboarding and vaulting credentials using EmpowerID’s workflow.
EmpowerID automatically grants the creator of a resource All Access to that resource for a period of two hours. This temporary access allows the creator to configure and modify the resource as needed.
Prerequisites
- You must have the appropriate Management Roles for the type of credential being vaulted.
- See Granting Access to PAM with Management Roles for more information.
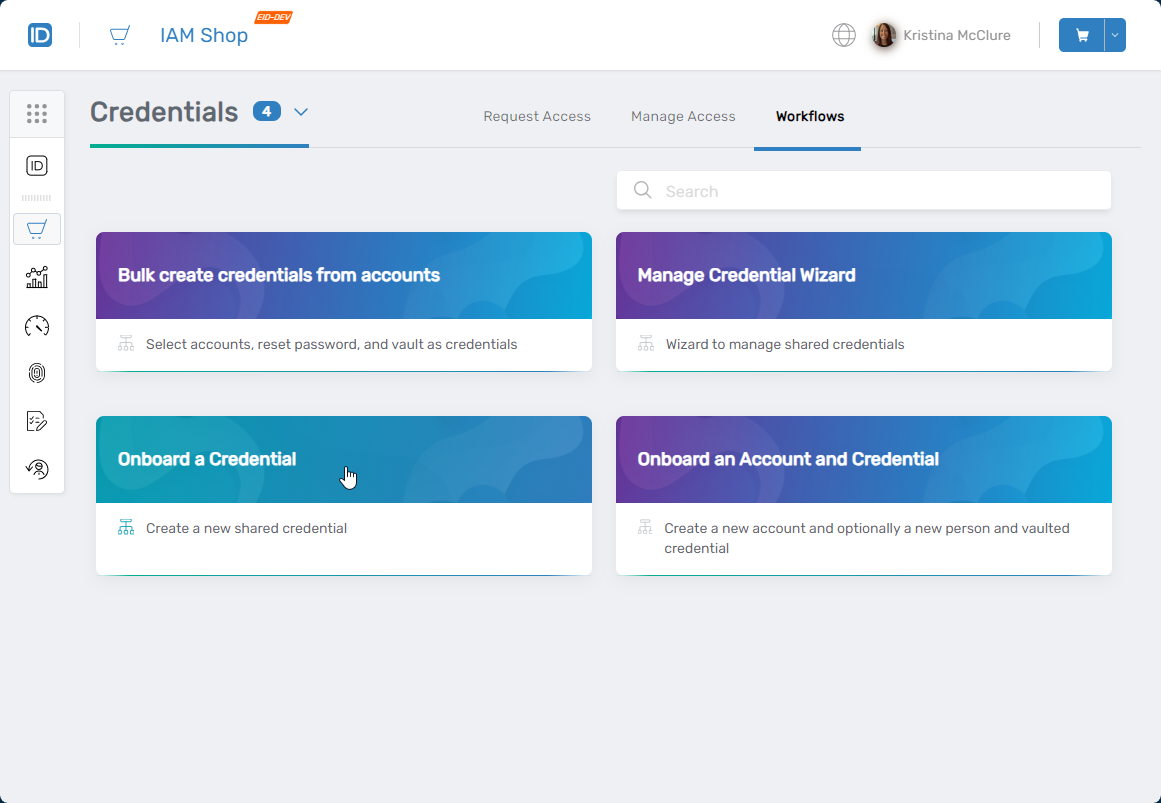
Onboarding Procedure
Step 1 – Launch the Onboard Credentials Wizard
- Sign in to the IAM Shop portal.
- From the Resource Type dropdown, select Credentials.
- Navigate to the Workflows tab.
- Click Onboard a Credential.
 This opens the Onboard Credential wizard.
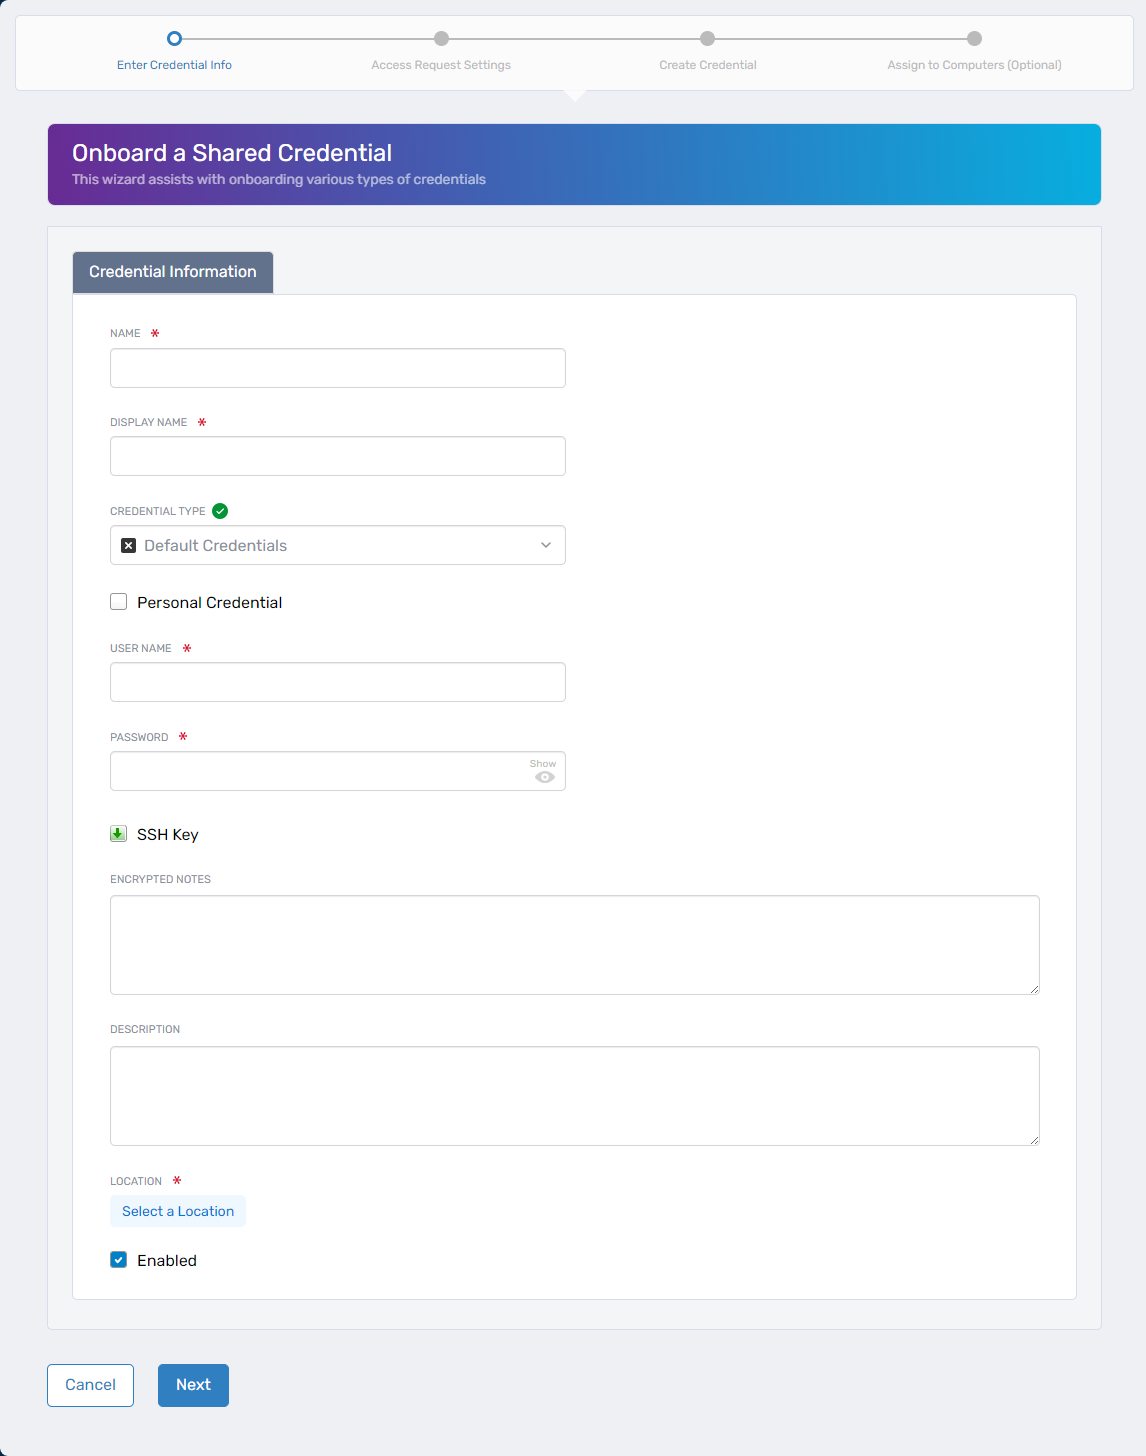
Step 2 – Enter Credential Information
Complete the following fields:
| Field | Description |
|---|---|
| Name | Enter the internal name for the credential. |
| Display Name | Enter a user-friendly display name. |
| Credential Type |
|
| User Name | Enter the credential’s username. |
| Inventoried User Account | Search and select the associated user account. Only appears for Domain Admin, Domain User, and Local Admin types. |
| Password | Enter the credential password. Not required if using SSH Keys. |
| SSH Key | Upload the SSH public key for Linux systems. |
| Encrypted Notes | (Optional) Add encrypted notes. |
| Description | (Optional) Provide a description. |
| Location | Click Select a Location, then search and select a location. Not available for Personal Credentials. |
| Enabled | Select to enable the credential. |
Click Next to continue to Access Request Settings.
If Personal Credential is selected, the workflow exits after creation. No Access Request configuration is required. The credential is automatically assigned to the Default Personal Credentials Policy.
Step 3 – Configure Access Request Settings
In the Owners and Policies section, complete the following configuration:
3.1 – Select an Access Request Policy
Choose one of the following policies based on your credential use case:
-
Computer Creds - Allow Multi-Check-Out - No Password Reset
For RDP/SSH sessions where multiple sessions (checkouts) are allowed and the password is not reset upon check-in. -
Computer Creds - No Multi-Check-Out - Password Reset
For single-use credentials where password resets automatically after check-in. -
MFA - Computer Creds - Allow Multi-Check-Out - No Password Reset
Requires MFA. Multiple sessions are allowed, and passwords are not reset on check-in. -
Non-Computer Creds - Multi-Check-Out - No Password Reset
For non-computer credentials allowing multiple checkouts with no password reset. -
Non-Computer Creds - No Approval, No Multi Check-Out with Password Reset
No approval is required, multi-checkout is not allowed, and the password resets after each check-in. -
Non-Computer Creds - No Multi-Check-Out with Password Reset
No multi-checkout. Password resets automatically on check-in.
Note: Only valid for user accounts with vaulted passwords in EmpowerID.
3.2 – Assign the Responsible Party
- Search for and select the individual responsible for monitoring and ensuring secure usage of the credential.
3.3 – Assign the Credential Owner
- Select the user or service account designated as the owner of the credential.
3.4 – Configure Eligibility
- Use the Configure Eligibility section to add users who are allowed to request access to this credential.
- Only eligible users can request access through IAM Shop.
Step 4 – (Optional) Link Credential to Computers
If applicable, link the credential to computers.
- In the Computer Lookup section, search for and select a computer.
- Tick the checkbox next to the computer.

- Repeat for additional computers.
- Click Next.
- Click Submit to finalize onboarding.