Onboard Computers
The Onboard Computer wizard streamlines the process of integrating computers into EmpowerID. The wizard guides you through computer configuration, access request settings, and optional credential vaulting, ensuring computers are properly secured and accessible to authorized users.
What the Onboard Computer Wizard Configures
The wizard handles:
- Computer object creation – Registers the computer in EmpowerID with identifying information
- Access request settings – Defines how users request access and what approval is required
- IAM Shop publishing – Makes the computer discoverable for access requests (optional)
- Credential vaulting – Securely stores credentials for privileged access (optional)
- Connection settings – Configures RDP or SSH connection capabilities
- Just-in-Time provisioning – Enables automatic account creation for approved access requests (optional)
Prerequisites
To run the Onboard Computer wizard, you need the Management Roles required for computer administration — specifically an ACT role for creating computer objects and the UI role for accessing computer management workflows. See Access Needed to Manage Computers for the full list of required roles.
Onboard a Computer
-
On the navbar, expand Privileged Access and select PAM Workflows.
-
Click Create Computer and Credential.
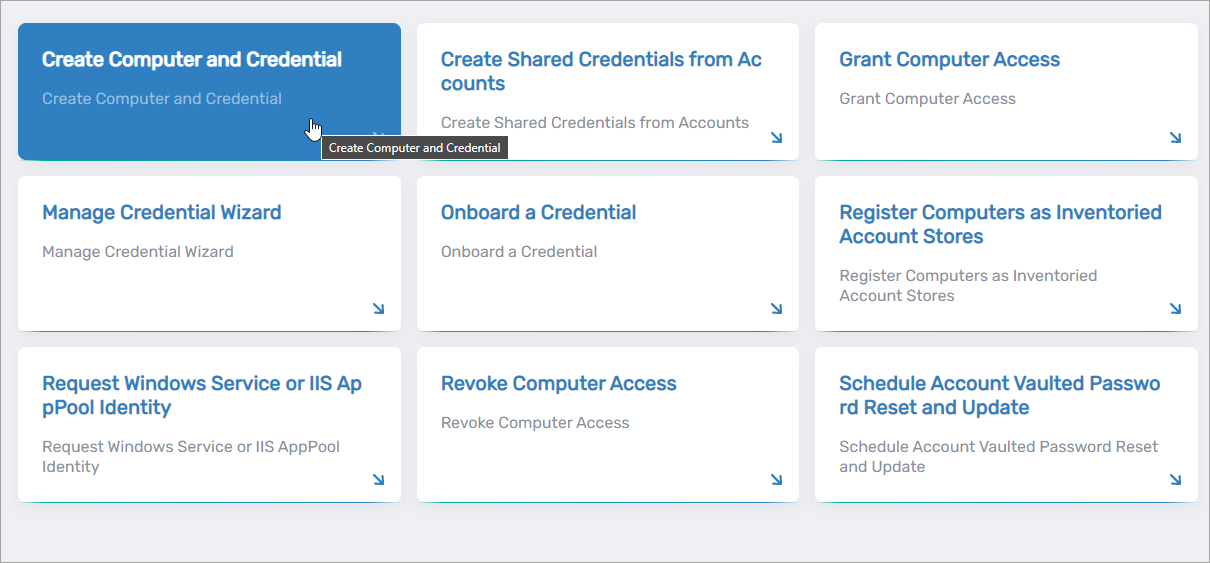 The Onboard Computer wizard opens.

-
On the computer form, enter the following information:
- DNS Host Name – The computer's DNS name
- Display Name – Friendly name displayed in EmpowerID
- Description – Details about the computer's purpose or function
- Publish in IAM Shop – Select to allow users to request access through the IAM Shop
- Allows RDP Connections – Enable Remote Desktop Protocol connections
- Allows SSH Connections – Enable Secure Shell connections (Linux)
- Enable Just in Time Account Provisioning – Allow automatic account creation when access is approved
- Computing Platform – Select the platform or leave as Unknown
- Operating System Type – The computer's operating system
- Computer Type – Classification such as Windows Workstation or Server
- Private Address – Internal IP address
- Public Address – External IP address (if applicable)
noteIf you enable Just-in-Time Account Provisioning here, EmpowerID overrides any conflicting policy settings and provisions accounts automatically when access is granted.
-
Click Next to continue to the Select Creation Location step.
-
In the Select Creation Location lookup, search for and select the account store where the computer should be created.
For Active Directory or LDAP account stores, select the specific organizational unit (OU) within that store.
-
Click Submit to continue to the Access Request Settings step.
-
Under Owners and Policies, configure:
-
Access Request Policy – Select the policy that governs access approval and credential management:
- Default Access Request Policy – Use when creating a computer without vaulting credentials
- Computer Creds - Allow Multi-Check-Out - No Password Reset – For vaulted credentials that allow multiple simultaneous sessions without password reset on check-in
- Computer Creds - No Multi-Check-Out - Password Reset – For vaulted credentials that allow only one session at a time and reset passwords on check-in
- MFA - Computer Creds - Allow Multi-Check-Out - No Password Reset – For vaulted credentials requiring multi-factor authentication with multiple sessions and no password reset
tipAll credential-related policies are configured with the Owner Approval Approval Flow, requiring computer owners to approve access requests.
-
Responsible Party – Search for and select the person responsible for the computer
-
Computer Owners – Search for and select one or more persons as owners, then click Add
-
Computer Deputies – Search for and select deputy owners (optional), then click Add
-
-
Under Configure Eligibility, optionally add eligible users for the computer.
noteUsers must have eligibility configured to request access through the IAM Shop. If you're not publishing the computer to the IAM Shop, you can skip this step.
-
Click Next to continue to the Select Gateway (Optional) step.
-
Optionally, search for and select a gateway computer for Privileged Session Management (PSM) sessions.
If this setting is not applicable, click Next to continue.
-
Optionally, search for and select vaulted credentials to associate with the computer.
If this setting is not applicable, click Next to complete the wizard.
Results
After completing the wizard:
- The computer is created in the specified account store and registered in EmpowerID
- If published to the IAM Shop, authorized users can discover and request access to the computer
- Configured owners receive access requests for approval
- If credentials were vaulted, they are associated with the computer for secure access
- Connection settings (RDP/SSH) are configured as specified
- Just-in-Time provisioning is enabled if selected
Related Topics
- Assign Computers to Locations – Move computers to appropriate organizational locations after onboarding
- Grant Access to Manage Specific Computers – Configure who can manage the onboarded computer
- Configure Just-In-Time Access – Detailed configuration of automatic account provisioning
- Assign IAM Shop Permission Levels to Computers – Configure what actions users can perform