Configure Attribute Flow for Active Directory
Attribute flow rules control how identity attributes synchronize between Active Directory and EmpowerID Person objects. These rules define which attributes flow inbound from AD to EmpowerID, which flow outbound from EmpowerID to AD, which synchronize bidirectionally, and which remain independent after initial provisioning.
Configure attribute flow rules after creating the account store but before enabling inventory. For conceptual background on attribute flow architecture and decision-making guidance, see About Attribute Flow and Configure Attribute Flow Rules.
Configure Attribute Flow Rules
-
Navigate to Admin > Applications and Directories > Account Stores and Systems.
-
Click the Account Stores tab.
-
Search for your account store and click the Account Store link.
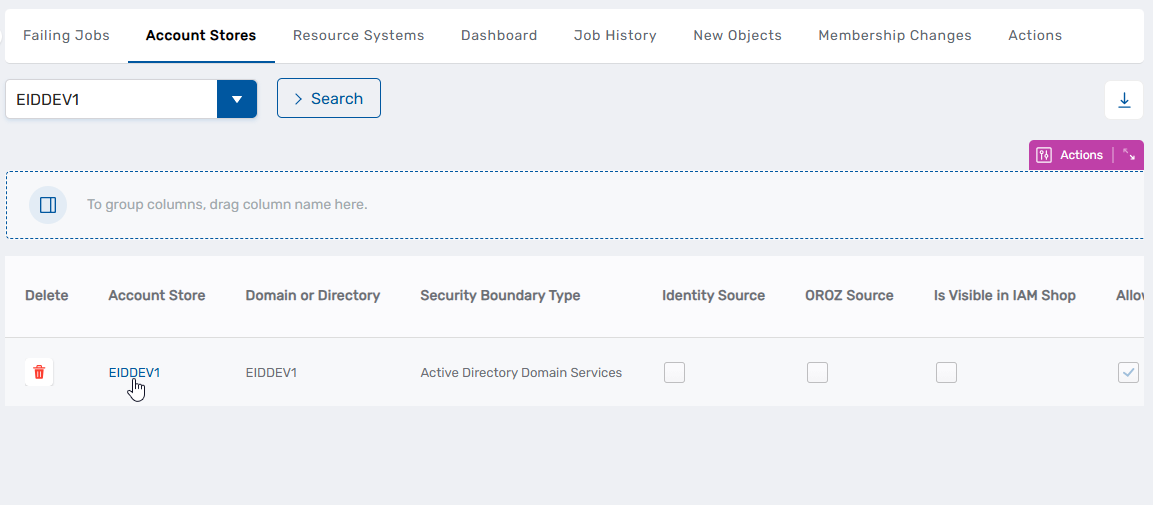 This directs you to the Account Store Details page.

-
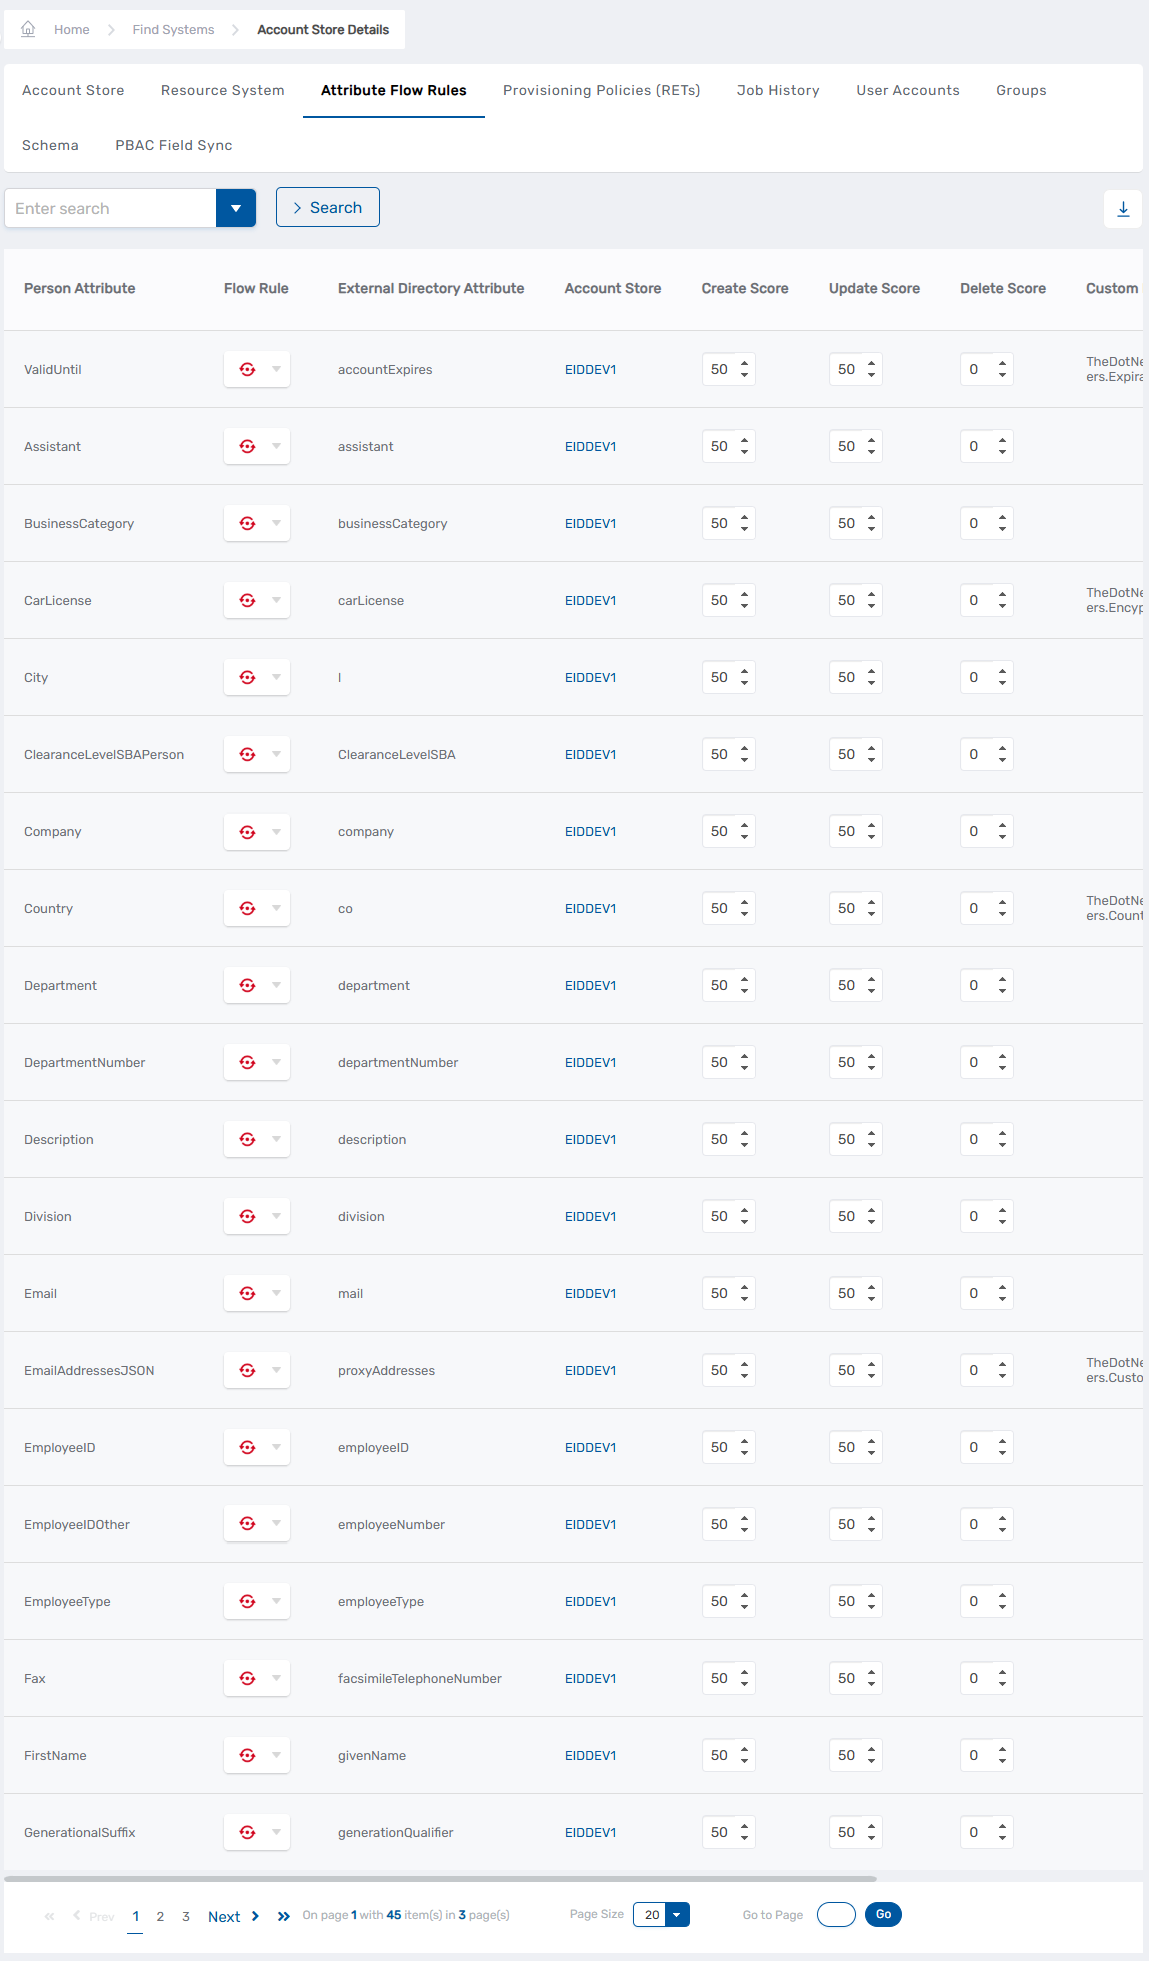
Click the Attribute Flow Rules tab to view all Person attributes that can be synchronized with the account store.
-
For each attribute, click the Flow Rule dropdown to select the synchronization direction:
Direction Description When to Use Inbound Flow from AD to EmpowerID AD is authoritative for this attribute Outbound Flow from EmpowerID to AD EmpowerID or another system (HR) is authoritative Bidirectional Synchronizes both directions, last change wins Both systems can legitimately update the attribute No Sync No ongoing synchronization after initial provisioning Attribute should remain static after account creation
Always set Login to No Sync. Never allow attribute flow to modify login names after account creation, as this causes authentication and security issues.
For decision guidance on selecting flow directions and configuring authority scores, see Configure Attribute Flow Rules. For a complete list of Active Directory attributes, see Active Directory Attribute Reference.
- Click Save after configuring all attribute flow rules.
Verify Attribute Flow Configuration
After configuring attribute flow rules, verify the configuration before enabling inventory:
-
Review the Flow Rule column to confirm all attributes show the intended synchronization direction.
-
Verify that critical attributes have appropriate flow settings:
- Authoritative attributes show correct Inbound or Outbound direction
- Login-related attributes are set to No Sync
- Bidirectional attributes are only configured where both systems should legitimately update
If multiple account stores provide values for the same attributes (e.g., both HR and AD provide phone numbers), configure authority scores to define which system takes precedence. Click on an individual attribute flow rule to access the detailed configuration page where you can set Create, Update, and Delete scores. See Configure Attribute Flow Rules for scoring guidance.
Next Steps
After configuring attribute flow rules for Active Directory:
-
Map external locations to align Active Directory organizational units with EmpowerID locations for proper organizational structure.
-
Review join and provision rules to ensure accounts link properly to Person objects.
-
Enable inventory on the Active Directory account store to begin synchronizing identity data. Navigate to the account store's Inventory tab, check Inventory Enabled, and save your changes.
-
Monitor initial inventory to verify attributes flow as configured. Check the Job History tab and review synchronized accounts to confirm attribute values.
Related Articles
- Active Directory Attribute Reference — Complete list of AD attributes and mappings
- About Attribute Flow — Architecture concepts and synchronization mechanisms
- Configure Attribute Flow Rules — Decision guidance and authority scoring
- Connect to Active Directory — Creating the account store connection
- Active Directory Connector Overview — Architecture and capabilities