Assign PSM-Enabled Computers to Access Request Policies
EmpowerID provides pre-configured Access Request policies tailored for Privileged Session Management (PSM). These policies can be used as-is or customized to suit your organization's privileged access control strategy.
The default PSM policies include:
- Computer Creds – Allow Multi-Check-Out – No Password Reset
- Computer Creds – No Multi-Check-Out – Password Reset
- MFA – Computer Creds – Allow Multi-Check-Out – No Password Reset
For detailed descriptions of these policies, see Access Request Policies and Privileged Session Management.
This article explains how to:
- Configure a PSM-compatible Access Request policy
- Assign PSM-enabled computers to the policy
Step 1 – Configure the Access Request Policy for PSM
-
On the navbar, expand Low Code/No Code Workflow and select Access Request Policies.
-
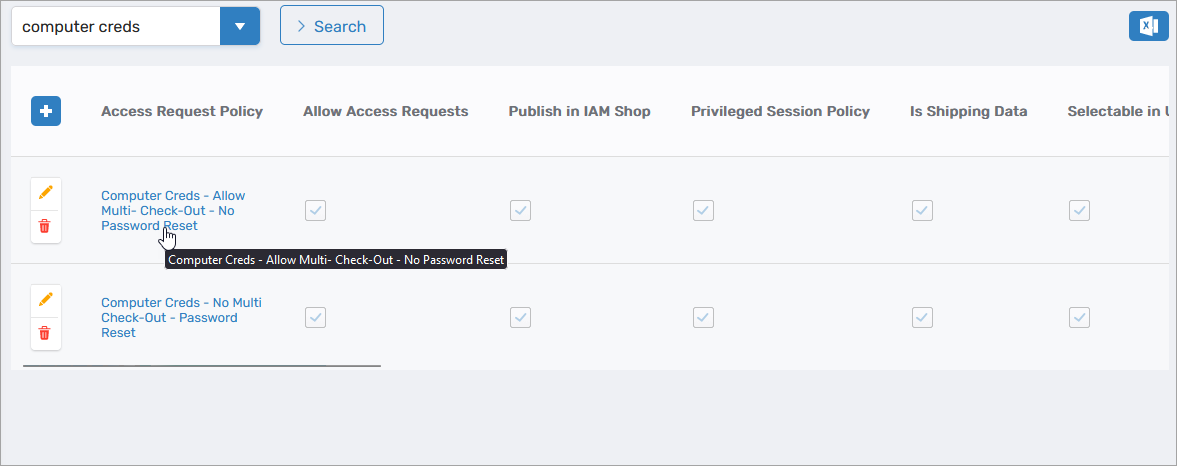
Search for the Access Request Policy you want to configure and click the Edit button.
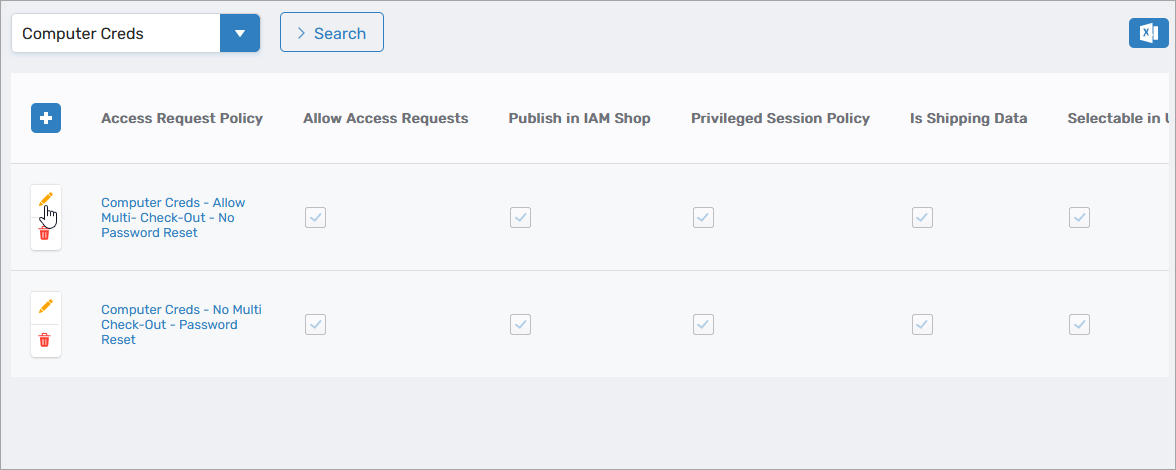 This opens the policy in edit mode.

-
Configure the following PSM-specific settings as needed:
General Access and Workflow
-
Approval Policy – Defines the approval workflow. The default is Owner Approval, where the resource owner must approve each request.
-
Fulfillment Delay (HRS) – Time in hours to delay fulfillment after approval (default is
0). -
Allow Activation (Skip Business Request) – If
true, approved users can activate access without initiating a Business Request workflow. -
Enable Just-in-Time Account Provisioning – Automatically creates a temporary user account during privileged session login using the format:
EmpowerIDLogin_RandomNumber(e.g.,jane.doe_846392).💡Windows Server RequirementsThis setting applies only to Windows servers that have been inventoried as Local Windows Server account stores.
See: Local Windows Servers Connector⚙️Just-in-Time Access ConfigurationTo enable JIT provisioning, the target computer must also have its Just-in-Time Access settings properly configured.
See: Enable Computers for Privileged Session Management
Session Duration Controls
- Time Restrictions – Limits the duration of each session if enabled:
- Default Access Duration (Min) – Default time for each session
- Max Duration (Min) – Maximum allowed session length before automatic termination
MFA Enforcement
- MFA Required for Access Request:
- Min Login LOA if Local – Level of Assurance points required for users on local network
- Min Login LOA if Remote – LOA points for remote users
PSM Computer Settings
These govern session concurrency, auditing, and administrator visibility.
- Max Allowed Concurrent Sessions – Limits how many active sessions can exist simultaneously
- Record Sessions – If enabled, sessions are captured for audit
- Allow Live Session Snooping – Allows real-time viewing of sessions by administrators
-
-
Click Save to apply your policy configuration.
Step 2 – Assign PSM-Enabled Computers to the Policy
-
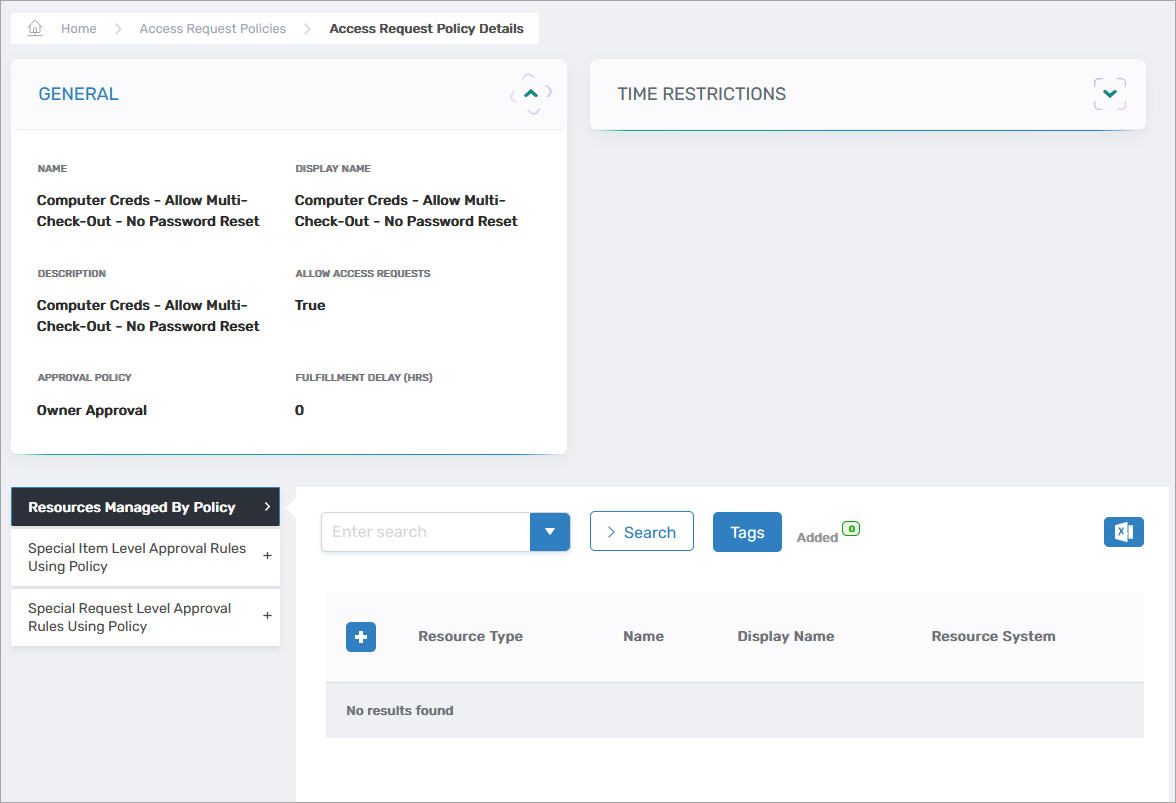
On the Access Request Policies page, click the Access Request Policy link for the policy you just configured.
 This opens the View One page for the policy, allowing you to manage resource assignments.
-
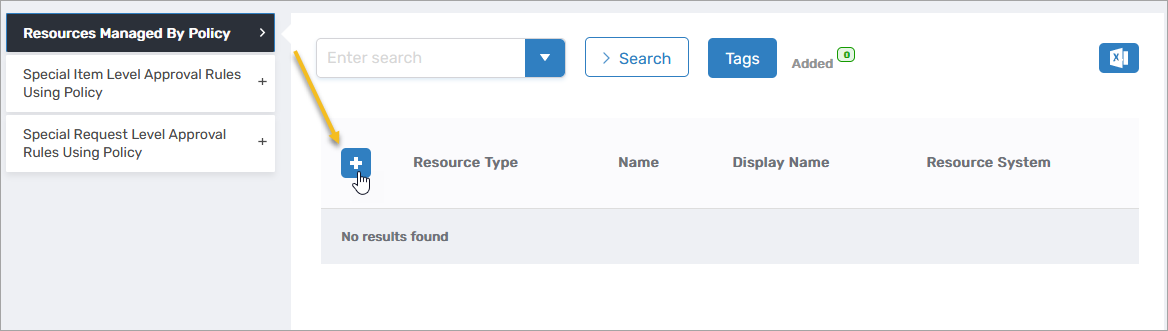
Expand the Resources Managed by Policy accordion.
-
Click the Add button.
-
In the Assignment Information pane:
- Select Computer as the Resource Type.
- Search for the PSM-enabled computer(s) to assign.
- Select each computer from the grid.
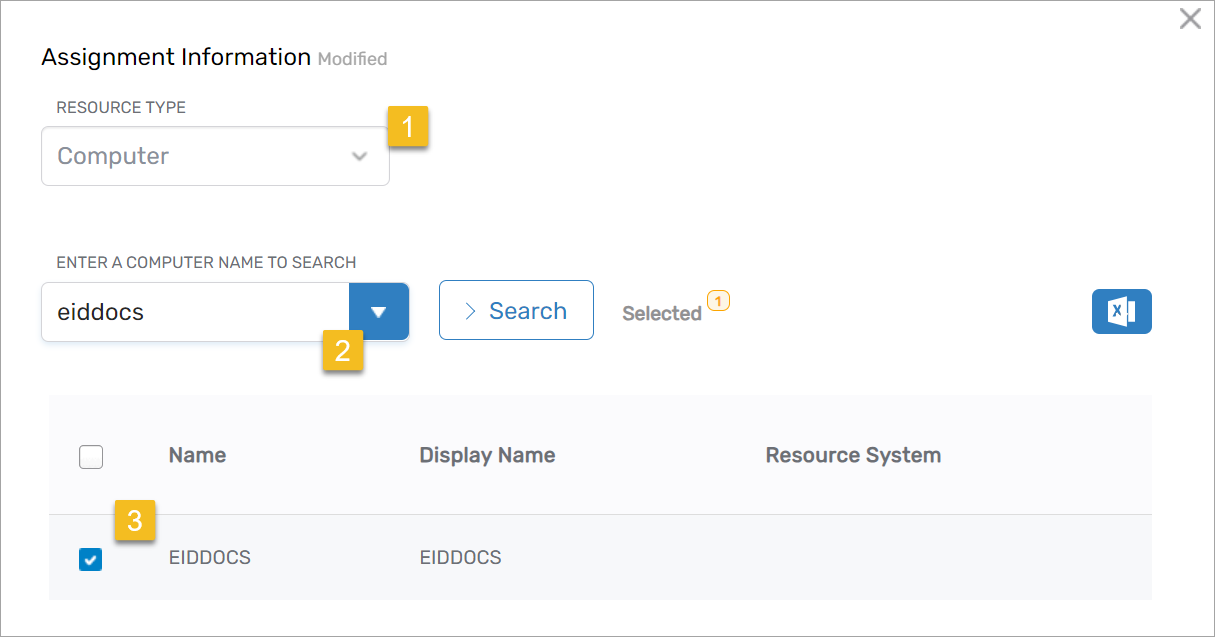
-
Once you've selected all applicable computers, click Save to assign them to the policy.
With these steps completed, the assigned computers are now governed by the configured PSM Access Request Policy, ensuring secure, auditable, and policy-compliant access to privileged sessions.