Configure Approval Steps
Approval Steps are the building blocks of Approval Flow Policies in EmpowerID. These steps define how access requests—submitted as "Business Requests" via the IAM Shop—are evaluated and approved. This guide walks administrators through the process of creating and configuring a basic Approval Step that uses a resolver rule to require manager approval.
Prerequisites
Ensure you have the necessary administrative privileges to access and modify Approval Flow Policies in EmpowerID.
Procedure: Create and Configure an Approval Step
Step 1: Access the Approval Policies Page
- In the EmpowerID navigation bar, expand No Code/Low Code Workflow.
- Click Approval Policies.
Step 2: Add a New Approval Step
- On the Find Approval Policy page, select the Approval Steps tab.
- Click the Add button in the grid header.
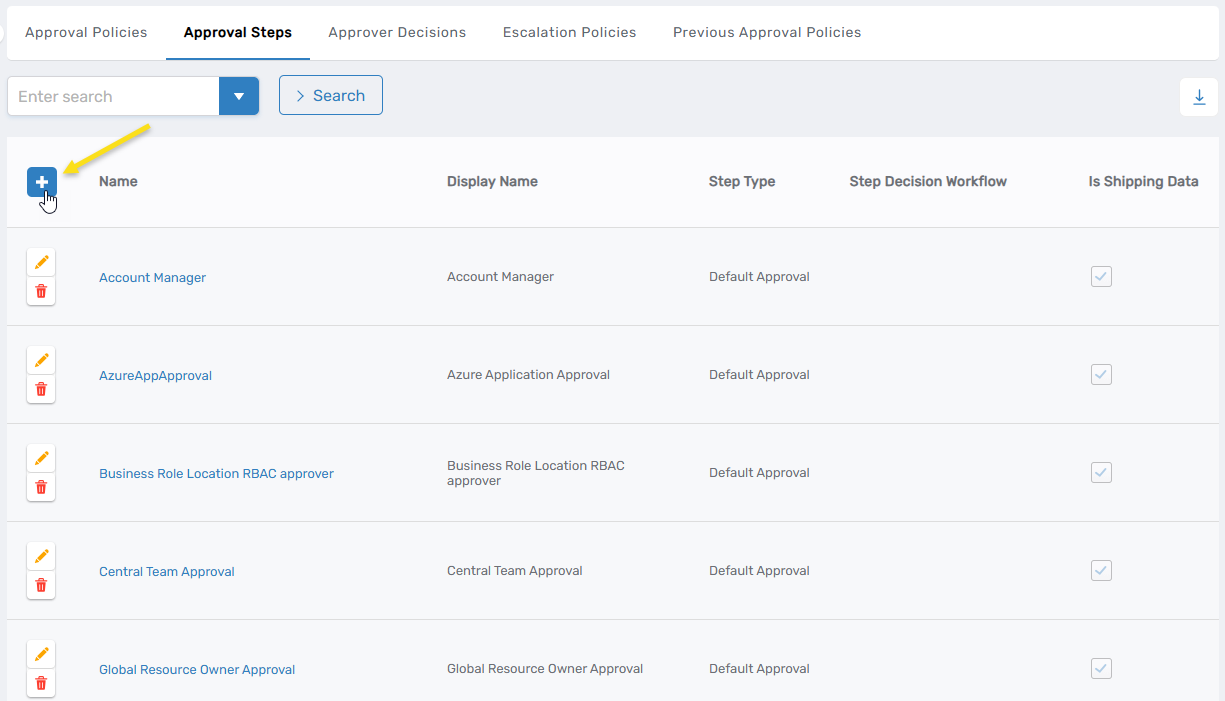
- In the form that appears, fill out the fields as appropriate. Refer to the table below for field descriptions.
Field Descriptions
| Field | Required | Description |
|---|---|---|
| Name | Yes | A unique internal name for the step used for system identification. |
| Display Name | Yes | A user-friendly name displayed in the UI to help identify the step. |
| Locale Key (Unique Name) | No | Key for supporting multilingual environments. Used to localize the display name. |
| Description | No | Optional explanatory text for the step's function or context. |
| Locale Key for Description | No | Used for translating the description across different locales. |
| Step Decision Workflow | No | Defines the logic used to evaluate approval decisions. Choose a workflow suited to your approval strategy. |
| Step Type | No (defaults to "Default Approval") | Specifies the type of approval. Options: - Default Approval: Standard approval logic. - Risk Approval: For sensitive or high-risk requests, often with stricter rules. |
| Auto-Approve Decision if Approver Previously Approved | No | Optional policy that auto-approves if the approver has previously approved the same request type. |
| Escalation Policy | Yes | Determines what action to take if the approver does not respond within a defined timeframe. |
| Is Shipping Data | No | For internal use only. |
| Can Edit Length of Access | No | Allows the approver to modify how long access is granted for approved items. |
- Click Save to create the step.
Step 3: Open the Newly Created Step
- Search for the step you just created. You must enter at least 3 characters to search.
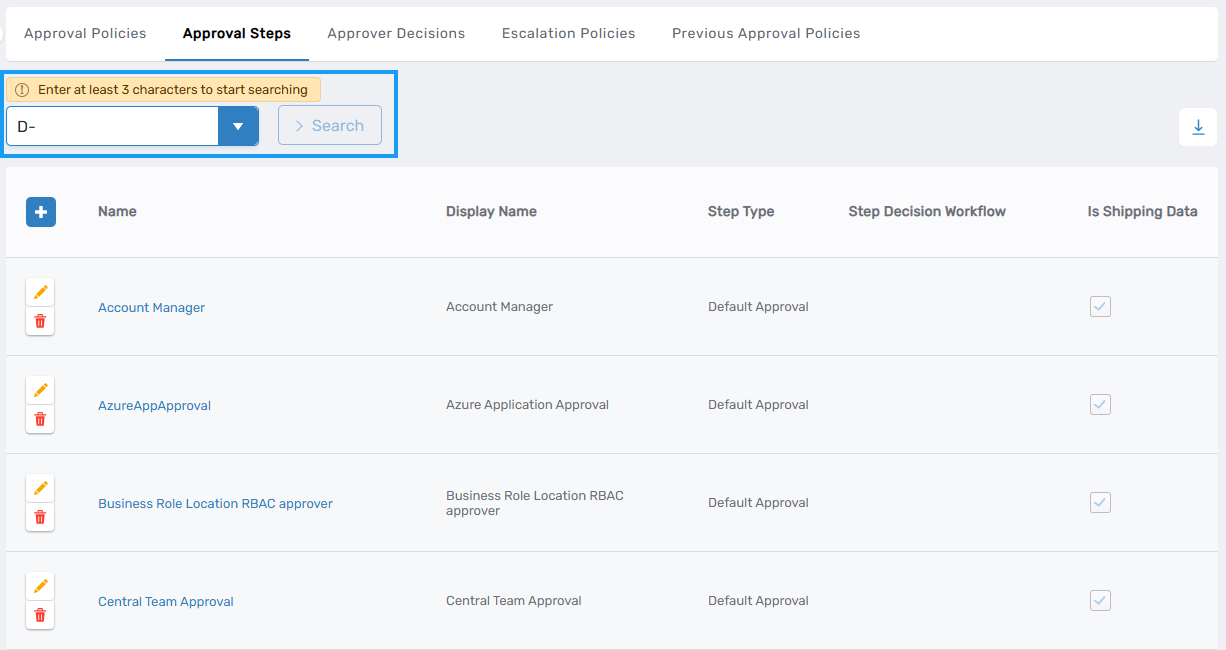
- Click the Name link to open the step configuration page.
Step 4: Assign an Approver Resolver Rule
- Expand the Approver Resolver Rules accordion section.
- Click the Add button.
- In the Approver Resolver Type dropdown, select the appropriate rule type (e.g., manager of the initiator).
- Click Save, then click Submit to finalize the rule assignment.